What you need
-
-
-
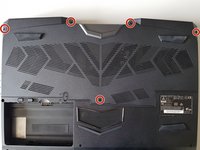
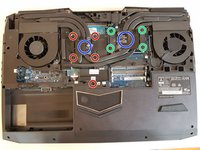
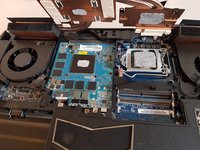
Unscrew the four large screws circled in green
-
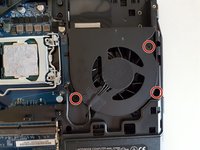
Unscrew the five small screws circled in red
-
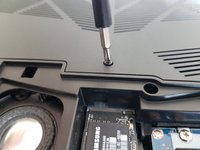
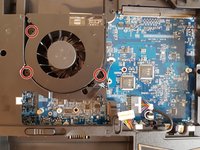
Lift the cooler with the two tabs circled in blue
-
-
-
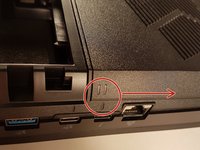
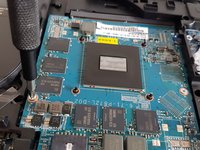
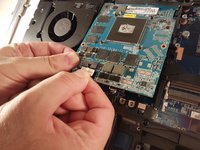
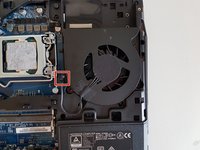
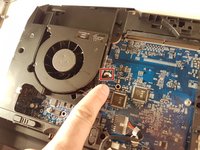
Lift the card to allow access to the red circled connector
-
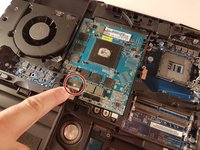
Disconnect the red circled connector
-
-
-
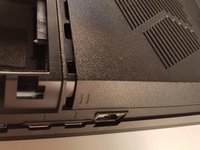
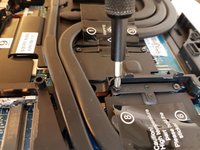
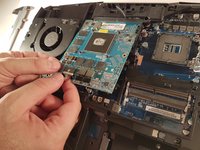
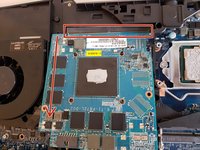
Unscrew the three screws circled in red.
-
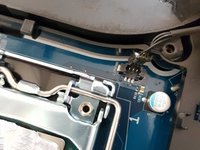
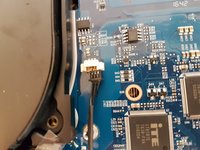
Disconnect the framed connector in red.
-
-
-
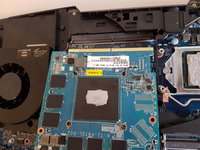
Unscrew the three screws circled in red.
-
Disconnect the framed connector in red.
-


Conclusion
To reassemble your device follow the following instructions in reverse order
Special thanks to these translators:
fr en
100%


These translators are helping us fix the world! Want to contribute?
Start translating ›