Free Shipping on Domestic Orders $75+

Outer Shell Removal

Prerequisite Only
This is a prerequisite-only guide! This guide is part of another procedure and isn’t meant to be used alone.

What you need

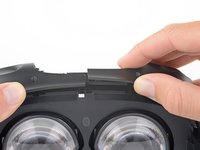
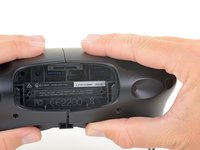
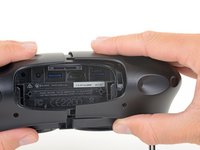
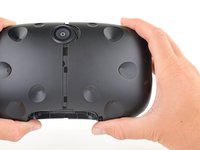
    1. Outer Shell Removal, Open the cable compartment: step 1, image 1 of 3 Outer Shell Removal, Open the cable compartment: step 1, image 2 of 3 Outer Shell Removal, Open the cable compartment: step 1, image 3 of 3
      • Be sure to power down and disconnect your Vive before beginning.

      • Place a finger on the top edge of the compartment cover assembly and slide the assembly toward the front of the Vive until it comes loose from the headset.

      • Lift the cover away from the headset and slide it up the cables until it's out of the way.

      Ask FixBot

      Add Comment

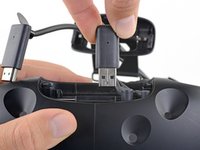
    2. Outer Shell Removal, Unplug the HDMI cable: step 2, image 1 of 2 Outer Shell Removal, Unplug the HDMI cable: step 2, image 2 of 2
      • Lift the HDMI cable straight up to unplug it from the headset.

      Ask FixBot

      Add Comment

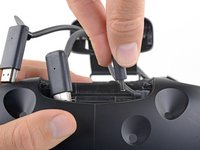
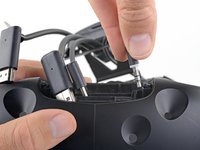
    3. Outer Shell Removal, Unplug the remaining cables: step 3, image 1 of 3 Outer Shell Removal, Unplug the remaining cables: step 3, image 2 of 3 Outer Shell Removal, Unplug the remaining cables: step 3, image 3 of 3
      • Repeat the lifting and unplugging process with the remaining USB, power, and audio cables.

      Ask FixBot

      Add Comment

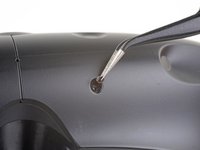
    1. Outer Shell Removal, Unscrew the outer shell: step 4, image 1 of 3 Outer Shell Removal, Unscrew the outer shell: step 4, image 2 of 3 Outer Shell Removal, Unscrew the outer shell: step 4, image 3 of 3
      Tool used on this step:
      Tweezers
      $4.99
      Buy
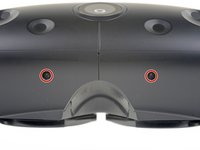
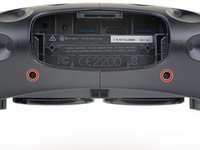
      • Use tweezers to remove the small stickers over the four screws securing the outer shell.

      • Use a T5 Torx driver to remove the four 3.4 mm-long screws securing the outer shell.

      Ask FixBot

      Add Comment

    2. Outer Shell Removal, Remove the outer shell: step 5, image 1 of 3 Outer Shell Removal, Remove the outer shell: step 5, image 2 of 3 Outer Shell Removal, Remove the outer shell: step 5, image 3 of 3
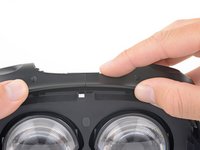
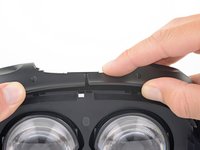
      • Grasp the top edge of the right half of the outer shell, behind the component cover and near the seam in the center. Pull it to the right and upward, away from the headset to release the clip securing that part of the shell.

      Ask FixBot

      Add Comment

    3. Outer Shell Removal: step 6, image 1 of 2 Outer Shell Removal: step 6, image 2 of 2
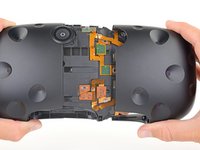
      • Grasp the right half the outer shell and pull it to the right and toward the front of the headset in a twisting motion until you feel the clips on the front of the cover release.

      Ask FixBot

      Add Comment

    4. Outer Shell Removal: step 7, image 1 of 2 Outer Shell Removal: step 7, image 2 of 2
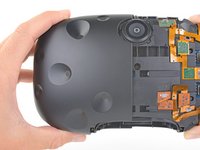
      • Slide the right side of the outer shell to the right and off of the headset.

      Ask FixBot

      Add Comment

    5. Outer Shell Removal: step 8, image 1 of 2 Outer Shell Removal: step 8, image 2 of 2
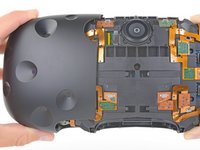
      • Repeat the last three steps for the left side of the outer shell and remove it.

      Ask FixBot

      Add Comment

Conclusion

To reassemble your device, follow these instructions in reverse order.

Cancel: I did not complete this guide.

Adam O'Camb

Member since: 04/11/15

225,477 Reputation

415 Guides authored

0 Guide Comments

Add Comment

View Statistics:

Past 24 Hours: 1

Past 7 Days: 7

Past 30 Days: 19

All Time: 283