What you need
-
-
Remove the two 2 mm TR9 Torx head screws at the bottom of the device. The screws are located on the right and left side of the charging port.
 Ask FixBot
-
-
-
Pry the phone’s metal backing away from the rest of the device by placing the Jimmy between the black phone backing and silver screen border and wiggling the Jimmy right and left.
-
-
-
-
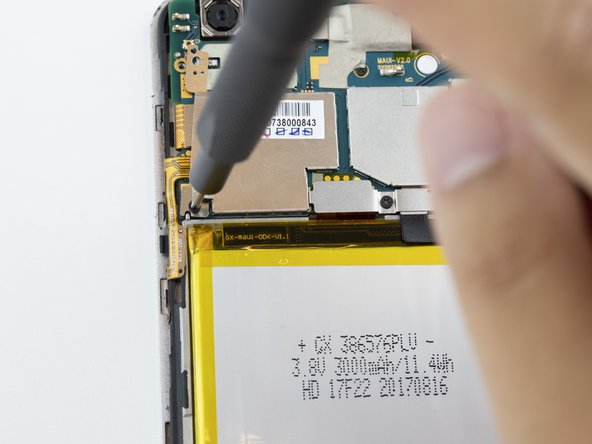
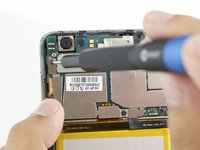
Remove the metal plate protector held in place by two 2 mm Phillips #000 screws.
-
-
Tool used on this step:Tweezers$3.99
-
Using a pair of angled tweezers, remove the metal plate protector.
-
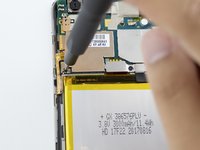
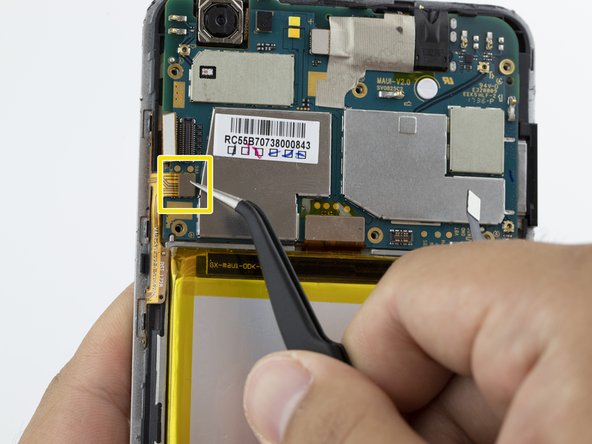
Unplug the connector with a pair of tweezers.
-
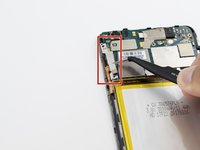
Unplug the second connector with a pair of tweezers.
-
-
-
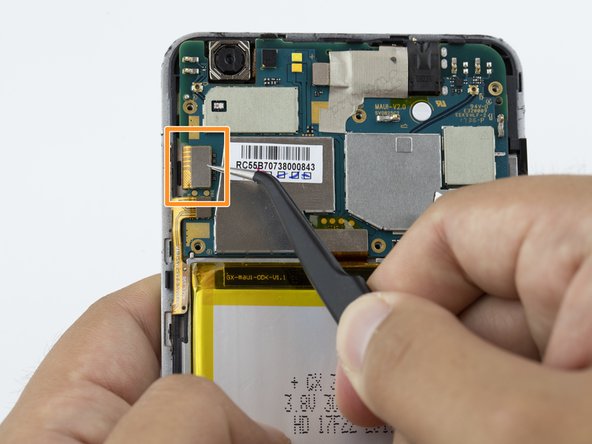
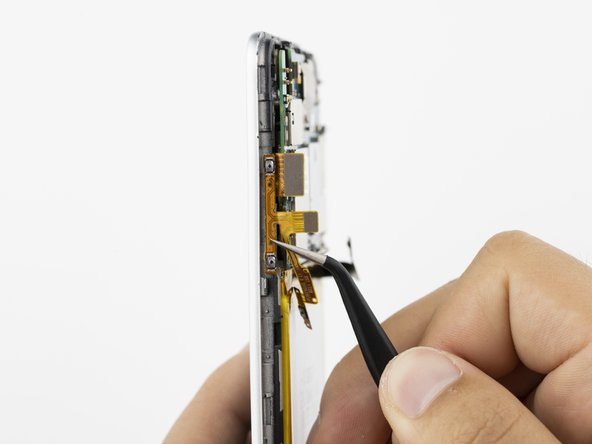
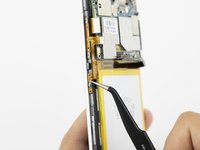
Using a pair of angled tweezers, gently pull the orange power strip off of the phone housing.
-


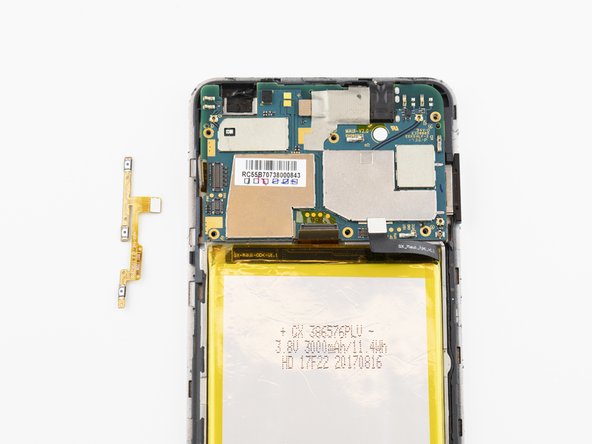


To reassemble your device, follow these instructions in reverse order.
Cancel: I did not complete this guide.
3 other people completed this guide.
Team

Embry-Riddle Aeronautical University, Team S20-G1, Branham Fall 2019 Member of Embry-Riddle Aeronautical University, Team S20-G1, Branham Fall 2019
ERAU-BRANHAM-F19S20G1
4 Members
11 Guides authored