This translation was generated by a machine and has not been reviewed by a person yet. Speak this language? Review it.
Introduction
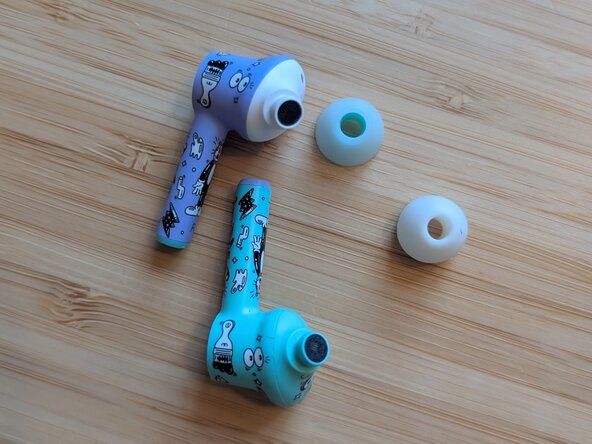
Replacing the replacement battery in the OnePlus Buds Z is easier than you probably thought. I was a bit surprised myself. Unfortunately, there are still a few stumbling blocks; however, with this guide, you can hopefully avoid them.
Note: The steps are only written out for one of the two buds. Simply proceed analogously for the other one. The internal structure is mirrored, but otherwise exactly the same.
What you need
-
-
-
Remove the earbuds from the charging case and let them run until the replacement batteries have less than 20% charge remaining. This reduces the risk of fire to a minimum if the replacement battery is accidentally damaged or a short circuit occurs.
 Ask FixBot
-
-
-
Heat the bud with a hairdryer, a heat gun, or a hot/cold pack.
-
Hold the bud as shown so that the earpiece is pointing diagonally toward you.
-
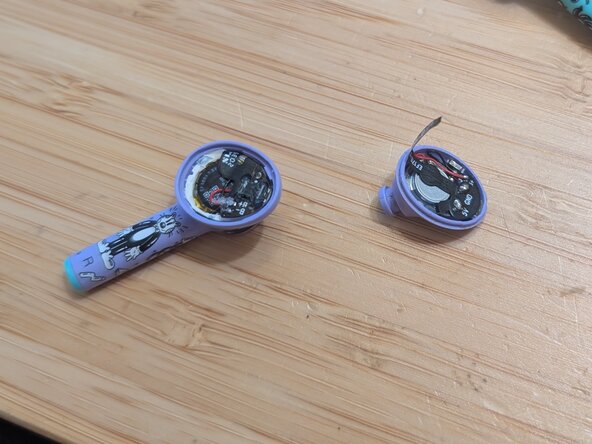
Carefully apply pressure to the earpiece so that a small gap opens.
-
-
-
Use tweezers to remove the adhesive residue that held the housing together. If necessary, apply more heat to assist with this.
-
-
-
-
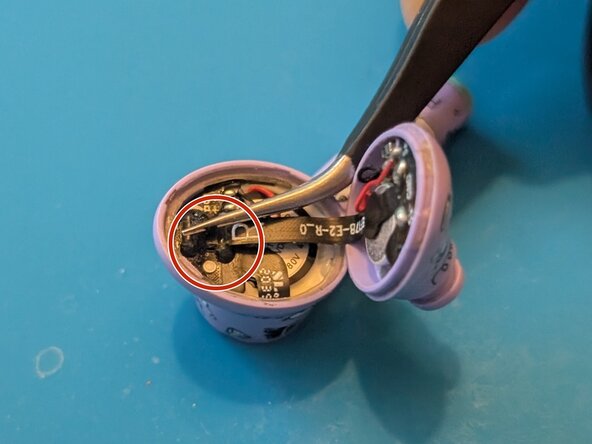
Carefully lift the small PCB resting on the replacement battery without damaging the cables. It is best to use a spudger and some heat to assist.
-
-
-
Now carefully lift the replacement battery. Use blunt tweezers to help and, if necessary, apply heat again.
-
-
Tool used on this step:Helping Hands$9.99
-
Weight the buds down (as shown in image II) or secure them appropriately in a "helping hands with magnifying glass" (AKA "helping hands").
-
Use a soldering iron to first burn off the UV glue and then desolder the cables of the replacement battery.
-
Use new flux, fresh solder, and a desoldering wick if necessary.
-
Remove the remaining solder with a desoldering wick and remove the flux residue with 99 percent isopropyl alcohol and a toothbrush—or better, with an anti-static brush.
-
-
Tool used on this step:No-Clean Flux$4.95
-
Apply fresh solder to the contacts on the PCB.
-
Solder the new replacement battery to the PCB.
-
Remove the used flux again with 99% isopropyl alcohol.
-
Secure the contact using UV glue or, if not available, a small dab of hot glue.
-
If necessary, use fresh flux if the connection does not form easily.
-
-
-
Place the white retaining ring around the replacement battery.
-
Apply a strip of double-sided adhesive tape to the back of the replacement battery and secure it in the housing.
-
Secure the PCB to the replacement battery with double-sided adhesive tape, aligning it with the red-marked guide tabs on the white retaining ring.
-
-
-
You can now carefully fold the ribbon cable back and snap the housing together.
-
If you like, you can use a suitable liquid adhesive to close the housing even more securely. Actually, it holds quite well without it, too. However, I would advise against using double-sided tape for the housing. I tore the ribbon cable right through when I tried to apply it.
-
-
Tool used on this step:Technician's Razor Set$14.99
-
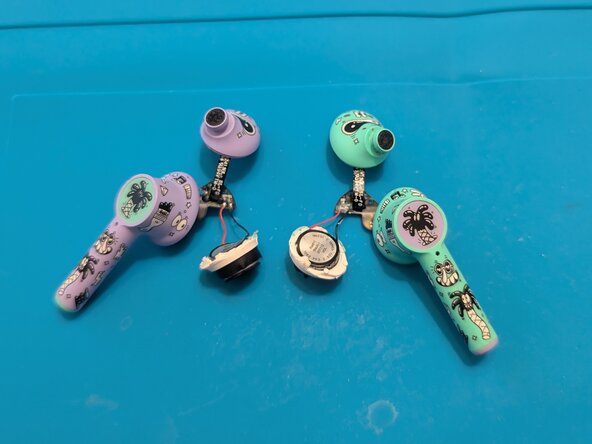
First of all, the biggest problem: The only available spare parts come from defective buds. You'll therefore have to find some on eBay. Unfortunately, the earpiece itself isn't even available on AliExpress. However, if you have found a spare part, it's not that difficult to fix the earbud.
-
Remove the adhesive strip on the ribbon cable connector.
-
Now remove the UV glue, either using tweezers and a hot air station or – like me – by carefully scraping it off with a scalpel.
-
Now separate the earpiece from the PCB with the help of a spudger.
-
Secure the connection with UV glue or hot glue.
-
Jump back to step 10 and enjoy your great headphones, which will now last for a long train ride again.
-
-






Follow the steps in reverse order to reassemble your device.
Cancel: I did not complete this guide.
One other person completed this guide.

