Introduction
This guide will detail how to replace the display assembly in the One Education Infinity:One laptop. After completion of this guide, the digitizer and screen will be separated to allow for replacement of either component.
What you need
-
-
-
Insert a Jimmy or other prying tool into the seam between the screen and back case.
-
Trace around the edges until all clips are released.
-
Lift the back case away from the tablet.
 Ask FixBot
-
-
-
-
-
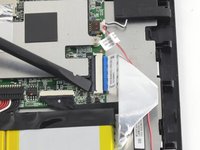
Use a spudger to release the speaker wires by pushing the bundled cabled connector away from the motherboard.
-
-
-
-
-
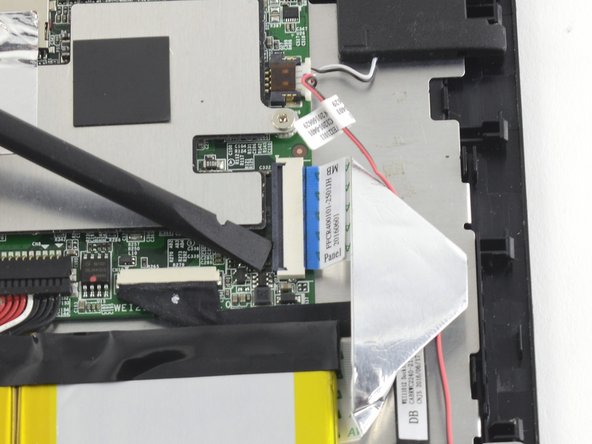
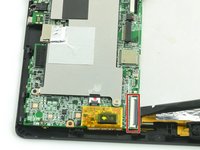
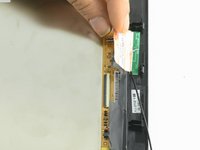
Use a spudger to disconnect the black bundled cable connector from the motherboard.
-
-
-
Use a spudger to lift the black tab on top of the ZIF connector.
-
Slide the ribbon cable out of the connector.
-
-
-
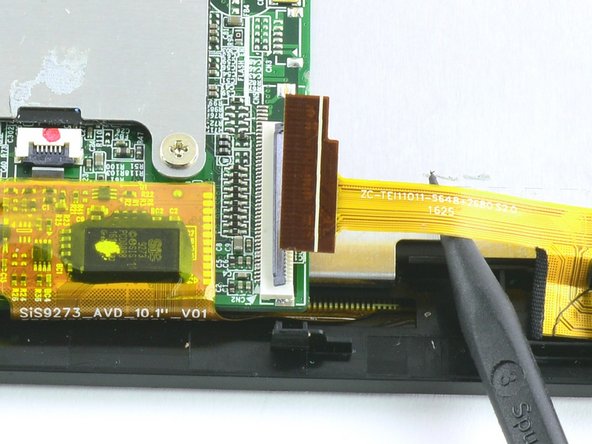
Use a spudger to flip up the black retaining flap on the ZIF connector.
-
Pull the folded ribbon cable straight out of the connector.
-
-
-
-
-
Tool used on this step:Tweezers$4.99
-
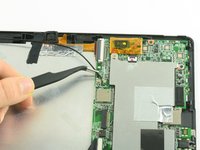
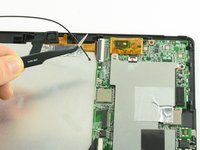
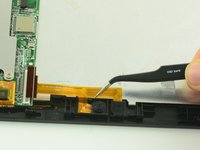
Use ESD safe tweezers to disconnect the antenna from the motherboard.
-
-
-
-
-
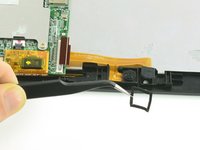
Use a spudger to flip up the black flap on the camera's ZIF connector.
-
Pull the ribbon cable straight out of the connector.
-
-
Tool used on this step:Tweezers$4.99
-
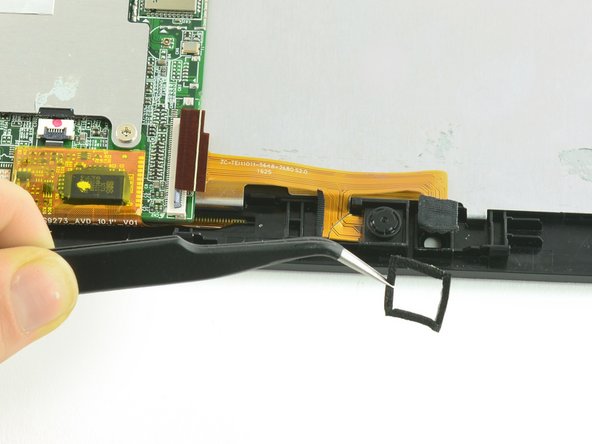
Use tweezers to remove the black cushion surrounding the camera lens.
-
-
-
-
-
Use a spudger to flip up the black flap on the camera's ZIF connector.
-
Pull the ribbon cable straight out of the connector.
-
-
Tool used on this step:Tweezers$4.99
-
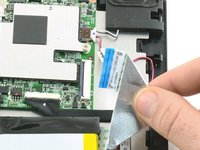
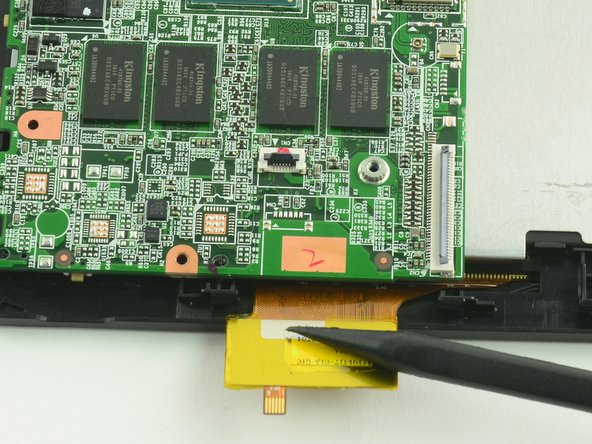
Use tweezers to pull the dock connection cable away from the motherboard.
-
-
-
Use a Phillips #00 screwdriver to unscrew the two 3.4 mm screws.
-
Use a Phillips #000 screwdriver to unscrew the one 4.2mm screw.
-
-
-
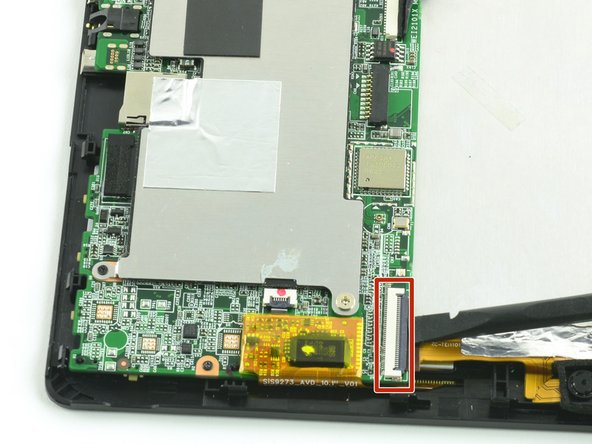
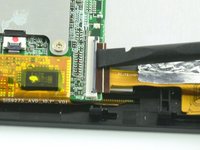
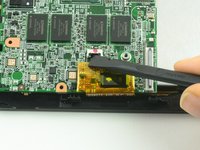
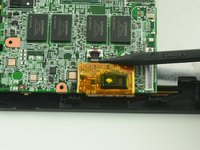
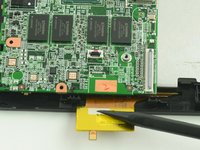
With the flat end of a spudger, flip up the black flap on the display's ZIF connector.
-
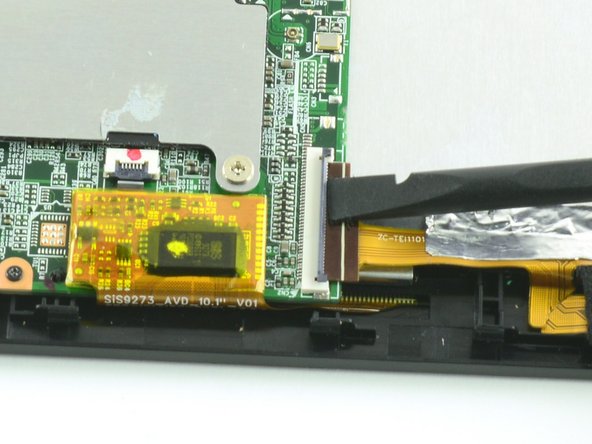
Insert the pointed end of the spudger between the cable and the motherboard and gently pull the cable straight out of the connector.
-
-
-
-
-
Unscrew the five 4.2mm screws with a Phillips #000 screwdriver.
-
-
-
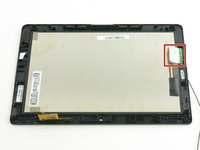
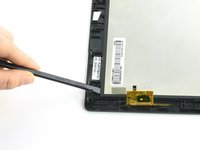
Use a spudger to lift the digitizer away from the screen.
-
Grasp the edge of the digitizer and lift straight up to remove.
-
-


To reassemble your device, follow these instructions in reverse order.
