Introduction
This guide describes the process of removing and replacing the CMOS battery in the One Education Infinity.
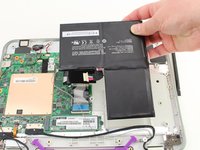
The CMOS battery can assist with software startup and keeps the internal clock running while the device is turned off. If your computer has difficulty during startup but otherwise functions normally, or if your computer forgets what time it is when you turn it on, you may have an issue with the CMOS battery. Luckily, this part is easily accessible within the bottom case of the device, so replacement will be fairly simple once the device is open. Be sure to dispose of old batteries safely.
What you need
-
-
Remove the screw covers and rubber feet from the bottom of the laptop with a metal spudger.
-
-
-
-
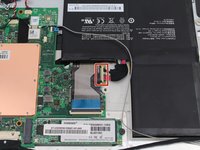
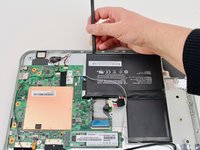
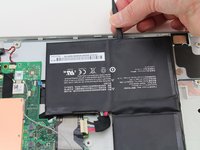
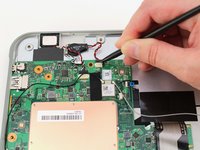
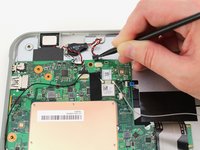
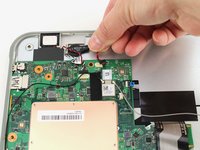
Carefully wiggle the battery cable to the right and out of the port with a plastic spudger.
-
-
-
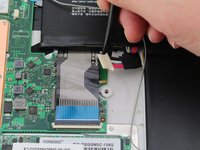
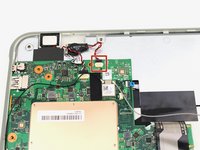
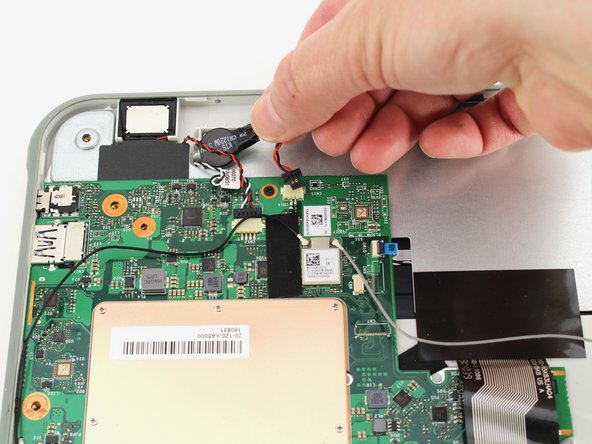
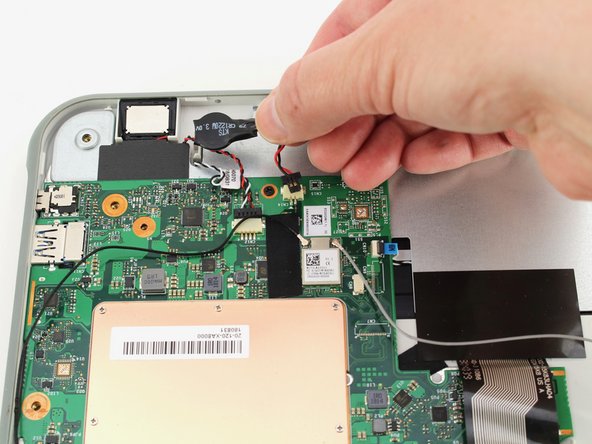
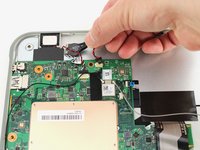
Use a plastic spudger to slide out the cable connector attached to the CMOS battery from the motherboard.
-


To reassemble your device, follow these instructions in reverse order.

