
Olympus Stylus Tough 6020 LCD Replacement

Luke Wiley and
Last updated on May 7, 2024
Views: 1.8K
View statistics:
- Past 24 Hours:
- 2
- Past 7 Days:
- 19
- Past 30 Days:
- 90
- All Time:
- 1,838
Comments: 0
No one has left comments on this guide. Will you be first?
Go to guide commentsCompleted: 0 1
No one has marked this guide "completed." Will you be the first?
1 person has marked this guide "completed." It's you — great job!
Favorites: 0 1
No one has favorited (and subscribed to) this guide. Will you be the first?
1 person has favorited (and subscribed to) this guide — and that's you!
Inconsistent Images
Updating the images on this guide to be more consistent with the prerequisites would increase its awesomeness.
Action Shots
Be an action hero! This guide needs images that better demonstrate how to perform specific actions.
Introduction
Go to step 1 ↓This guide will help you replace the LCD screen on your camera. Your LCD screen will need to be replaced if it has any cracks or stops responding to touch commands. Replacing the LCD screen will allow you to view pictures, perform actions in the camera's menu, and adjust the camera's settings.
What you need
Tools
-
-
Spudger4.9


-
-
-
Slide and push the battery casing to open it.
-
Push the battery to eject it.
 Ask FixBot
-
-
-
Turn the camera so that you are facing the bottom of the camera.
-
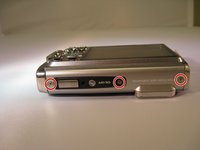
Using a Phillips 00 screwdriver, unscrew the three 3.9mm screws on the bottom of the camera.
-
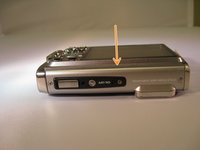
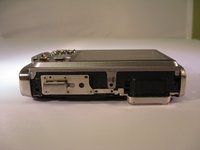
Using a spudger, pry off the plating on the bottom of the camera.
-
-
-
Turn the camera so that you are facing the top of the camera.
-
Using a Phillips 00 screwdriver, unscrew the three 3.9mm screws located on the top of the camera.
-
Using a spudger, pry off the plating on the top of the camera.
-
-
-
Turn the camera so the LCD is facing upwards.
-
Using a Phillips 00 screwdriver, unscrew the two 3.9mm screws located on the left side of the device.
-
-
-
-
Using a Phillips 00 screwdriver, unscrew the 3.9mm screw located next to the black "Olympus" face plate.
-
Using a T6 Torx screwdriver, unscrew the two 3.5mm screws located on the black "Olympus" face plate.
-
Using a spudger, gently pry off the black "Olympus" face plate.
-
-
-
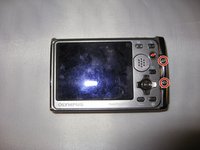
Using a Phillips 00 screwdriver, unscrew the two 3.9mm screws to the right of the cursor pad on the U-shaped frame.
-
Turn the device over so the front of the camera is facing you.
-
Using a Phillips 00 screwdriver, unscrew the two 3.9mm screws on the end casing.
-
Using a spudger, pry off the end casing.
-
-
-
Turn the camera so the blue face plate is visible.
-
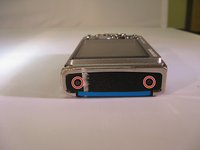
Using a Phillips 00 screwdriver, unscrew the two 3mm screws on the blue plate.
-
Using a Phillips 00 screwdriver, unscrew the 3.9mm screw located at the bottom of the camera straight down from the flash.
-
Using a spudger, gently pry off the blue face plate.
-
-
-
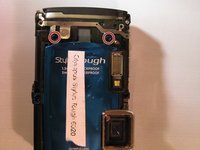
Using a Phillips 00 screwdriver, unscrew the 9mm screws on the top of the camera to the right of the flash.
-
-
-
Using a Phillips 00 screwdriver, unscrew the wide 3.5mm screw located in the middle of the camera.
-
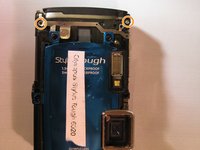
Using a Phillips 00 screwdriver, unscrew the 9mm screw located at the top left corner of the camera.
-
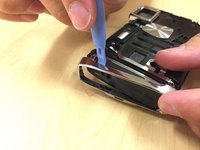
Using a spudger, separate the black plate from the camera.
-
-
-
-
Tool used on this step:Tweezers$4.99
-
Using tweezers, pull the white ribbon cable to disconnect it.
-
Using tweezers, pull the brown ribbon cable to disconnect it.
-
-
-
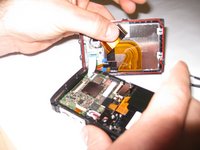
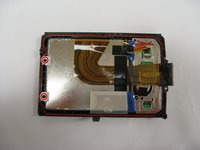
Using the Phillips #00 Screwdriver, unscrew the 3.9mm screws on the back left side of the LCD screen case.
-
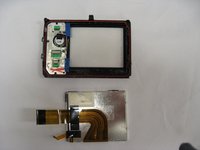
Using the spudger, gently pry the two screw holders from the LCD screen case.
-
Using your hands, gently push LCD through the LCD screen case.
-
-




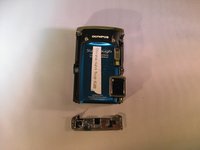


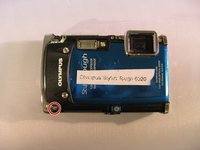
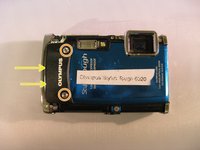
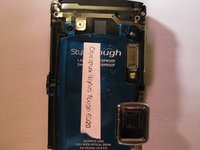




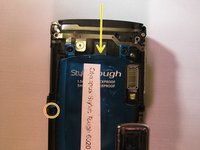
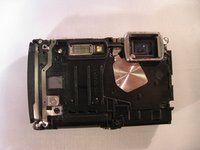


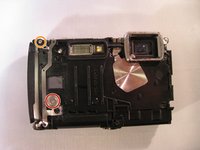
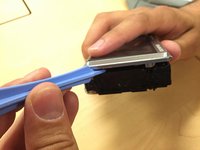


To reassemble your device, follow these instructions in reverse order.

Team

Eastern Washington University, Team 2-6, Matresse Spring 2015 Member of Eastern Washington University, Team 2-6, Matresse Spring 2015
EWU-MATRESSE-S15S2G6
4 Members
72 Guides authored
