Free Shipping on Domestic Orders $75+

Olympus Stylus 1030 SW Camera Disassembly

What you need

    1. Olympus Stylus 1030 SW Camera Disassembly, Olympus Stylus 1030 SW Camera Disassembly: step 1, image 1 of 3 Olympus Stylus 1030 SW Camera Disassembly, Olympus Stylus 1030 SW Camera Disassembly: step 1, image 2 of 3 Olympus Stylus 1030 SW Camera Disassembly, Olympus Stylus 1030 SW Camera Disassembly: step 1, image 3 of 3
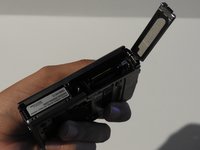
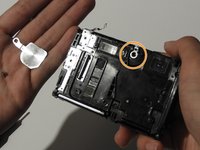
      • Using the iFixit Opening Tool, pry off the plastic part of the lens.

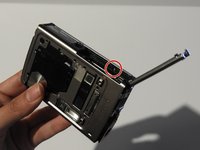
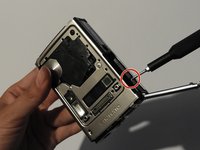
      • Using the T6 Torx screwdriver, unscrew the three screws.

      Ask FixBot

      Add Comment

    2. Olympus Stylus 1030 SW Camera Disassembly: step 2, image 1 of 3 Olympus Stylus 1030 SW Camera Disassembly: step 2, image 2 of 3 Olympus Stylus 1030 SW Camera Disassembly: step 2, image 3 of 3
      Tool used on this step:
      Tweezers
      $4.99
      Buy
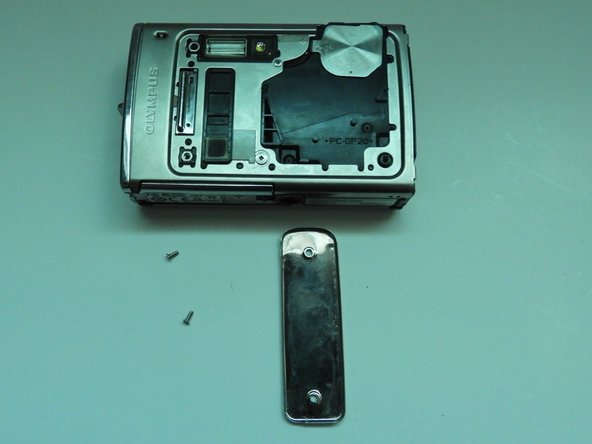
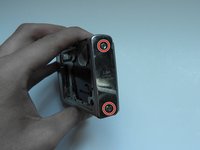
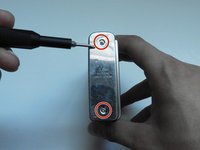
      • Using the Phillips #00 screwdriver, unscrew the three screws.

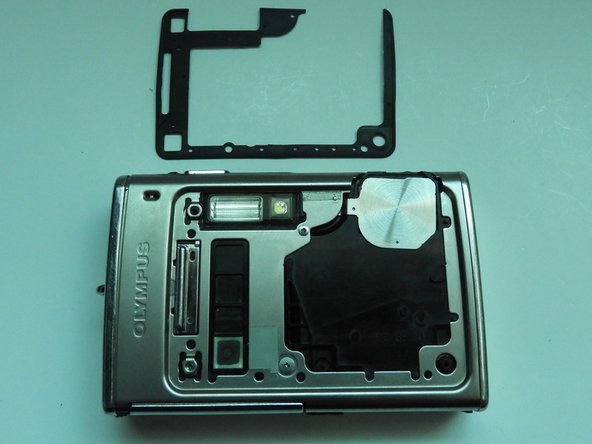
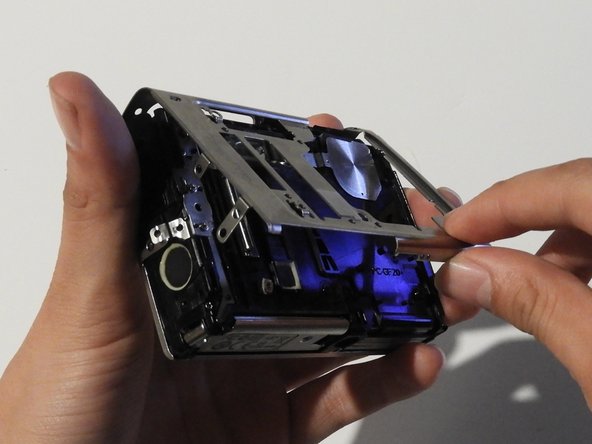
      • Carefully swivel the metal cover out towards you.

      • Using tweezers, remove the metal washer.

      Ask FixBot

      Add Comment

    3. Olympus Stylus 1030 SW Camera Disassembly: step 3, image 1 of 2 Olympus Stylus 1030 SW Camera Disassembly: step 3, image 2 of 2
      • Using the tweezers, slowly peel off the plate.

      Ask FixBot

      Add Comment

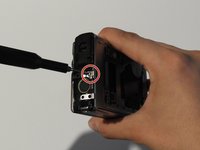
    4. Olympus Stylus 1030 SW Camera Disassembly: step 4, image 1 of 3 Olympus Stylus 1030 SW Camera Disassembly: step 4, image 2 of 3 Olympus Stylus 1030 SW Camera Disassembly: step 4, image 3 of 3
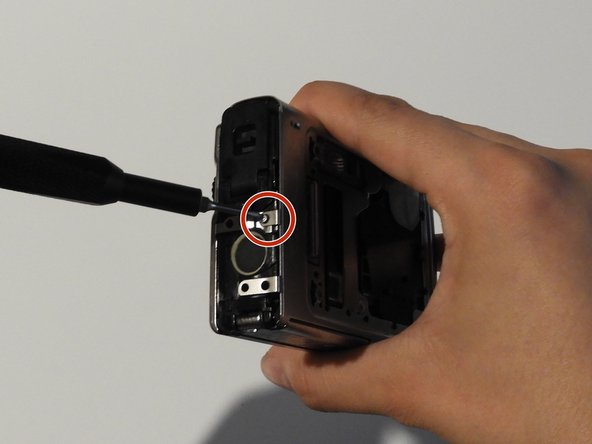
      • Using the Phillips #00 screwdriver, unscrew the two screws on the side of the camera.

      Ask FixBot

      Add Comment

    5. Olympus Stylus 1030 SW Camera Disassembly: step 5, image 1 of 3 Olympus Stylus 1030 SW Camera Disassembly: step 5, image 2 of 3 Olympus Stylus 1030 SW Camera Disassembly: step 5, image 3 of 3
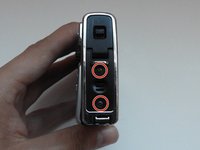
      • On the opposite side, use the Phillips #00 screwdriver to unscrew both screws.

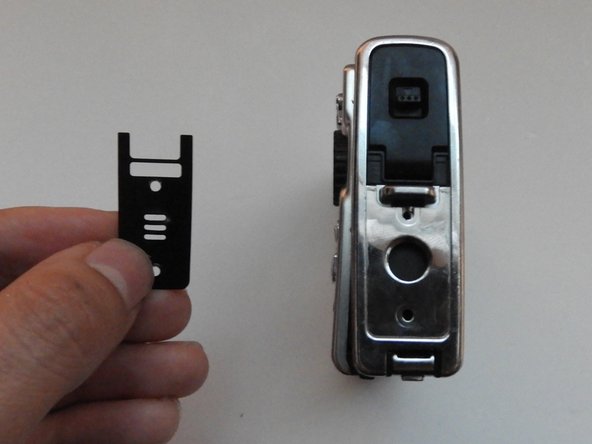
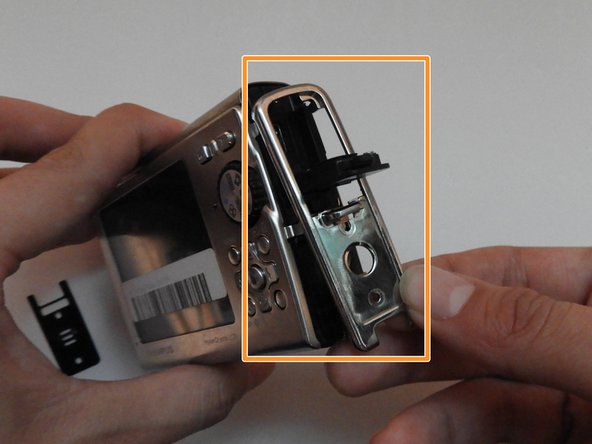
      • Take out the speaker plate.

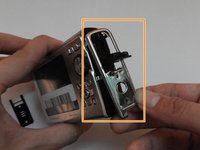
      • Open the multi-connector cover and slide off the side panel.

      Ask FixBot

      Add Comment

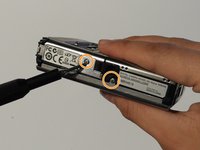
    6. Olympus Stylus 1030 SW Camera Disassembly: step 6, image 1 of 3 Olympus Stylus 1030 SW Camera Disassembly: step 6, image 2 of 3 Olympus Stylus 1030 SW Camera Disassembly: step 6, image 3 of 3
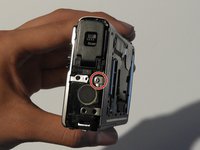
      • Using the Phillips #00 screwdriver, unscrew the screw above the speaker.

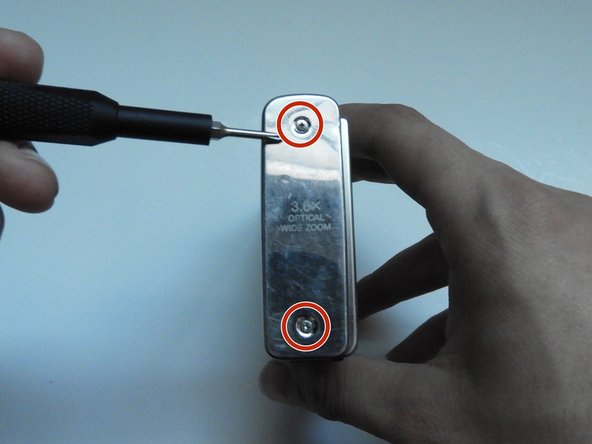
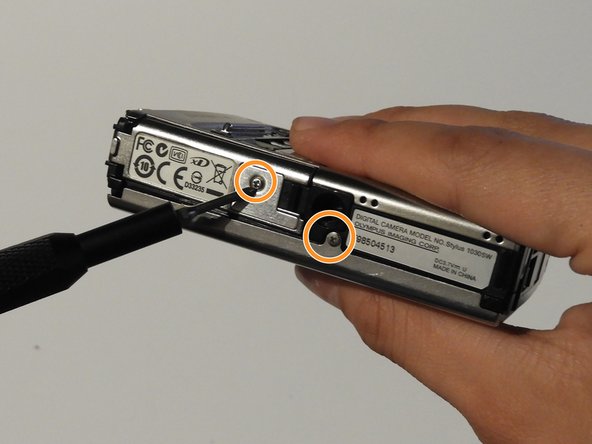
      • On the bottom side of the camera, unscrew the two screws.

      Ask FixBot

      Add Comment

    7. Olympus Stylus 1030 SW Camera Disassembly: step 7, image 1 of 3 Olympus Stylus 1030 SW Camera Disassembly: step 7, image 2 of 3 Olympus Stylus 1030 SW Camera Disassembly: step 7, image 3 of 3
      • Open the battery compartment cover.

      • Use the Phillips #00 screwdriver to unscrew the screw in the battery compartment.

      Ask FixBot

      Add Comment

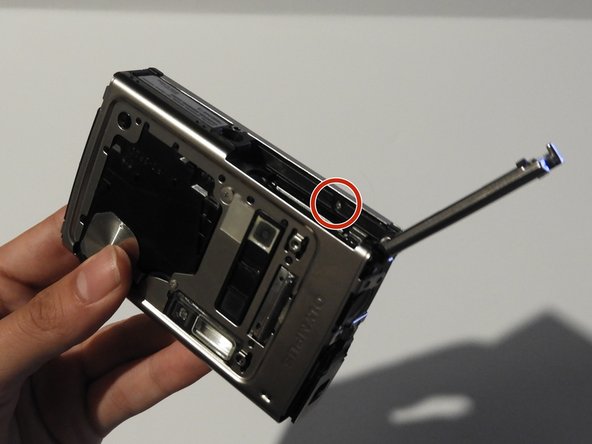
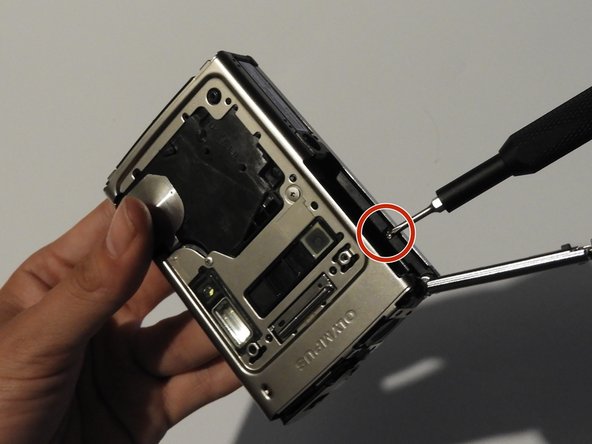
    8. Olympus Stylus 1030 SW Camera Disassembly: step 8, image 1 of 3 Olympus Stylus 1030 SW Camera Disassembly: step 8, image 2 of 3 Olympus Stylus 1030 SW Camera Disassembly: step 8, image 3 of 3
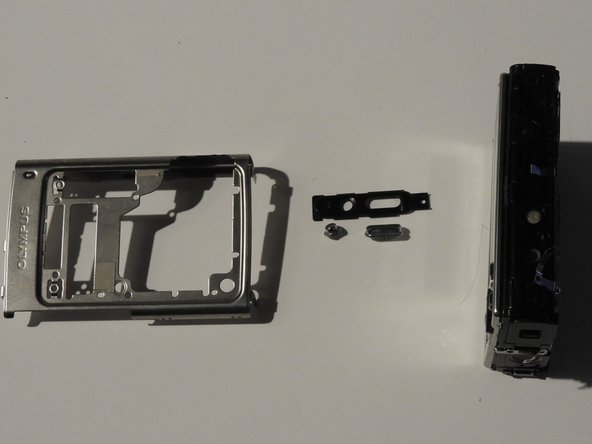
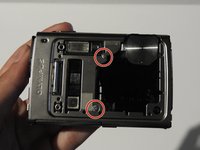
      • On the front of the camera, unscrew the two screws shown.

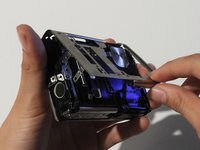
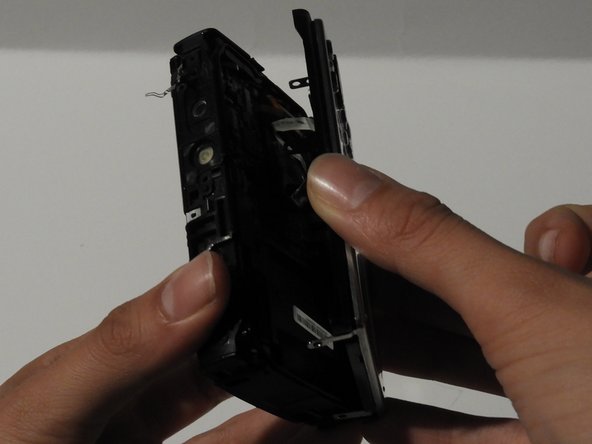
      • Gently pull on the side until the camera is separated from the back panel.

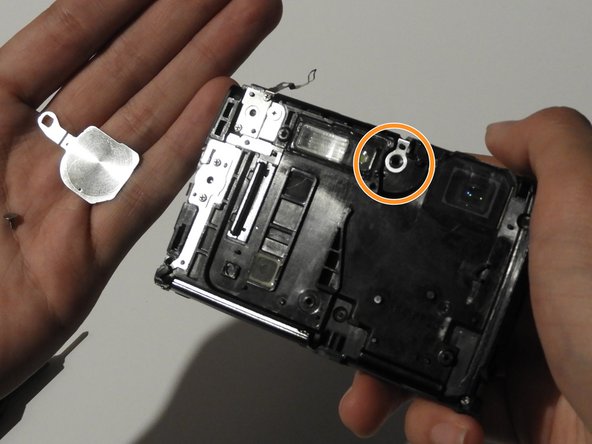
      • Remove the shutter and power button.

      Ask FixBot

      Add Comment

    9. Olympus Stylus 1030 SW Camera Disassembly: step 9, image 1 of 3 Olympus Stylus 1030 SW Camera Disassembly: step 9, image 2 of 3 Olympus Stylus 1030 SW Camera Disassembly: step 9, image 3 of 3
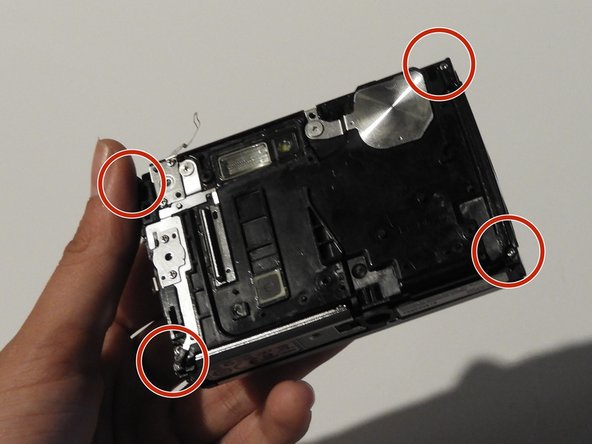
      • Use the Phillips #00 screwdriver to unscrew the four screws on the front of the camera.

      • Unscrew the shutter using the Phillips #00 screwdriver.

      Ask FixBot

      Add Comment

    10. Olympus Stylus 1030 SW Camera Disassembly: step 10, image 1 of 2 Olympus Stylus 1030 SW Camera Disassembly: step 10, image 2 of 2
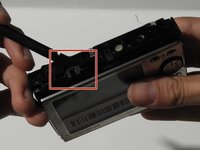
      • Release the top holding using a spudger.

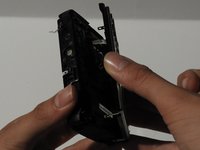
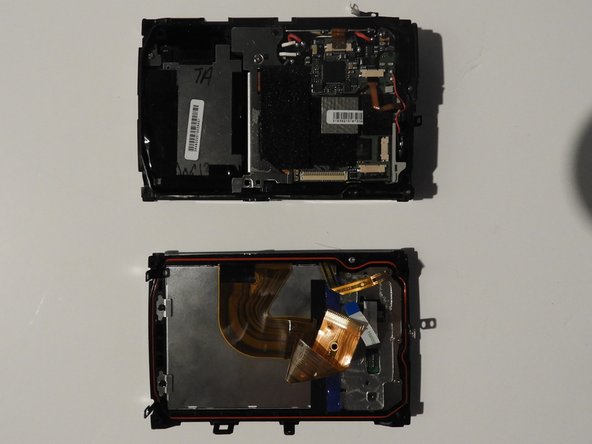
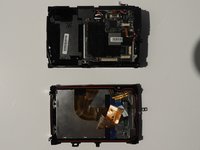
      • Slowly and carefully separate the front and back of the camera, exposing the electrical ribbons.

      Ask FixBot

      Add Comment

    11. Olympus Stylus 1030 SW Camera Disassembly: step 11, image 1 of 3 Olympus Stylus 1030 SW Camera Disassembly: step 11, image 2 of 3 Olympus Stylus 1030 SW Camera Disassembly: step 11, image 3 of 3
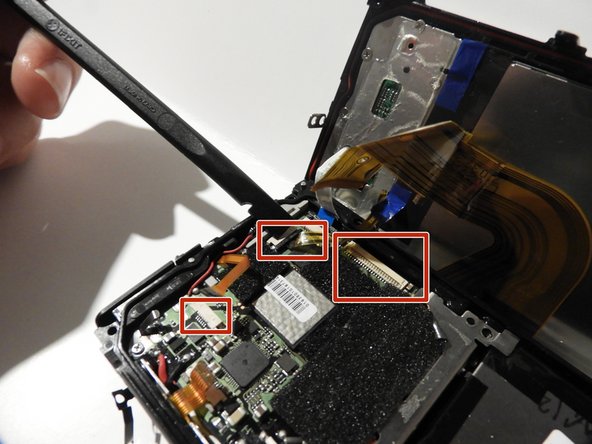
      • Using the spudger and tweezers if needed, remove the ribbons from the computer chips.

      Ask FixBot

      Add Comment

Conclusion

To reassemble your device, follow these instructions in reverse order.

Cancel: I did not complete this guide.

One other person completed this guide.

0 Guide Comments

Add Comment

View Statistics:

Past 24 Hours: 0

Past 7 Days: 10

Past 30 Days: 42

All Time: 3,530