Introduction
Use this guide to replace a damaged back case, or open the case to access other components of your camera.
We highly suggest you use a magnetic project mat or an organization tray. This camera has many different types of screws and keeping them organized is key to proper reassembly.
What you need
-
-
-
Use a Phillips #00 screwdriver to remove the six 2 mm screws on the bottom of the camera.
 Ask FixBot
-
-
-
Remove the two 4 mm reverse threaded Phillips screws from the bottom of the camera.
-
-
-
Use a Phillips #00 screwdriver to remove the 5 mm screw near the left hand grip.
-
-
-
Use a Phillips #00 screwdriver to remove the 5 mm screw near the right hand grip.
-
-
-
Flip open the LCD.
-
Use a Phillips #00 screwdriver to remove the 2 mm screw beneath the LCD assembly.
-
-
-
Use a Phillips #00 screwdriver to remove the four 6.3 mm screws from the lens mount.
-
-
-
-
Press and hold the lens release button while using tweezers to remove the lens hook.
-
Use tweezers to remove the spring underneath the lens hook.
-
-
-
Use a Phillips #00 screwdriver to remove the four 4 mm screws from the external flash port.
-
-
-
Use a Phillips #00 screwdriver to remove the two 6.4 mm screws.
-
Remove the 2 mm Phillips screw.
-
-
-
Remove the two 3.8 mm Phillips screws from the sides of the external flash connector.
-
-
-
To remove the ribbon holding the back case to the camera, use the pointed end of a spudger to flip back the top bar on top of the ZIF connector.
-
-


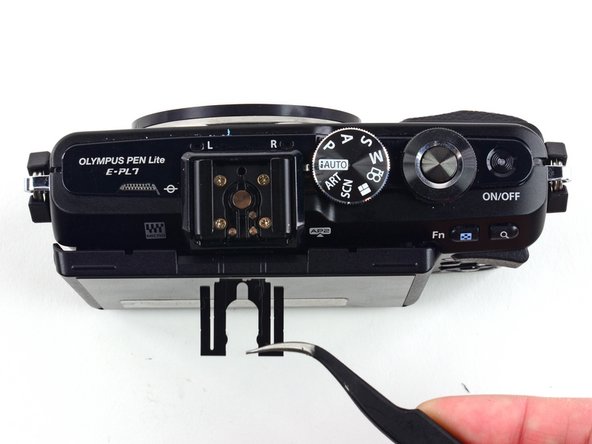


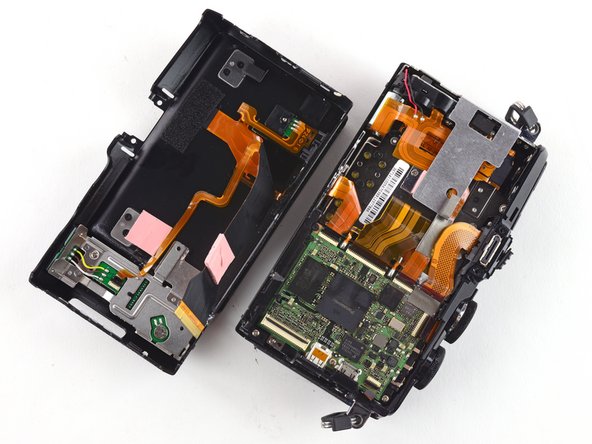


To reassemble your device, follow these instructions in reverse order.
Cancel: I did not complete this guide.
4 other people completed this guide.

2 Guide Comments
Loads of screws that don’t need to be removed just to remove the rear case.
Omit step 3,
Omit steps 6 to 13
Omit step 18
Take great care not to pull on ribbon cables
I should have read the comments first XD
One arm screws holding the Screen, the screws lost contact to the arm.
I did all steps, it worked perfectly!
At Step 3 the plastic parts holding the HDMI Cover fell out and I had to find out how to get it in again, but i figured it out with the good pictures here!
Thanks for that awesome work!
