
Oculus Rift DK1 Control Box Buttons Replacement

Ross De Vito and 6 other contributors
Last updated on May 7, 2024
Views: 1.2K
View statistics:
- Past 24 Hours:
- 2
- Past 7 Days:
- 19
- Past 30 Days:
- 94
- All Time:
- 1,152
Comments: 0
No one has left comments on this guide. Will you be first?
Go to guide commentsCompleted: 0 1
No one has marked this guide "completed." Will you be the first?
1 person has marked this guide "completed." It's you — great job!
Favorites: 0 1
No one has favorited (and subscribed to) this guide. Will you be the first?
1 person has favorited (and subscribed to) this guide — and that's you!
Introduction
Go to step 1 ↓The following steps will guide you in how to replace the buttons on the motherboard of the Oculus Rift. Removing and replacing the buttons requires a high level of skill in desoldering and soldering. We have linked to iFixit and other outside resources on how to desolder and solder, but previous experience is recommended.
What you need
Tools


-
-
-
Use a plastic opening tool to carefully pry off the four rubber feet from the control box.
-
You have now revealed the four 9 mm Phillips #1 screws underneath the rubber feet.
 Ask FixBot
-
-
-
Use a Phillips #1 Screwdriver to unscrew the four 9mm Phillips screws on the bottom of the control box.
-
You can now remove the bottom lid of the control box. It should come apart easily.
-
-
-
-
-
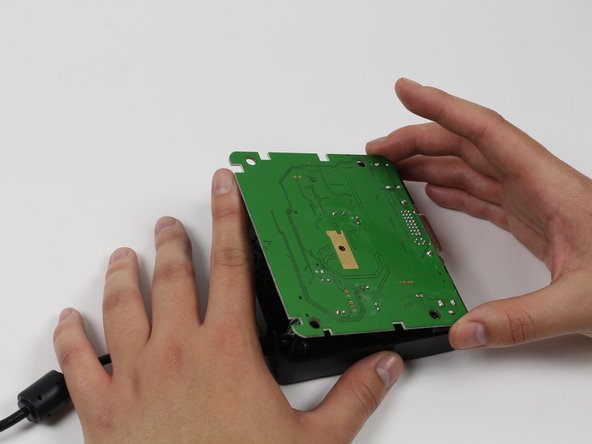
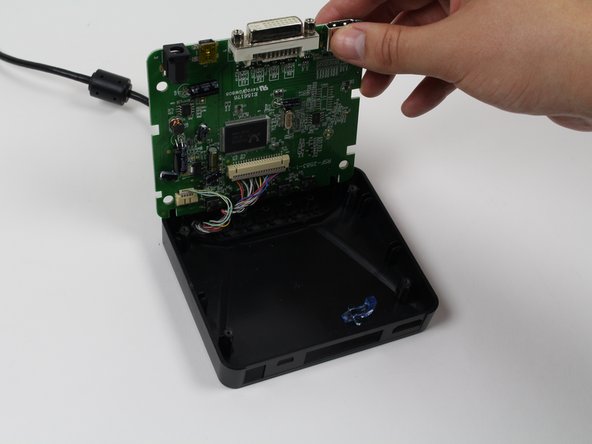
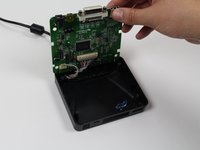
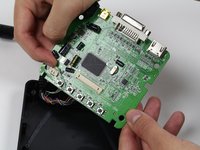
Use your finger(s) to start lifting the motherboard from the control box casing. While doing so, use your other hand to push the DVI connector into the control box casing.
-
When the DVI connector has cleared the casing, lift the motherboard.
-
-
-
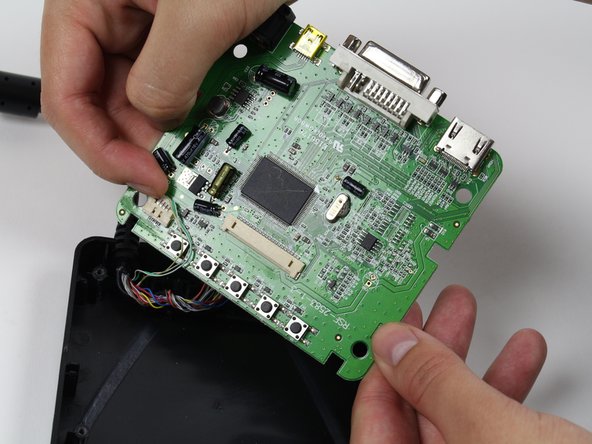
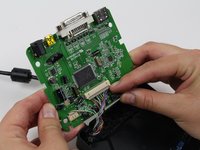
Use a plastic opening tool or your fingernails to disconnect the grey wire connectors. To make removal easier, pry the left and right edges to carefully remove the connector.
-
Do so for both of the wires attached to the motherboard.
-
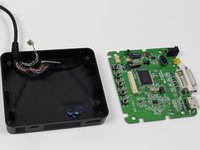
Now fully separate the motherboard from the control box casing.
-
-
-
-
-
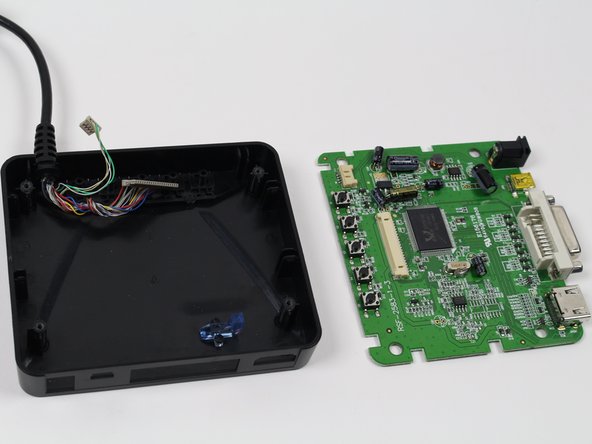
You now have the motherboard separated from the control box.
-
Identify the buttons that are not working.
-
-
-
-
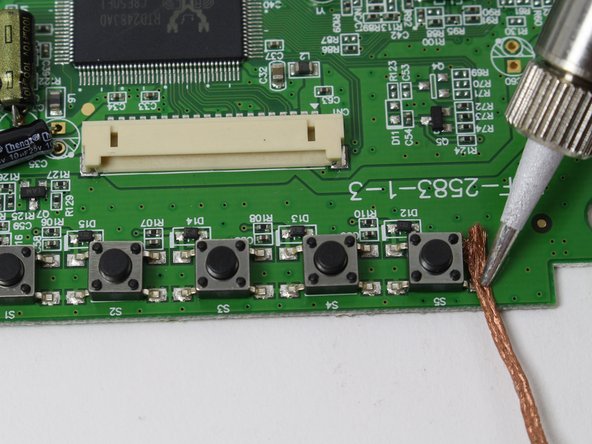
For each button that needs to be replaced, use a soldering iron and soldering braid to desolder the four metal points.
-
-
Tool used on this step:Tweezers$4.99
-
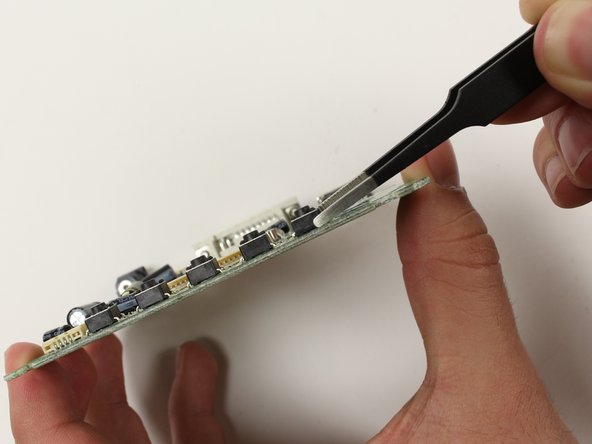
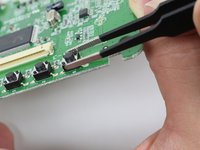
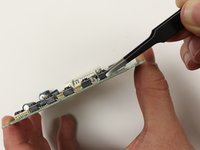
Now that each button with issues is desoldered, use tweezers to grab each button and detach from the motherboard.
-
If the button does not come off easily, go back to the previous step and ensure each of the four metal points are properly desoldered.
-
-






To reassemble your device, follow these instructions in reverse order.

Team

Cal Poly, Team 70-5, Forte Winter 2015 Member of Cal Poly, Team 70-5, Forte Winter 2015
CPSU-FORTE-W15S70G5
4 Members
72 Guides authored
