Introduction
This is the foam component of the headset that touches the user's face. The interface also includes the frame with the attached lycra. You will need the iFixit opening tool and a T3 screwdriver for this replacement.
What you need
-
-
Pull firmly from the top of the headset facial interface to remove the foam frame.
 Ask FixBot
-
-
-
-
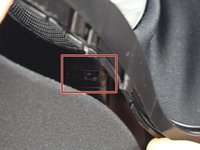
Insert the spudger underneath the edge of the lens on the left or right side.
-
Slide the spudger upwards and around the edge of the frame to undo the tabs underneath.
-
Repeat for the other side of the frame.
-
-
-
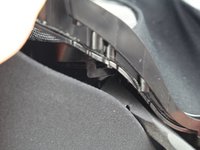
Lift up the frame to see a tab hidden underneath the lycra mesh along the edge of the lens.
-
Pull up on the tab with the spudger.
-
Repeat for the corresponding tab on the other lens.
-
-
-
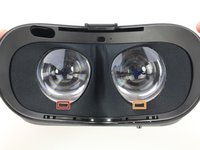
Lift up on the plastic frame around the lens.
-
Slide a finger around the inside edge, pulling outward from the center of the lens to release the other tabs.
-
Repeat for the frame on the other lens.
-


To reassemble your device, follow these instructions in reverse order.
Cancel: I did not complete this guide.
One other person completed this guide.
Team

Cal Poly, Team S18-G4, White Winter 2019 Member of Cal Poly, Team S18-G4, White Winter 2019
CPSU-WHITE-W19S18G4
3 Members
10 Guides authored