Free Shipping on Domestic Orders $75+

OLPC XO-1.5 Power Button Replacement

What you need

    1. OLPC XO-1.5 Power Button Replacement, Battery: step 1, image 1 of 1
      • Place the laptop upside down with the handle away from you.

      Ask FixBot

      Add Comment

    2. OLPC XO-1.5 Power Button Replacement: step 2, image 1 of 1
      • Slide the tabs out, towards the green edges, to show the open lock symbol.

      • The right tab will stay in place, but the left tab must be held in position while you remove the battery.

      Ask FixBot

      Add Comment

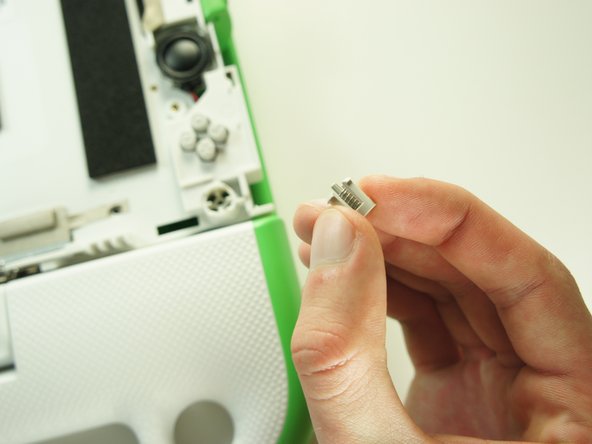
    3. OLPC XO-1.5 Power Button Replacement: step 3, image 1 of 3 OLPC XO-1.5 Power Button Replacement: step 3, image 2 of 3 OLPC XO-1.5 Power Button Replacement: step 3, image 3 of 3
      • Lift the middle of the battery to remove it.

      Ask FixBot
      Add Comment

    1. OLPC XO-1.5 Power Button Replacement, Screen: step 4, image 1 of 3 OLPC XO-1.5 Power Button Replacement, Screen: step 4, image 2 of 3 OLPC XO-1.5 Power Button Replacement, Screen: step 4, image 3 of 3
      • Turn the laptop so it is resting on its bottom.

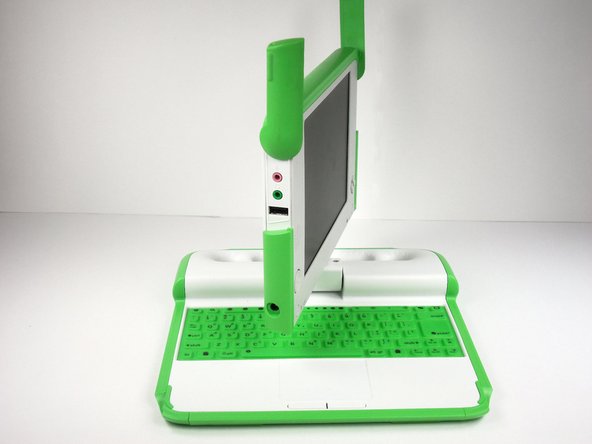
      • Open the laptop by rotating the green wings on the side up, then lifting the top half of the laptop.

      • Rotate the top half of the laptop about 90 degrees.

      Ask FixBot

      Add Comment

    2. OLPC XO-1.5 Power Button Replacement: step 5, image 1 of 2 OLPC XO-1.5 Power Button Replacement: step 5, image 2 of 2
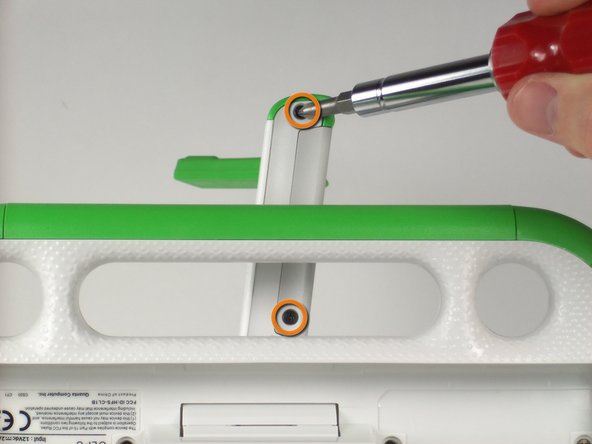
      • Turn the laptop upside down, so you can see the screws on the bottom of the top half.

      • Remove the two 4mm screws with a Phillips #1 screwdriver.

      • Rotate the top half 180 degrees.

      • Remove the two 4mm screws with a Phillips #1 screwdriver.

      Ask FixBot

      Add Comment

    3. OLPC XO-1.5 Power Button Replacement: step 6, image 1 of 1
      • Rotate the top of the laptop 90 degrees, so that it is facing you again.

      • Slide the green pieces off the device. They should come off easily.

      Ask FixBot

      Add Comment

    4. OLPC XO-1.5 Power Button Replacement: step 7, image 1 of 3 OLPC XO-1.5 Power Button Replacement: step 7, image 2 of 3 OLPC XO-1.5 Power Button Replacement: step 7, image 3 of 3
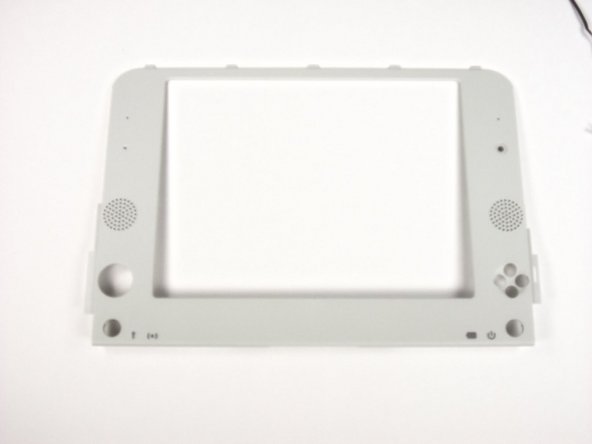
      • Pull down on the white screen cover. It does not require much force.

      • Remove the screen cover.

      • The game pad on the left sometimes falls during this step.

      Ask FixBot

      Add Comment

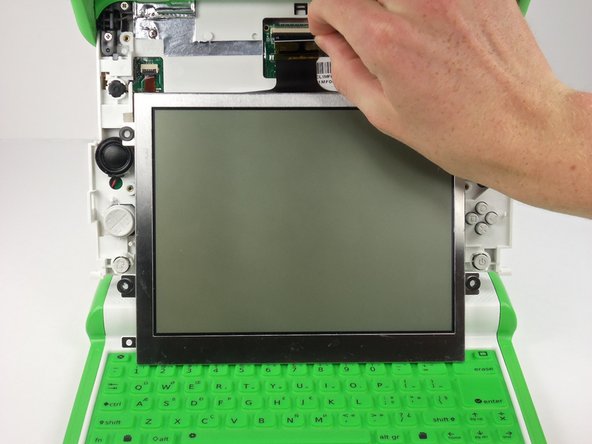
    5. OLPC XO-1.5 Power Button Replacement: step 8, image 1 of 2 OLPC XO-1.5 Power Button Replacement: step 8, image 2 of 2
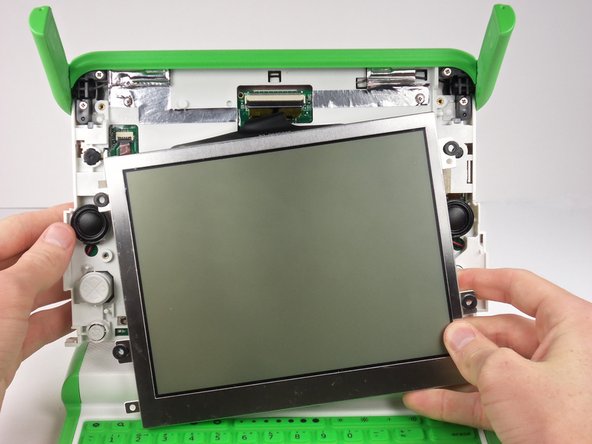
      • Unscrew the four 7.62mm Phillips #1 screws on either side of the screen.

      • The screen is still connected by ribbon cables. You can damage the cables if you remove the screen before disconnecting the cables.

      • Move the screen down a little to expose the ribbon cables.

      Ask FixBot
      Add Comment

    6. OLPC XO-1.5 Power Button Replacement: step 9, image 1 of 3 OLPC XO-1.5 Power Button Replacement: step 9, image 2 of 3 OLPC XO-1.5 Power Button Replacement: step 9, image 3 of 3
      • Flip up the tab right under the middle top of the screen.

      • Pull the black ribbon cable out of the socket.

      Ask FixBot

      Add Comment

    7. OLPC XO-1.5 Power Button Replacement: step 10, image 1 of 2 OLPC XO-1.5 Power Button Replacement: step 10, image 2 of 2
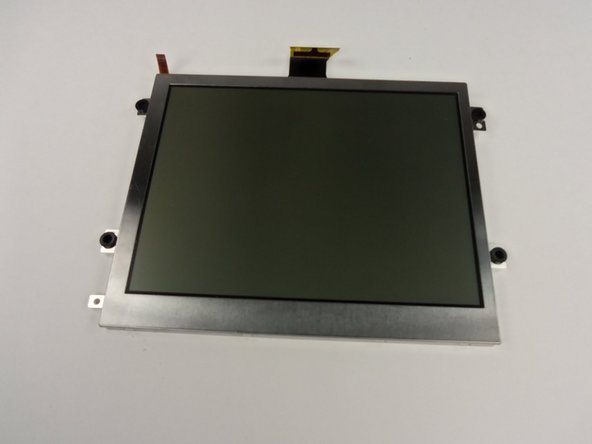
      • Flip up the smaller tab under the left side of the screen.

      • Remove the small cable to separate the screen from the rest of the laptop.

      • Gently remove the screen.

      Ask FixBot

      Add Comment

    1. OLPC XO-1.5 Power Button Replacement, Wireless Card: step 11, image 1 of 1
      • Remove the four 4mm Phillips #1 screws that hold the top cover to the case.

      Ask FixBot

      Add Comment

    2. OLPC XO-1.5 Power Button Replacement: step 12, image 1 of 2 OLPC XO-1.5 Power Button Replacement: step 12, image 2 of 2
      • Close the lid and rotate the device 180°.

      • Press firmly on the top two corners of the outside cover. Then slide it down, away from the antennas.

      Ask FixBot

      Add Comment

    3. OLPC XO-1.5 Power Button Replacement: step 13, image 1 of 2 OLPC XO-1.5 Power Button Replacement: step 13, image 2 of 2
      • Remove the five 4mm Phillips #1 screws securing the EMI shield to the motherboard.

      • Gently lift up and remove the EMI shield.

      Ask FixBot

      Add Comment

    4. OLPC XO-1.5 Power Button Replacement: step 14, image 1 of 1
      • Gently remove the two antenna cables by lightly pulling the cable connectors up.

      Ask FixBot

      Add Comment

    5. OLPC XO-1.5 Power Button Replacement: step 15, image 1 of 2 OLPC XO-1.5 Power Button Replacement: step 15, image 2 of 2
      • Remove the two 5mm Phillips #1 screws holding the wireless card to the motherboard.

      • The wireless card will pop up at an angle.

      Ask FixBot

      Add Comment

    6. OLPC XO-1.5 Power Button Replacement: step 16, image 1 of 1
      • Remove the wireless card by gently lifting it out of the socket.

      Ask FixBot

      Add Comment

    1. OLPC XO-1.5 Power Button Replacement, Motherboard: step 17, image 1 of 3 OLPC XO-1.5 Power Button Replacement, Motherboard: step 17, image 2 of 3 OLPC XO-1.5 Power Button Replacement, Motherboard: step 17, image 3 of 3
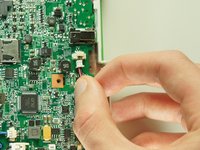
      • Disconnect the five cables that connect the motherboard to the case by pulling them straight out of their sockets.

      • The motherboard is still attached to the case by a microphone cable. Do not remove the motherboard or you will damage the cable.

      Ask FixBot

      Add Comment

    2. OLPC XO-1.5 Power Button Replacement: step 18, image 1 of 1
      • Rotate the device 180° and open the lid.

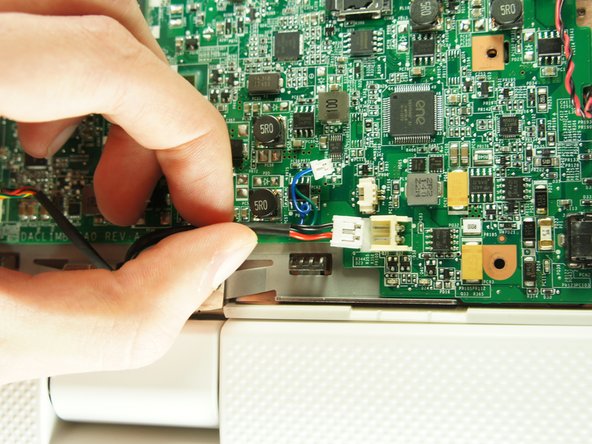
      • Disconnect the microphone cable by pulling its connector straight out of its socket on the motherboard.

      Ask FixBot

      Add Comment

    3. OLPC XO-1.5 Power Button Replacement: step 19, image 1 of 3 OLPC XO-1.5 Power Button Replacement: step 19, image 2 of 3 OLPC XO-1.5 Power Button Replacement: step 19, image 3 of 3
      • Close the lid and rotate the device 180°.

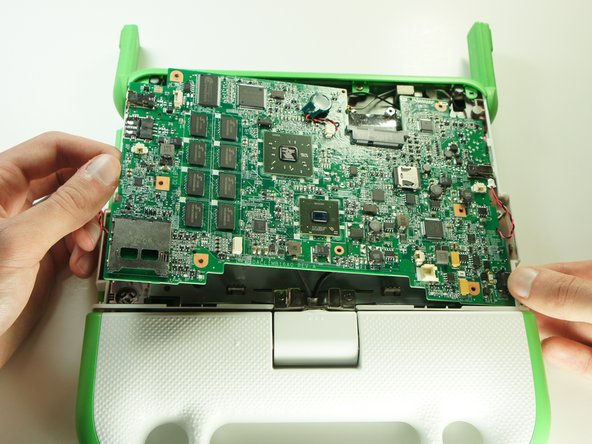
      • Lift the left edge of the motherboard and remove it from the case.

      • Make sure that the microphone and headphone jack don't catch on the case as you are removing the motherboard.

      Ask FixBot

      Add Comment

    1. OLPC XO-1.5 Power Button Replacement, Power Button: step 20, image 1 of 3 OLPC XO-1.5 Power Button Replacement, Power Button: step 20, image 2 of 3 OLPC XO-1.5 Power Button Replacement, Power Button: step 20, image 3 of 3
      • Push the four power button retaining clips through the bottom of the case with the tip of a screwdriver.

      • Open the lid, rotate it 180° degrees, and close it again.

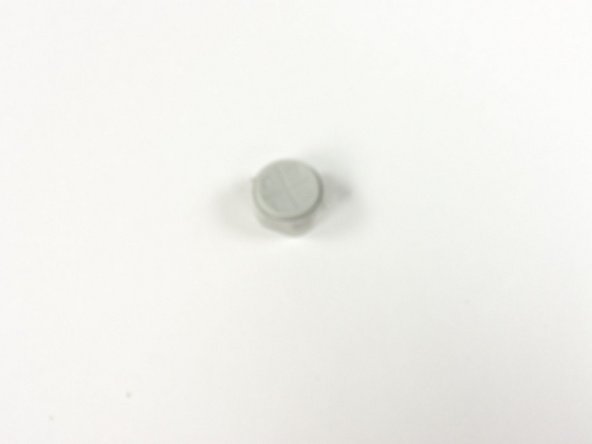
      • Be careful not to lose the small spring that sits inside the power button.

      Ask FixBot

      Add Comment

Conclusion

To reassemble your device, follow these instructions in reverse order.

Cancel: I did not complete this guide.

Wei Xia

Member since: 01/25/13

518 Reputation

5 Guides authored

Team

Cal Poly, Team 3-28, Amido Winter 2013 Member of Cal Poly, Team 3-28, Amido Winter 2013

CPSU-AMIDO-W13S3G28

3 Members

60 Guides authored

0 Guide Comments

Add Comment

View Statistics:

Past 24 Hours: 2

Past 7 Days: 13

Past 30 Days: 92

All Time: 746