Introduction
Replace the screen in your Nurian R9 with this guide. Requires teardown and reassembly of device.
What you need
-
-
Locate battery door on the back of the device. Push the switch underneath the door to the unlock position. Remove battery door and batteries.
 Ask FixBot
-
-
-
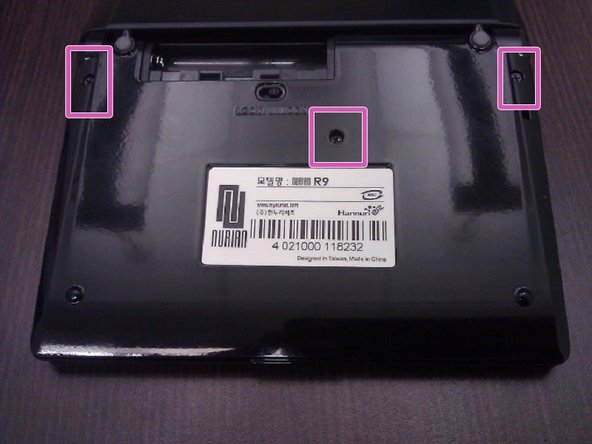
Remove 3 black screws from back of device with the screwdriver. Set screws aside in a jewelry rack or other safe place.
-
-
-
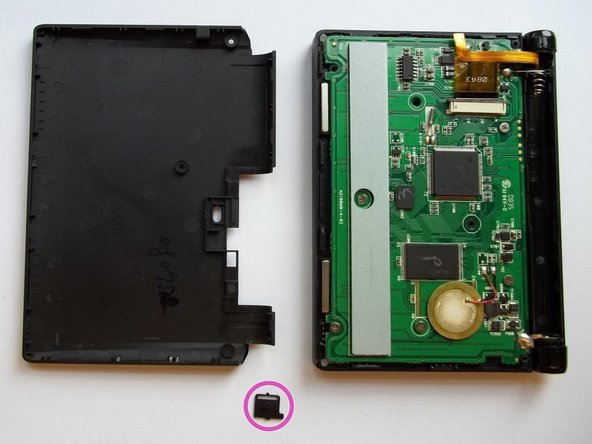
Use spudger (black tool) to remove black plastic back of the device. Take care when removing the back of the device. The plastic tabs under the back are fragile and may break while prying with the spudger.
-
Take care not lose the lock/unlock switch as it is freed from the back of the device. (This is the same switch you used to open the battery door in step 1; it's marked in pink in the second photo).
-
-
-
Carefully remove the ribbon from motherboard. Grip the ribbon clip carefully by prying from each side. Set clip (marked with pink) aside in a safe place.
-
-
-
Open the device.
-
Separate the keyboard half and the screen half by sliding them in opposite directions.
-
Place the keyboard half aside in a safe place.
-
-
-
-
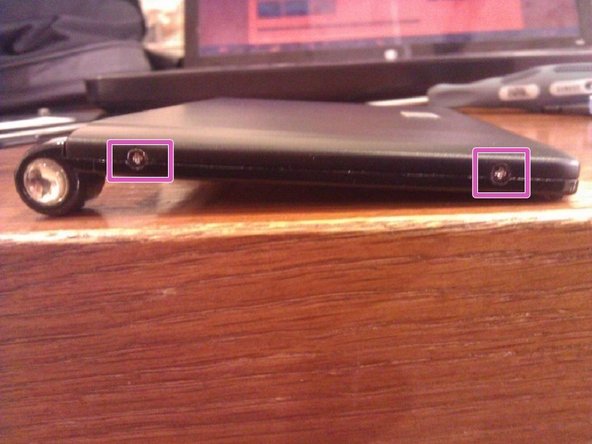
Remove the 4 silver screws from the sides of the screen with the screwdriver. There are two screws on each side. Set screws aside.
-
-
-
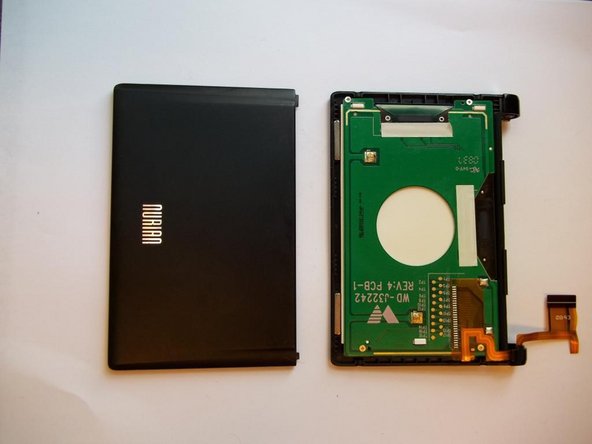
Remove the plastic cover from the back of the screen using the plastic opening tool. Again, use caution.
-
It is easier to separate the cover if you start prying from the corner opposite the hinge.
-
-
-
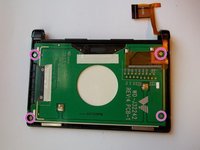
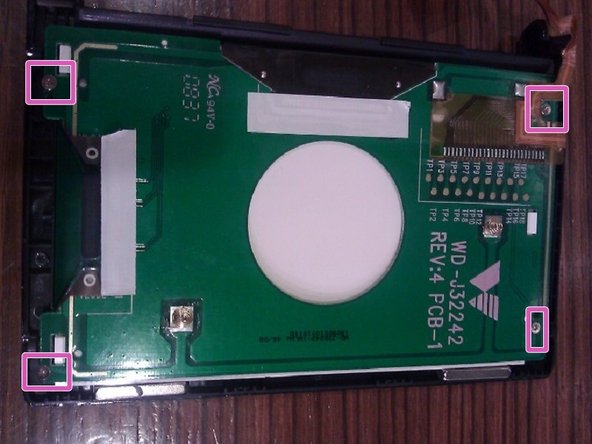
Remove the 4 silver screws from the circuit board using the screwdriver. Set screws aside.
-
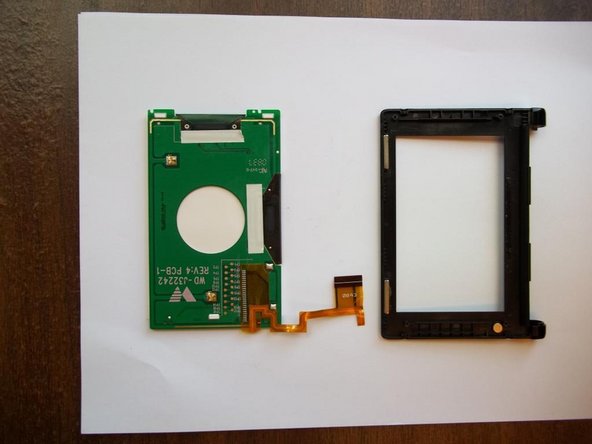
Remove screen and circuit board from the black frame with your hand; it should come easily.
-
-
-
Fit the replacement screen into the black frame.
-
The ribbon should lay on the same side as the hinge.
-
Make sure the screw holes in the circuit board line up with screw holes in the black frame.
-
Fasten the screen and circuit board to the black frame with the four silver screws.
-
Be careful not to lose these screws when screwing them back in. They are very small and hard to handle.
-
-
-
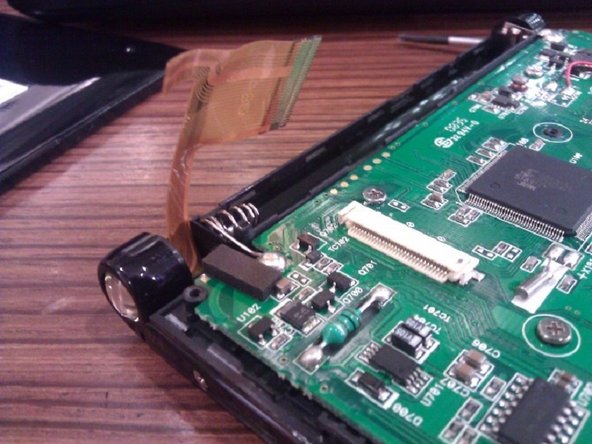
Fit ribbon back into the hinge slot as shown in the first photo.
-
Insert the cover's plastic teeth (shown in the second photo) into the slot in the hinge.
-
Fasten the cover to the the rest of the screen frame with the four silver screws (two on each side).
-
Be careful because, again, the screws are very small.
-
-
-
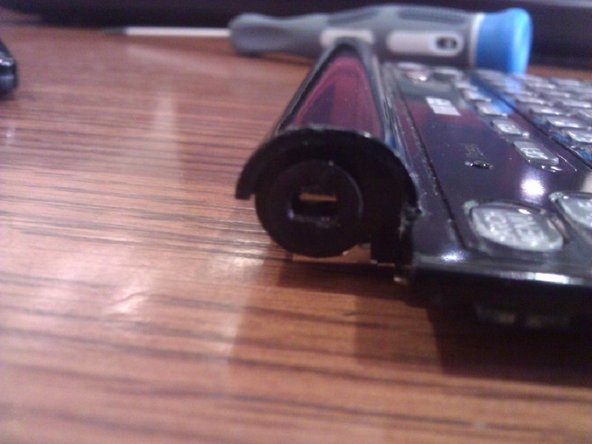
Reattach the two halves along the hinge by sliding the screen half's silver tooth (shown in the first photo) into the keyboard half's rectangular slot (shown in the second photo).
-
Be sure that ribbon realigns with the motherboard (as shown in the third photo).
-
-
-
Fit the ribbon into the white connection piece on the motherboard.
-
Slide the legs of the gray plastic piece into the tiny slots in the white connection piece so that the ribbon is held under gray piece's U-shaped groove.
-
-
-
Fit the lock/unlock switch into the slot in the back case before attaching the case to the motherboard.
-
Fasten back cover to the motherboard with the three black screws.
-
-
-
Insert batteries into slot.
-
Slide teeth of battery cover into slots.
-
Switch the lock/unlock switch to the lock position.
-


To reassemble your device, follow these instructions in reverse order.