-
-
-
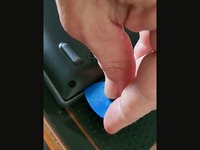
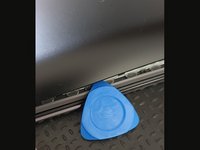
Open the back cover carefully using a plastic tool that will not damage the cover.
-
Start at the bottom.
-
Continue along the lid
-
-
-
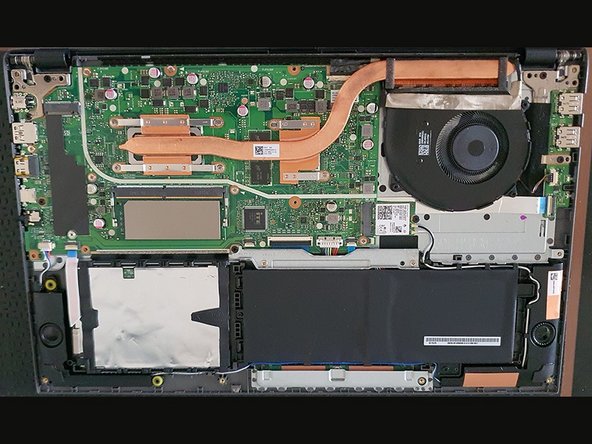
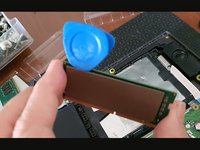
Remove the installed memory.
-
Remove the heatsinks (on both sides)
-
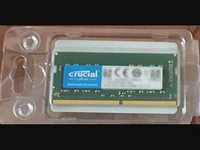
Install the new memory
-
-
-
Put back the cover pressing along the lid
-
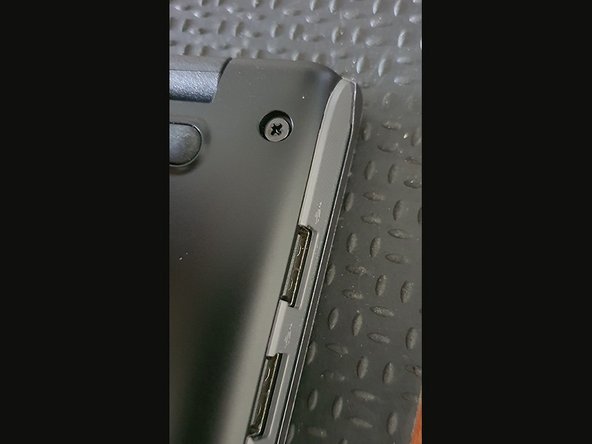
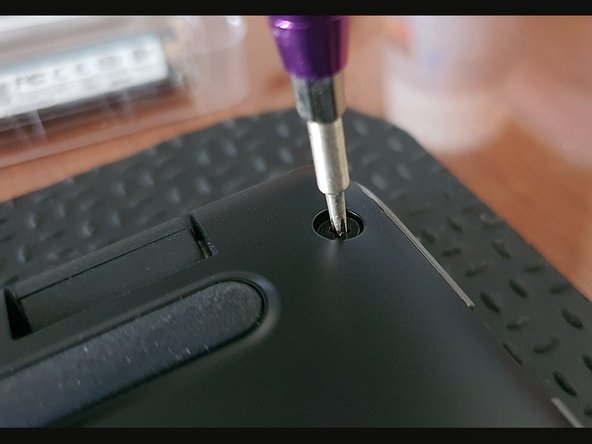
put all the screws back
-
Thats all!
-


Conclusion
To reassemble your device, follow these instructions in reverse order.
Cancel: I did not complete this guide.
One other person completed this guide.
