Introduction
Installing a new antenna may be necessary if you are having trouble sending and receiving calls. Installation should only be done as a last resort, after trying all other possible solutions as listed in the Nokia 8290 Troubleshooting Guide. Installation requires no prior knowledge of mobile phone antennas.
What you need
-
-
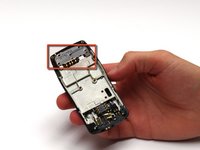
Locate the small button on the top of the phone.
-
Depress the button.
-
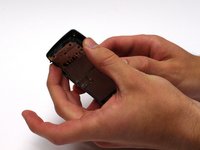
With your other hand, pull the front cover away from the phone.
-
-
-
-
Remove all six 5.3 mm long T6 screws.
-
Remove the circuit board/faceplate sub-assembly from the back of the phone.
-


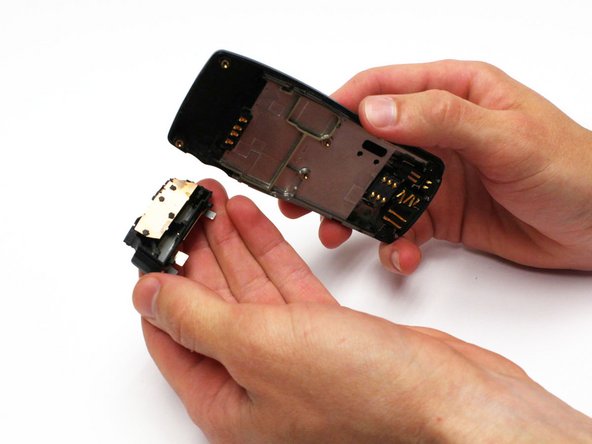


To reassemble your device, follow these instructions in reverse order.
Team

Clemson, Team 15-3, Benson Fall 2012 Member of Clemson, Team 15-3, Benson Fall 2012
CLEM-BENSON-F12S15G3
3 Members
22 Guides authored