
Nokia 6 Midframe Replacement

Chrissy Robins and 5 other contributors
Last updated on May 11, 2021
Views: 1K
View statistics:
- Past 24 Hours:
- 2
- Past 7 Days:
- 15
- Past 30 Days:
- 57
- All Time:
- 1,017
Comments: 9
9 comments on steps.
Completed: 1 2
1 person has marked this guide "completed." Will you be next?
2 people have marked this guide "completed." Including you — great job!
Favorites: 0 1
No one has favorited (and subscribed to) this guide. Will you be the first?
1 person has favorited (and subscribed to) this guide — and that's you!
Introduction
Go to step 1 ↓If your Nokia 6 (identified with model number TA-1025) phone screen is not displaying properly, use this guide to replace your midframe. It’s a simple process and can be done fairly quickly.
You may need to replace your midframe if it is bent or is preventing you from using your screen in a functional manner.
Step 3 of this guide requires you to use a heat gun tool used to loosen the adhesive attached to the display. Read the directions and wear proper protective gear to avoid burning yourself.
Before starting your repair process, be sure to power off your phone completely and disconnect it from any external power source.
What you need
Tools
-
-
-
-
Spudger4.9
-
-


-
-
-
Insert the SIM card ejection tool into the hole on the left side of the phone.
-
Remove the SIM card and microSD card.
 Ask FixBot
-
-
-
Lay overlapping strips of clear packing tape over the Nokia 6's display until the whole screen is covered.
-
-
-
To soften the adhesive, use a heat gun and heat one edge of the phone for five minutes.
-
To use the heat gun, plug it into an outlet.
-
-
-
Take a Jimmy and slide it under the glass after the adhesive has been softened.
-
Place a pick under the glass after lifting with the pry tool so that the screen won't re-adhere to the frame again.
-
-
-
-
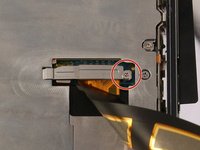
Use a Phillips #000 screwdriver to remove the 1 mm x 1.4 mm screw holding down the metal bracket over the screen ribbon connector.
-
-
-
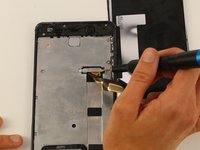
Use a spudger to disconnect the screen ribbon connector and free the display assembly.
-
Carefully remove the screen from the device.
-
-
-
-
Tool used on this step:Tweezers$4.99
-
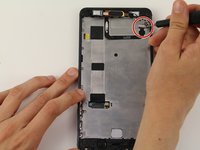
Use a Phillips #00 screwdriver to remove the 1.2 mm x 2.2 mm screw in the upper hand corner of the phone.
-
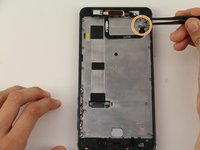
Use tweezers to remove the bracket.
-
-
-
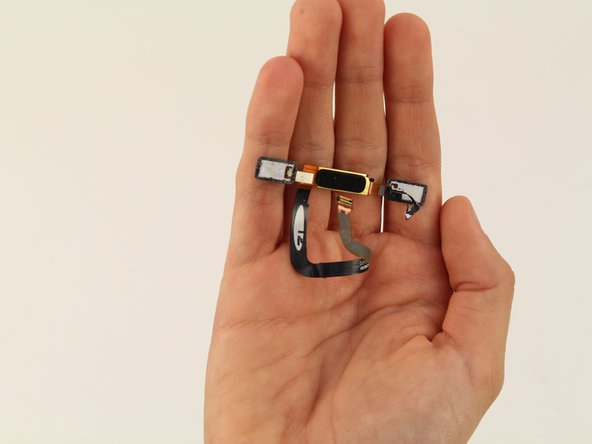
Detach the cable with the black nylon spudger.
-
Detach the home button and remove it from the device.
-
-
-
-
Remove 18 screws.
-
There is one 1 mm x 1.4 mm screw that needs to be removed by a Phillips #000 screwdriver.
-
One of the screws is 1.2 mm x 4.2 mm and will be removed by a Phillips #00.
-
The remaining 16 screws can be removed by the Phillips #00 screwdriver and are 1.2 mm x 2.2 mm.
-
-
-
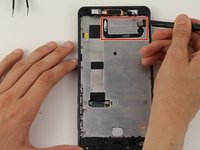
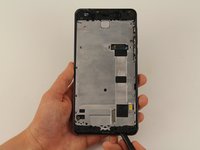
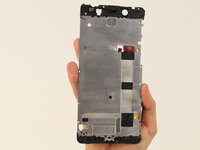
Decouple the midframe with the spudger and remove the midframe from the device.
-
-







To reassemble your device, follow these instructions in reverse order.
Cancel: I did not complete this guide.
One other person completed this guide.

Team

Cal Poly, Team S9-G15, Maness Spring 2019 Member of Cal Poly, Team S9-G15, Maness Spring 2019
CPSU-MANESS-S19S9G15
4 Members
120 Guides authored
