
Nokia 6 Disassembly

MTM1011 and
Last updated on Jan 26, 2021
Views: 5K
View statistics:
- Past 24 Hours:
- 1
- Past 7 Days:
- 26
- Past 30 Days:
- 120
- All Time:
- 5,008
Comments: 1
1 comment on steps.
Completed: 2 3
2 people have marked this guide "completed." Will you be next?
3 people have marked this guide "completed." Including you — great job!
Favorites: 1 2
1 person has favorited (and subscribed to) this guide. Will you be next?
2 people have favorited (and subscribed to) this guide — including you!
Bullets!
Better coordination with markups and the color/type of bullets will help make this guide more clear!
Community-Contributed Guide
An awesome member of our community made this guide. It was not created by iFixit staff.
Introduction
Go to step 1 ↓After being in the water, the phone works perfectly, but the virtual keys and the fingerprint sensor no longer work.
The complete disassembly is carried out to check where the problem is and check that there are no oxidations or burnt components
What you need
Tools
-
-
-
Spudger4.9
-
-


-
-
-
Nokia 6 (TA-1011): after being in the water, the LEDs light up but the virtual keys (arrow, home and recent applications) do not work.
 Ask FixBot
-
-
-
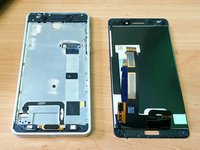
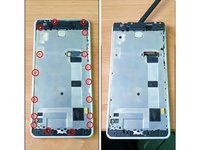
Take off the glass / display from its double-sided adhesive, heating the edges and lifting it with the aid of a suction cup and a thin piece of plastic (playing cards).
-
-
-
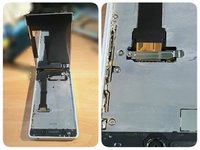
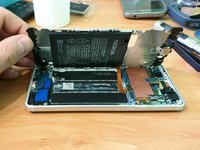
Starting from the top (speaker area), gently lift the touch / display and disconnect the flat cable connector, unscrewing the screw and removing the plate that holds it in place.
-
At this point, using hot air if necessary, gently lift the flat to detach it from the underlying double-sided adhesive and remove the touch / display.
-
-
-
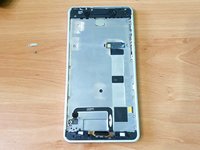
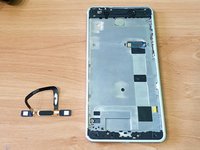
Unscrew the screw, remove the plate and disconnect the virtual keys / fingerprint sensor cable.
-
Disassemble the "fingerprint sensor flex" module by uncoupling the flat cable from the double-sided tape
-
-
-
-
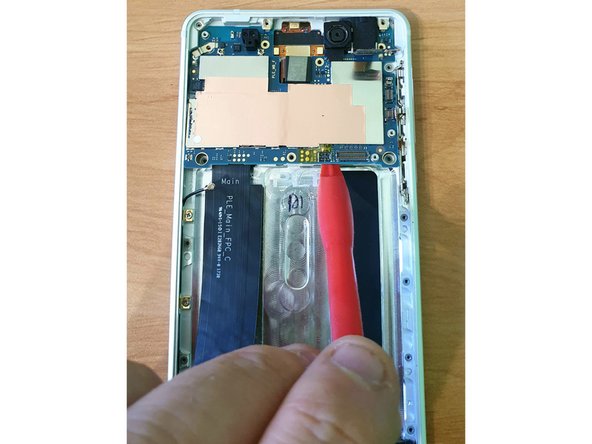
Unscrew the screws and unhook the metal plate, gently prizing it with a plastic tool.
-
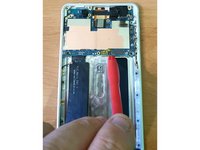
Lift the metal plate sideways and disconnect the battery to be able to remove it
-
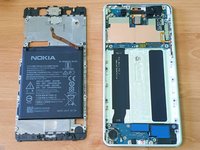
Metal plate with battery and speaker disassembled.
-
-
-
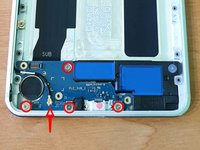
It can be seen, above the charging connector, that the humidity sensor is pink instead of white; this means that liquids have entered this area.
-
-
-
Unscrew the screws of the charging module and disconnect the antenna connector.
-
Insert trAfter uncoupling the flat cable from the underlying double-sided adhesive tape and removing the charging card, unscrew the screw and disconnect the flat cable.anslation here
-
Disassemble the top-up form.
-
-
-
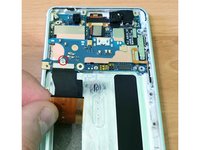
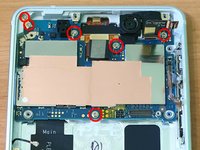
After removing the sim / micro sd trolley with the extractor and disconnecting the antenna cable, headphone connector and volume / power buttons, unscrew the screws of the logic board.
-
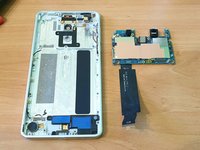
Gently lift the motherboard by levering with a plastic tool and remove it from its seat.
-
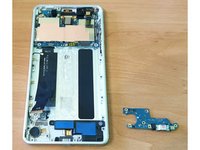
Motherboard with the flat connection of the disassembled charging module
-
-
-
To check that there are no burnt components or oxidations inside the motherboard, the flex cable must be disconnected and the insulation / dissipation sheets of the various components of the logic board removed.
-
-
-
Looking closely at the microscope the part most exposed to water (as can be seen in step 6), small oxidations were found on the connection pins of the flat cable and the charging module that prevented communication with the motherboard of the sensor of fingerprints and virtual keys.
-
-












To reassemble the device, follow these instructions in reverse order.
Cancel: I did not complete this guide.
2 other people completed this guide.
Special thanks to these translators:
100%

Lucy Smith is helping us fix the world! Want to contribute?
Start translating ›

