Free Shipping on Domestic Orders $75+

Nokero SunRay Pro Power Panel Capacitor Replacement

What you need

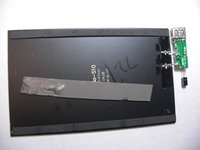
    1. Nokero SunRay Pro Power Panel Capacitor Replacement, Front and Back Case: step 1, image 1 of 1
      • Turn over the device so that the back of the device is facing up.

      Ask FixBot

      Add Comment

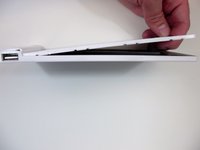
    2. Nokero SunRay Pro Power Panel Capacitor Replacement: step 2, image 1 of 3 Nokero SunRay Pro Power Panel Capacitor Replacement: step 2, image 2 of 3 Nokero SunRay Pro Power Panel Capacitor Replacement: step 2, image 3 of 3
      • Insert the first plastic opening tool along the side to pry open the case.

      • Sliding the plastic opening tool, while inserted, along the seam may help the removal process.

      • Use a second plastic opening tool to help separate the remaining seams.

      Ask FixBot

      Add Comment

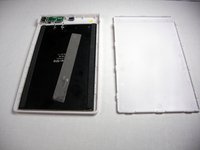
    3. Nokero SunRay Pro Power Panel Capacitor Replacement: step 3, image 1 of 2 Nokero SunRay Pro Power Panel Capacitor Replacement: step 3, image 2 of 2
      • There is a long strip of double sided adhesive foam tape that prevents the back case from easily being removed.

      • Pull the back case off by applying steady pressure to remove it from the adhesive foam tape.

      Ask FixBot

      Add Comment

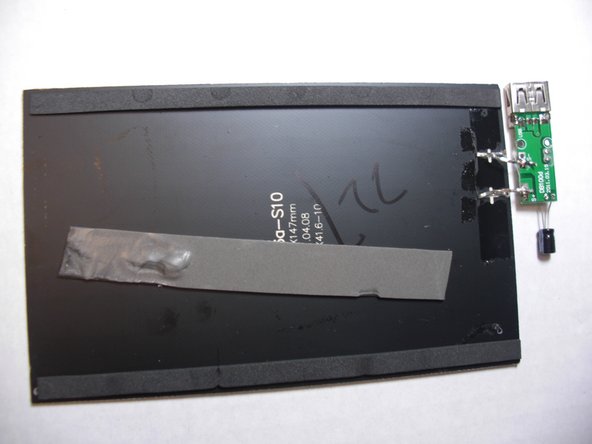
    4. Nokero SunRay Pro Power Panel Capacitor Replacement: step 4, image 1 of 2 Nokero SunRay Pro Power Panel Capacitor Replacement: step 4, image 2 of 2
      • Use the Phillips precision screwdriver to unscrew the two 5.0 mm Phillips screws from the circuit board.

      • Remove the solar panel and circuit board from the front case.

      Ask FixBot

      Add Comment

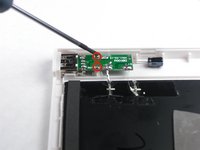
    1. Nokero SunRay Pro Power Panel Capacitor Replacement, Capacitor: step 5, image 1 of 1
      • Use the soldering station to desolder the two contact points around the connections of the capacitor to loosen the metal.

      Ask FixBot

      Add Comment

    2. Nokero SunRay Pro Power Panel Capacitor Replacement: step 6, image 1 of 1
      • Pull the capacitor through the circuit board to remove it.

      Ask FixBot

      Add Comment

Conclusion

To reassemble your device, follow these instructions in reverse order.

Cancel: I did not complete this guide.

Nicholas Orr

Member since: 01/20/15

229 Reputation

2 Guides authored

Team

USF Tampa, Team 9-3, Blackwell Winter 2015 Member of USF Tampa, Team 9-3, Blackwell Winter 2015

USFT-BLACKWELL-W15S9G3

3 Members

6 Guides authored

0 Guide Comments

Add Comment

View Statistics:

Past 24 Hours: 2

Past 7 Days: 8

Past 30 Days: 25

All Time: 542