Shop the Holiday Gift Guide
Free Shipping on Domestic Orders $75+

Nokero N400 Solar Panel Replacement

Views: 717

View statistics:

Past 24 Hours:
2
Past 7 Days:
17
Past 30 Days:
79
All Time:
717
Comments: 0

No one has left comments on this guide. Will you be first?

Go to guide comments
Completed: 0

No one has marked this guide "completed." Will you be the first?

Favorites: 0

No one has favorited (and subscribed to) this guide. Will you be the first?

Time Required: 10 minutes
Difficulty: Moderate
Nokero N400 Solar Panel Replacement

Introduction

Go to step 1 ↓

If your flashlight no longer charges its battery, it might be time to change your solar panel with this guide.

What you need

Tools

    1. Nokero N400 Solar Panel Replacement, Remove Battery Cover: step 1, image 1 of 3 Nokero N400 Solar Panel Replacement, Remove Battery Cover: step 1, image 2 of 3 Nokero N400 Solar Panel Replacement, Remove Battery Cover: step 1, image 3 of 3
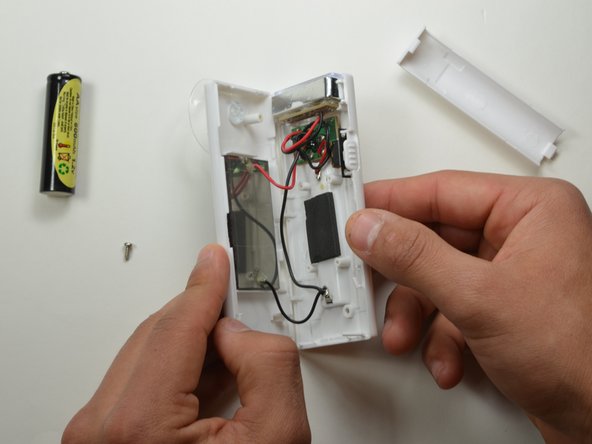
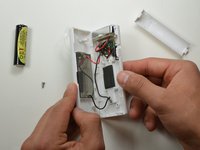
      • Press down firmly to remove the battery cover and display battery.

      • Then remove the battery.

      Ask FixBot

      Add Comment

    2. Nokero N400 Solar Panel Replacement, Unscrew Back Cover: step 2, image 1 of 2 Nokero N400 Solar Panel Replacement, Unscrew Back Cover: step 2, image 2 of 2
      • Remove the 7mm Phillips #1 screw.

      Ask FixBot

      Add Comment

    3. Nokero N400 Solar Panel Replacement, Pry Open Back Cover: step 3, image 1 of 2 Nokero N400 Solar Panel Replacement, Pry Open Back Cover: step 3, image 2 of 2
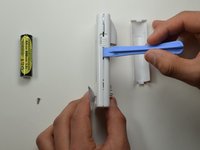
      • Place the plastic opening tool in between the two plastic panels and slowly work your way around the device.

      • Unlatch the clips on the inside and pull device apart.

      • Some clips will break when forced open.

      Ask FixBot

      Add Comment

    1. Nokero N400 Solar Panel Replacement, Solar Panel: step 4, image 1 of 2 Nokero N400 Solar Panel Replacement, Solar Panel: step 4, image 2 of 2
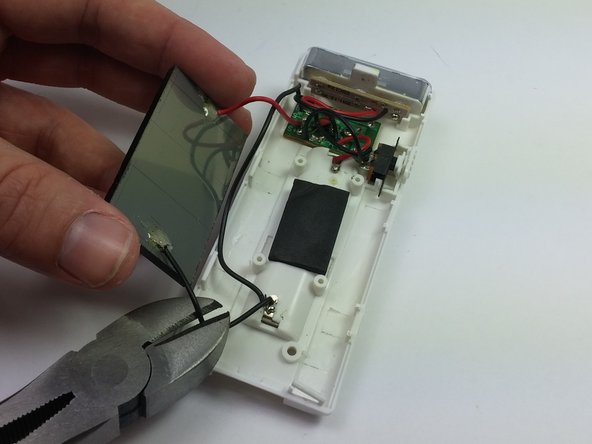
      • Pull the panel away from the rest of the assembly and cut the red and black wires coming from the panel

      • Be careful not to cut the ground-wire for the motherboard, it is the same color and goes to the exact same place as the solar panel wire.

      • For reassembly you will need to either splice, or solder the wires onto the replacement.

      Ask FixBot

      Add Comment

Conclusion

To reassemble your device, follow these instructions in reverse order.

Cancel: I did not complete this guide.

Author

with

Daniel Bumiller

Member since: 01/20/15

201 Reputation

2 Guides authored

Team

USF Tampa, Team 19-2, Blackwell Winter 2015 Member of USF Tampa, Team 19-2, Blackwell Winter 2015

USFT-BLACKWELL-W15S19G2

4 Members

60 Guides authored

0 Guide Comments

Add Comment

View Statistics:

Past 24 Hours: 2

Past 7 Days: 17

Past 30 Days: 79

All Time: 717