
Nokero N222-Huron Mounting Technique

What you need

  1. Nokero N222-Huron Mounting Technique, Nokero N222-Huron Mounting Technique: step 1, image 1 of 1
    • Place the mounting bracket in the desired location and mark the center location. This is where the screw will be placed.
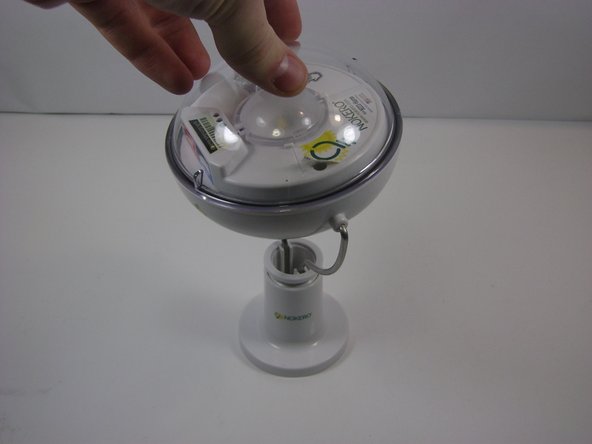
    • It is optional to drill a pilot hole for the screw if splitting is a concern (usually for mounting in wood).

  2. Nokero N222-Huron Mounting Technique: step 2, image 1 of 3 Nokero N222-Huron Mounting Technique: step 2, image 2 of 3 Nokero N222-Huron Mounting Technique: step 2, image 3 of 3
    • Place the screw through the bracket, as shown, and screw it into the marked or drilled location.

  3. Nokero N222-Huron Mounting Technique: step 3, image 1 of 1
    • Make sure the bracket is facing in the desired direction before tightening the screw.

    • When the Nokero logo is facing forward, the light will pivot forward and backward.

  4. Nokero N222-Huron Mounting Technique: step 4, image 1 of 3 Nokero N222-Huron Mounting Technique: step 4, image 2 of 3 Nokero N222-Huron Mounting Technique: step 4, image 3 of 3
    • Place the light in the bracket as shown and turn clockwise until it is secure.

Conclusion

To remove or change the fixed mount for your device, follow these instructions in reverse order.
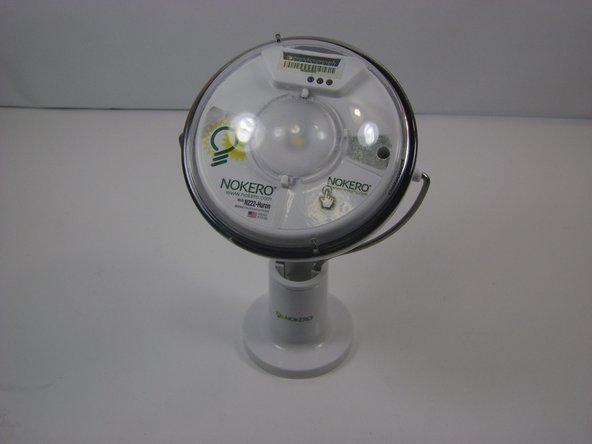
Vinny Capone

Member since: 10/18/13

549 Reputation

5 Guides authored

Team

0 Comments

Add Comment

View Statistics:

Past 24 Hours: 0

Past 7 Days: 4

Past 30 Days: 12

All Time: 202