Introduction
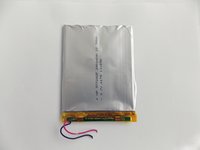
To complete this guide, you will need to disassemble your tablet and use a soldering iron to replace the battery. The battery is removed first in most cases, even if you are trying to remove other components.
What you need
-
-
Look towards the topside of the tablet, where the power button is located.
-
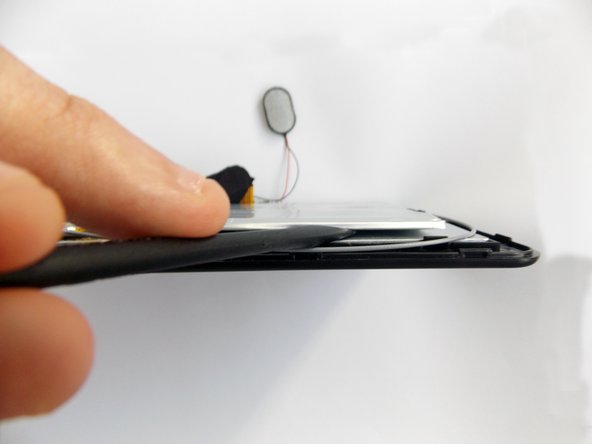
Insert a plastic opening tool in the crack between the two parts of the case.
-
Move it gently back and forth to open the case.
 Ask FixBot
-
-
-
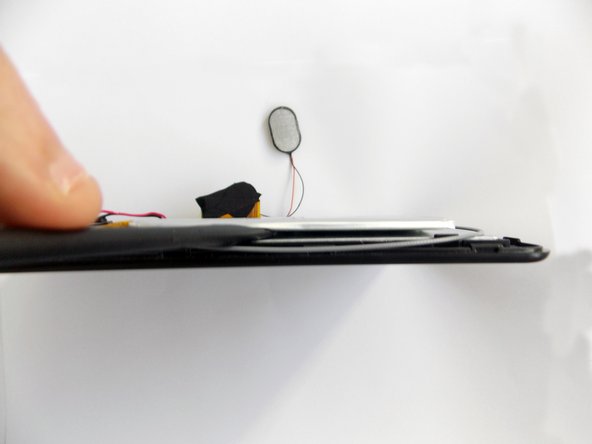
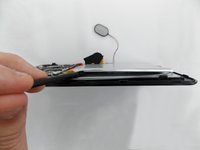
With the plastic opening tool in the opening between the two sides of the case, slide the tool along the tablet's border to separate the two sides completely.
-
-
-
-
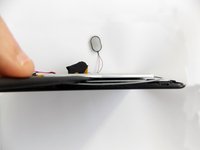
Insert the flat end of the spudger tool in the crack beneath the battery.
-
Move the spudger tool carefully side to side to remove the glue that is holding the battery in place.
-
-
-
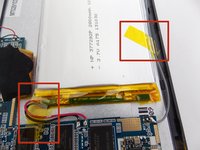
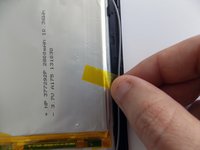
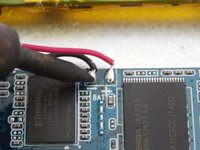
After the battery is unglued, locate the cables that connect it to the motherboard.
-
-
-
Desolder the cables with a soldering iron and use a desoldering braid to remove the solder.
-


To reassemble your device, follow these instructions in reverse order.
Cancel: I did not complete this guide.
3 other people completed this guide.
Team

USF Tampa, Team 5-5, Brown Winter 2015 Member of USF Tampa, Team 5-5, Brown Winter 2015
USFT-BROWN-W15S5G5
3 Members
11 Guides authored
1 Guide Comment
where do you find that battery? tried searching by the numbers on it and nothing