
Nintendo Wii U Button Replacement

What you need

  1. Nintendo Wii U Button Replacement, Button Replacement: step 1, image 1 of 2 Nintendo Wii U Button Replacement, Button Replacement: step 1, image 2 of 2
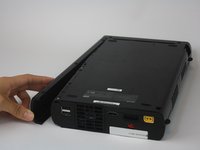
    • You will first need to find all the screws hidden underneath the black (or white) square stickers. They are all located on the bottom side of the Wii U.

    • Use a spudger to remove the stickers if it is difficult to peel off with your fingers.

  2. Nintendo Wii U Button Replacement: step 2, image 1 of 1
    • Remove the five Phillips #0 screws.

    • Remove the four Tri-Wing Y1 screws.

  3. Nintendo Wii U Button Replacement: step 3, image 1 of 2 Nintendo Wii U Button Replacement: step 3, image 2 of 2
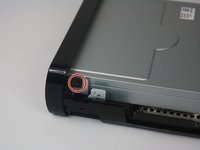
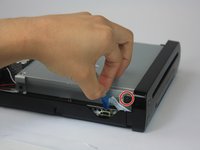
    • Remove the CMOS battery door on the left side of the console.

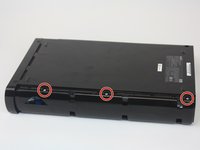
    • Once the door is removed, remove the three Phillips #0 screws.

  4. Nintendo Wii U Button Replacement: step 4, image 1 of 3 Nintendo Wii U Button Replacement: step 4, image 2 of 3 Nintendo Wii U Button Replacement: step 4, image 3 of 3
    • Gently pry off the top lid of the Wii U.

  5. Nintendo Wii U Button Replacement: step 5, image 1 of 3 Nintendo Wii U Button Replacement: step 5, image 2 of 3 Nintendo Wii U Button Replacement: step 5, image 3 of 3
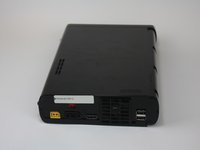
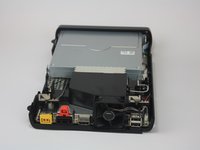
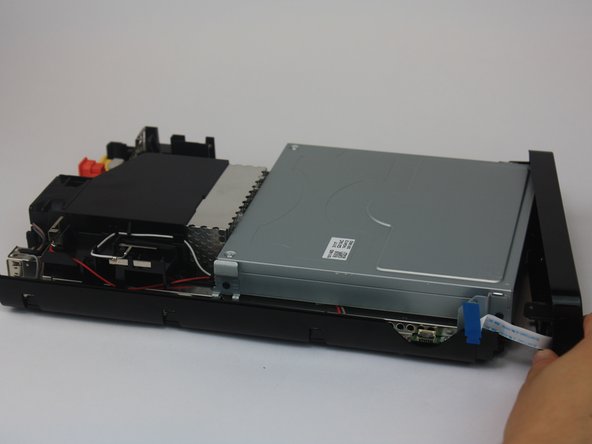
    • Rotate the device so that the front plate is facing you.

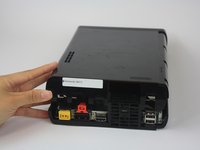
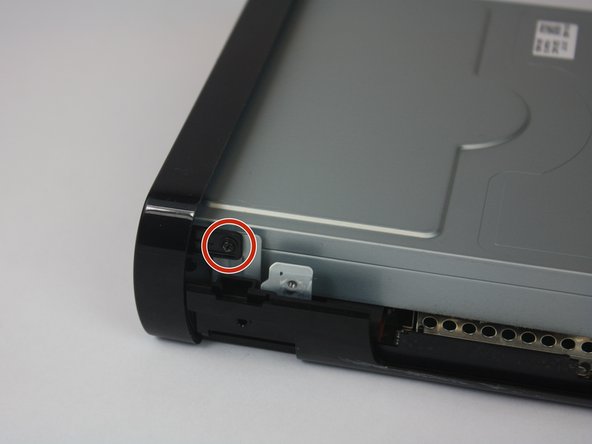
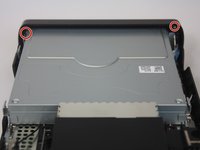
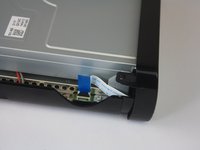
    • Remove the two Phillips #1 screws.

  6. Nintendo Wii U Button Replacement: step 6, image 1 of 3 Nintendo Wii U Button Replacement: step 6, image 2 of 3 Nintendo Wii U Button Replacement: step 6, image 3 of 3
    • Remove the ribbon cable and separate the front plate from the main console.

  7. Nintendo Wii U Button Replacement: step 7, image 1 of 1
    • Remove the three Phillips #1 screws.

  8. Nintendo Wii U Button Replacement: step 8, image 1 of 1
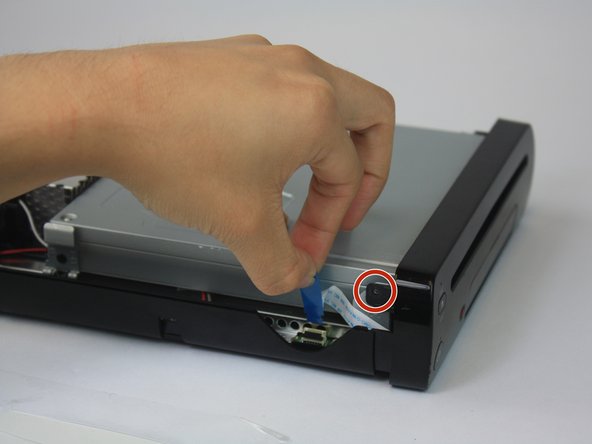
    • Once unscrewed, remove the black braces that hold the power button, eject button, and sync button in place.

  9. Nintendo Wii U Button Replacement: step 9, image 1 of 1
    • Remove the desired button(s).

Conclusion

To reassemble your device, follow these instructions in reverse order.

Emily Vasquez

Member since: 02/24/16

884 Reputation

3 Guides authored

Team

USF Tampa, Team 1-2, Leahy Spring 2016 Member of USF Tampa, Team 1-2, Leahy Spring 2016

USFT-LEAHY-S16S1G2

3 Members

12 Guides authored

One Comment

Anyone know what that ribbon cable is in step 6? Just regular 9 pin?

Lugi - Reply

Add Comment

View Statistics:

Past 24 Hours: 3

Past 7 Days: 12

Past 30 Days: 57

All Time: 4,457