
Nintendo Wii Faceplate Replacement

Andrew Bookholt and 8 other contributors
Last updated on Dec 19, 2025
Views: 65K
View statistics:
- Past 24 Hours:
- 15
- Past 7 Days:
- 97
- Past 30 Days:
- 379
- All Time:
- 64,739
Comments: 58
55 comments on steps, 3 guide comments.
Go to guide commentsCompleted: 26 27
26 people have marked this guide "completed." Will you be next?
27 people have marked this guide "completed." Including you — great job!
Favorites: 31 32
31 people have favorited (and subscribed to) this guide. Will you be next?
32 people have favorited (and subscribed to) this guide — including you!
Introduction
Go to step 1 ↓Use this guide to replace your Wii's faceplate. Replacing the faceplate will provide new blue LEDs that light up around the optical drive opening.
What you need


-
-
-
Use a metal spudger to remove the white plastic screw covers stuck to the lower case near the front of the Wii.
 Ask FixBot
-
-
-
Remove the two 8.3 mm Tri-Point screws hidden under the covers you just removed.
-
-
-
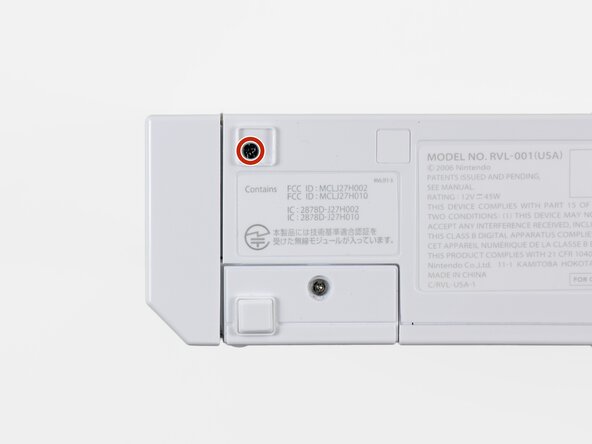
Remove the single 5.9 mm Phillips screw under the controller port door nearest the faceplate.
-
-
-
Use a metal spudger to remove the rubber foot stuck to the side of the Wii near the DVD drive opening.
-
-
-
-
Remove the single 5.9 mm Phillips screw hidden under the foot you just removed.
-
-
Tool used on this step:Tweezers$4.99
-




To reassemble your device, follow these instructions in reverse order.
Cancel: I did not complete this guide.
26 other people completed this guide.

