Introduction
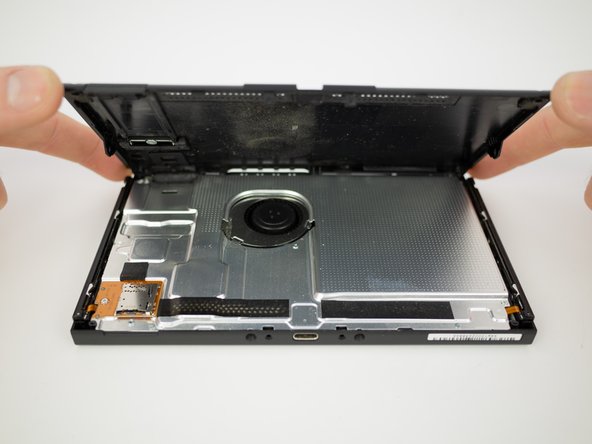
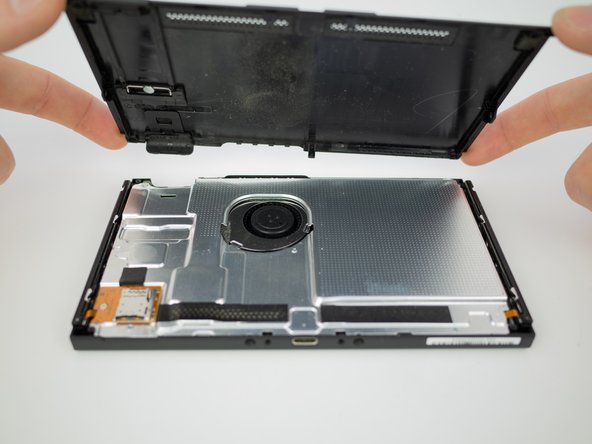
Follow this guide to remove the rear panel from a Nintendo Switch.
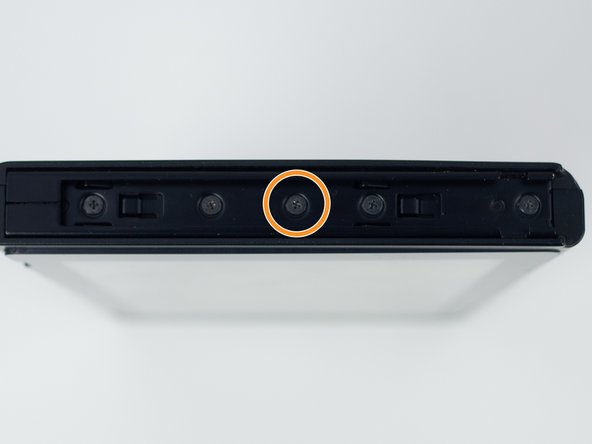
A single screw is hidden underneath the kickstand.
What you need


Conclusion
To reassemble your device, follow these instructions in reverse order.
