Free Shipping on Domestic Orders $75+

Nintendo Switch OLED Model Shield Plate Replacement

Prerequisite Only
This is a prerequisite-only guide! This guide is part of another procedure and isn’t meant to be used alone.

What you need

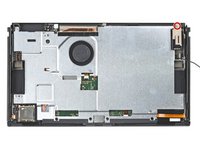
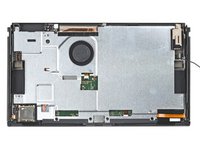
    1. Nintendo Switch OLED Model Shield Plate Replacement, Remove the shield plate's tape: step 1, image 1 of 2 Nintendo Switch OLED Model Shield Plate Replacement, Remove the shield plate's tape: step 1, image 2 of 2
      • Use the flat end of a spudger to separate a corner of the tape from the shield plate.

      Ask FixBot

      Add Comment

    2. Nintendo Switch OLED Model Shield Plate Replacement: step 2, image 1 of 3 Nintendo Switch OLED Model Shield Plate Replacement: step 2, image 2 of 3 Nintendo Switch OLED Model Shield Plate Replacement: step 2, image 3 of 3
      Tool used on this step:
      Tweezers
      $4.99
      Buy
      • Use tweezers, or your fingers, to peel back and remove the tape.

      • Store the tape in a clean space for reinstallation.

      Ask FixBot

      Add Comment

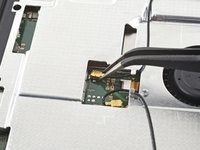
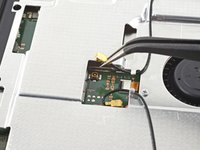
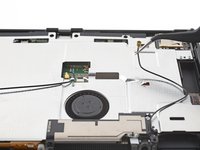
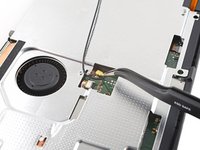
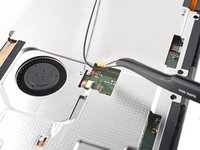
    3. Nintendo Switch OLED Model Shield Plate Replacement, Disconnect the primary Wi-Fi antenna: step 3, image 1 of 2 Nintendo Switch OLED Model Shield Plate Replacement, Disconnect the primary Wi-Fi antenna: step 3, image 2 of 2
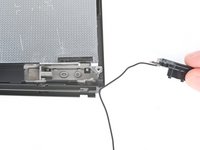
      • Use tweezers, or your fingers, to pull up and disconnect the primary Wi-Fi antenna's coaxial cable.

      • During reassembly, these can be tricky to reconnect. One at a time, hold each connector in place over its socket and press down with the flat end of a spudger. The connector should snap into place.

      Ask FixBot

      Add Comment

    4. Nintendo Switch OLED Model Shield Plate Replacement, Reroute the primary antenna's coaxial cable: step 4, image 1 of 3 Nintendo Switch OLED Model Shield Plate Replacement, Reroute the primary antenna's coaxial cable: step 4, image 2 of 3 Nintendo Switch OLED Model Shield Plate Replacement, Reroute the primary antenna's coaxial cable: step 4, image 3 of 3
      • Use tweezers, or your fingers, to reroute the primary antenna's coaxial cable out of its slots in the shield plate.

      Ask FixBot

      Add Comment

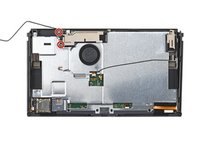
    5. Nintendo Switch OLED Model Shield Plate Replacement, Unfasten the primary Wi-Fi antenna: step 5, image 1 of 2 Nintendo Switch OLED Model Shield Plate Replacement, Unfasten the primary Wi-Fi antenna: step 5, image 2 of 2
      • Use a Phillips driver to remove the two 4.4 mm screws securing the primary Wi-Fi antenna to the shield plate.

      Ask FixBot

      Add Comment

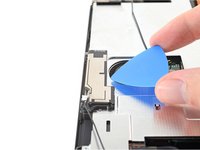
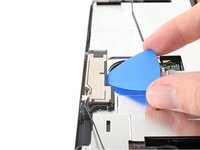
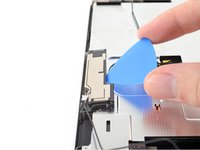
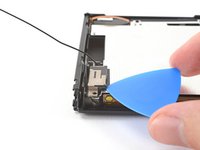
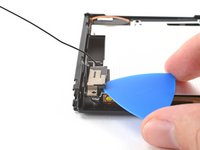
    6. Nintendo Switch OLED Model Shield Plate Replacement, Remove the primary Wi-Fi antenna: step 6, image 1 of 3 Nintendo Switch OLED Model Shield Plate Replacement, Remove the primary Wi-Fi antenna: step 6, image 2 of 3 Nintendo Switch OLED Model Shield Plate Replacement, Remove the primary Wi-Fi antenna: step 6, image 3 of 3
      • Insert an opening pick between the primary Wi-Fi antenna and the shield plate.

      • Pry up with the pick to separate the primary Wi-Fi antenna from the shield plate.

      Ask FixBot

      Add Comment

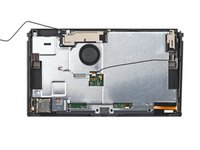
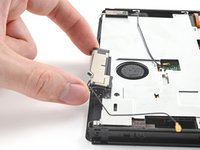
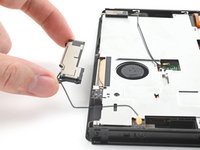
    7. Nintendo Switch OLED Model Shield Plate Replacement: step 7, image 1 of 2 Nintendo Switch OLED Model Shield Plate Replacement: step 7, image 2 of 2
      • Remove the primary Wi-Fi antenna.

      Ask FixBot

      Add Comment

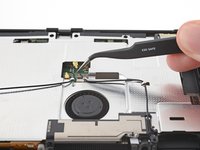
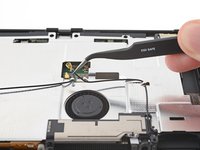
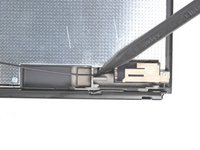
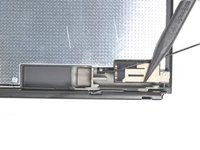
    8. Nintendo Switch OLED Model Shield Plate Replacement, Disconnect the secondary Wi-Fi antenna: step 8, image 1 of 2 Nintendo Switch OLED Model Shield Plate Replacement, Disconnect the secondary Wi-Fi antenna: step 8, image 2 of 2
      • Use tweezers, or your fingers, to pull up and disconnect the secondary Wi-Fi antenna's coaxial cable.

      Ask FixBot

      Add Comment

    9. Nintendo Switch OLED Model Shield Plate Replacement, Reroute the secondary Wi-Fi antenna's coaxial cable: step 9, image 1 of 2 Nintendo Switch OLED Model Shield Plate Replacement, Reroute the secondary Wi-Fi antenna's coaxial cable: step 9, image 2 of 2
      • Use the point of a spudger to reroute the secondary Wi-Fi antenna's coaxial cable from its slot in the frame.

      Ask FixBot

      Add Comment

    10. Nintendo Switch OLED Model Shield Plate Replacement, Unfasten the secondary Wi-Fi antenna: step 10, image 1 of 2 Nintendo Switch OLED Model Shield Plate Replacement, Unfasten the secondary Wi-Fi antenna: step 10, image 2 of 2
      • Use a Phillips driver to remove the 4.4 mm screw securing the secondary Wi-Fi antenna to the shield plate.

      Ask FixBot

      Add Comment

    11. Nintendo Switch OLED Model Shield Plate Replacement, Remove the secondary Wi-Fi antenna: step 11, image 1 of 3 Nintendo Switch OLED Model Shield Plate Replacement, Remove the secondary Wi-Fi antenna: step 11, image 2 of 3 Nintendo Switch OLED Model Shield Plate Replacement, Remove the secondary Wi-Fi antenna: step 11, image 3 of 3
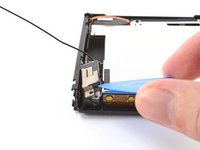
      • Insert an opening pick between the secondary Wi-Fi antenna and the shield plate.

      • Pry up with the pick to separate the secondary Wi-Fi antenna from the shield plate.

      • Don't attempt to completely remove the antenna yet, as its coaxial cable is still routed through the frame.

      Ask FixBot

      Add Comment

    12. Nintendo Switch OLED Model Shield Plate Replacement: step 12, image 1 of 3 Nintendo Switch OLED Model Shield Plate Replacement: step 12, image 2 of 3 Nintendo Switch OLED Model Shield Plate Replacement: step 12, image 3 of 3
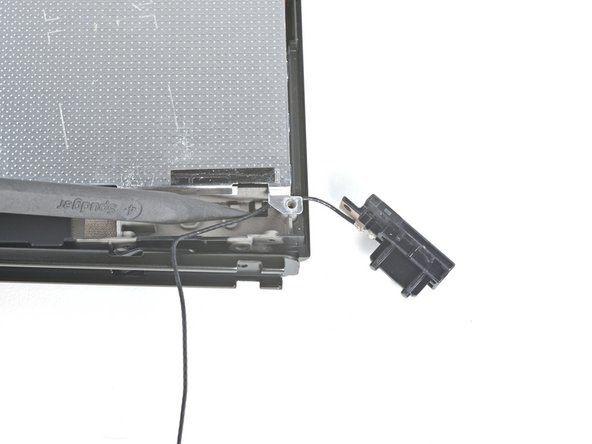
      • Use the point of a spudger to reroute the secondary Wi-Fi antenna's coaxial cable out of its slot in the frame.

      • Remove the secondary Wi-Fi antenna.

      Ask FixBot

      Add Comment

    13. Nintendo Switch OLED Model Shield Plate Replacement, Unfasten the shield plate: step 13, image 1 of 2 Nintendo Switch OLED Model Shield Plate Replacement, Unfasten the shield plate: step 13, image 2 of 2
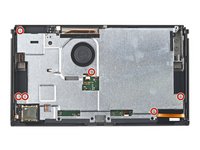
      • Use a Phillips driver to remove the six 4.4 mm screws securing the shield plate to the frame.

      Ask FixBot

      Add Comment

    14. Nintendo Switch OLED Model Shield Plate Replacement: step 14, image 1 of 2 Nintendo Switch OLED Model Shield Plate Replacement: step 14, image 2 of 2
      Tool used on this step:
      iFixit Thermal Putty
      $9.95
      Buy
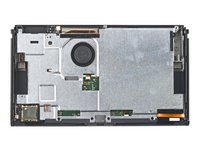
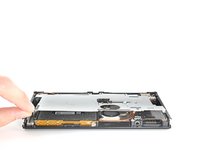
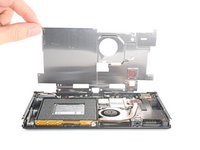
      • Use your fingers to lift the top of the shield plate up and away from the frame.

      • You may feel a bit of resistance. This is normal, since the shield plate is slightly bonded to the heat sink with thermal paste.

      • Remove the shield plate.

      • A thick pink thermal compound bridges the gap between the shield plate and the copper heat sink underneath. Whenever the shield plate is removed, refer to our thermal paste guide to remove the old thermal compound and replace it with an appropriate compound, such as thermal putty or K5 Pro, during reassembly.

      Ask FixBot

      Add Comment

    15. Nintendo Switch OLED Model Shield Plate Replacement, Disconnect the battery: step 15, image 1 of 2 Nintendo Switch OLED Model Shield Plate Replacement, Disconnect the battery: step 15, image 2 of 2
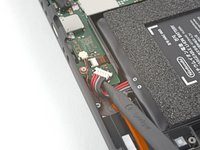
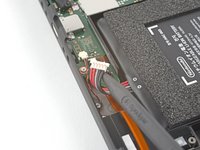
      • Use the point of a spudger to pry up and disconnect the battery.

      Ask FixBot

      Add Comment

Conclusion

To reassemble your device, follow these instructions in reverse order.

Compare your new replacement part to the original part—you may need to transfer remaining components or remove adhesive backings from the new part before you install it.

Repair didn’t go as planned? Try some basic troubleshooting, or ask our Nintendo Switch OLED Answers community for help.

Cancel: I did not complete this guide.

Alex Diaz-Kokaisl

Member since: 01/16/22

250,095 Reputation

1,203 Guides authored

Team

Guide Team Member of Guide Team

Staff

10 Members

61,630 Guides authored

0 Guide Comments

Add Comment

View Statistics:

Past 24 Hours: 2

Past 7 Days: 2

Past 30 Days: 17

All Time: 321