Introduction
This guide will show users how to properly replace the motherboard of the AEE Mach 1 quadcopter. The motherboard manages all of the various controls involved in flight, such as handling controller input signals, regulating propellor speed, and processing and sending camera data to the user’s screen. If you have issues with any of the processes mentioned above, a motherboard replacement may restore functionality to your drone!
Some soldering skills will be required to complete this guide, so if you are unfamiliar with best practices, check out our How To Solder and Desolder Connections guide before you begin.
What you need
-
-
-
Take out the AEE Mach 1 and place it on a flat surface with its propellers facing up.
 Ask FixBot
-
-
-
Holding the base of each propeller still, unscrew the propeller clockwise for each arm.
-
-
-
-
Take out and set aside the battery pack, located on the back of the AEE Mach 1.
-
-
-
Rotate the top panel slightly to reveal the four screws beneath each propellor arm.
-
Remove each of the four screws with a Phillips #0 screwdriver.
-
Lift off the top panel, as it should now be free from the rest of the device.
-
-
-
Remove the four screws from each corner of the motherboard with a Phillips #00 screwdriver.
-
-
-
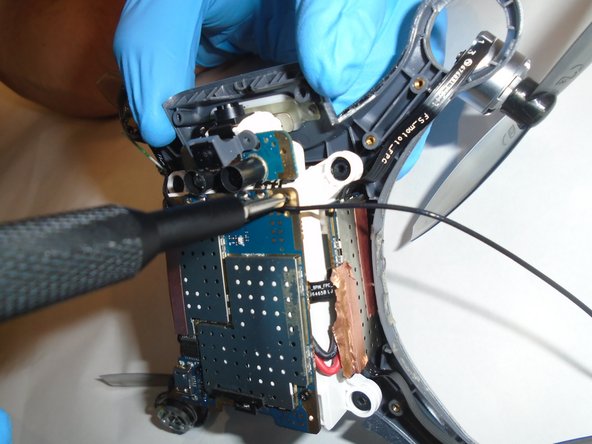
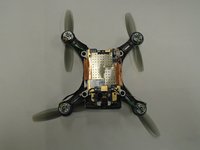
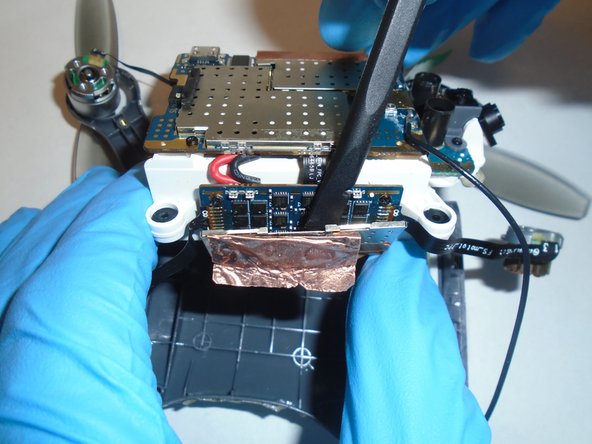
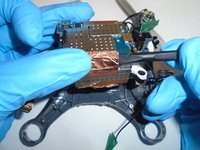
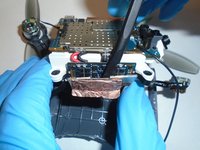
Use a plastic spudger to gently remove the copper tape from the mother board.
-
-
-
Remove the four screws holding the secondary board in place using a Phillips #00 screwdriver.
-
-
Tool used on this step:Tweezers$4.99
-
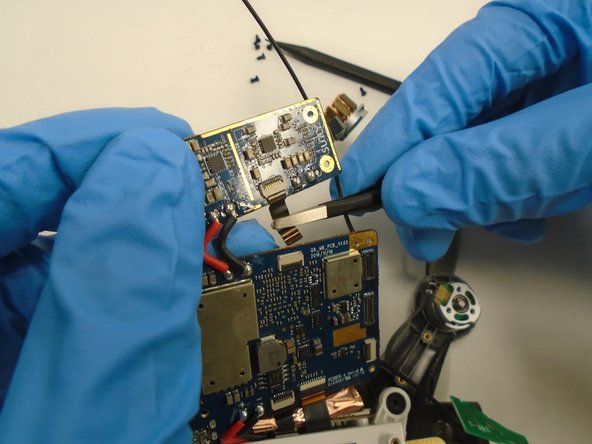
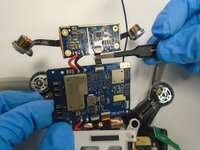
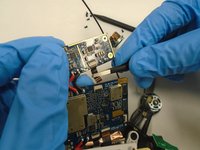
Remove the ZIF connector joining the motherboard and secondary board by prying up the locking black tab and pulling out the cable with some blunt nosed tweezers.
-
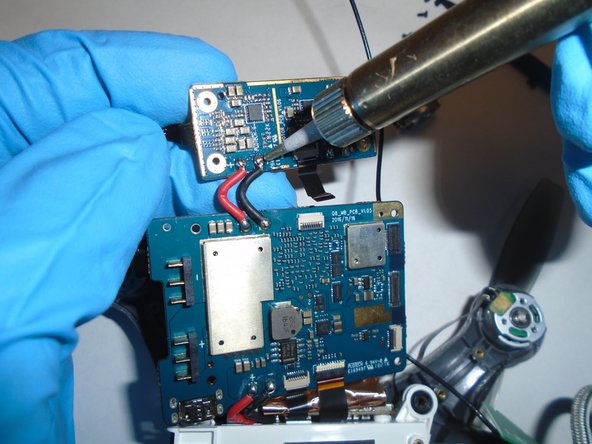
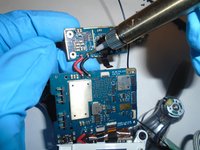
Desolder the red and black wires joining the two boards.
-
-







To reassemble your device, follow these instructions in reverse order.

Team

The Citadel Military College of South Carolina, Team S1-G7, Eggleston Fall 2020 Member of The Citadel Military College of South Carolina, Team S1-G7, Eggleston Fall 2020
CMCSC-EGGLESTON-F20S1G7
2 Members
12 Guides authored
