Free Shipping on Domestic Orders $75+

Nintendo Switch 2 Shield Plate Installation

Prerequisite Only
This is a prerequisite-only guide! This guide is part of another procedure and isn’t meant to be used alone.

What you need

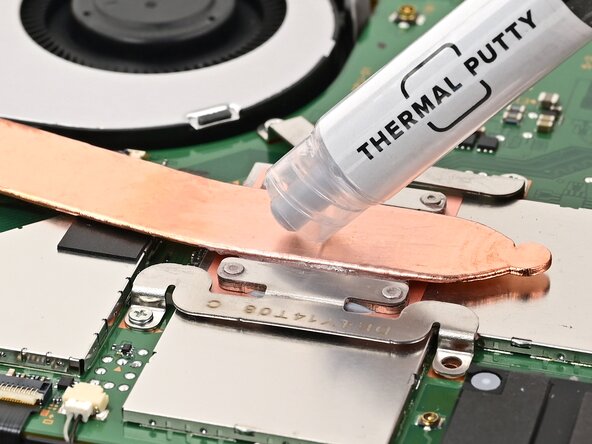
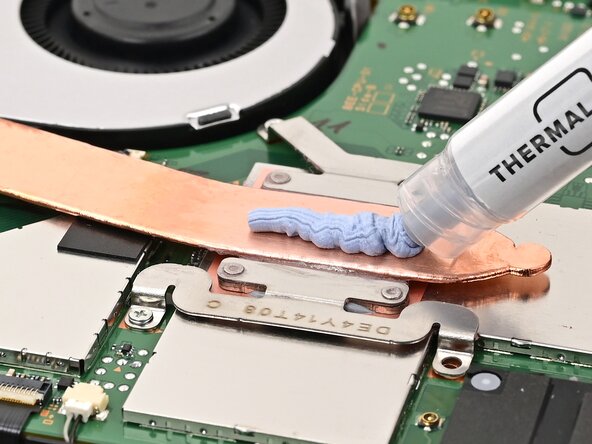
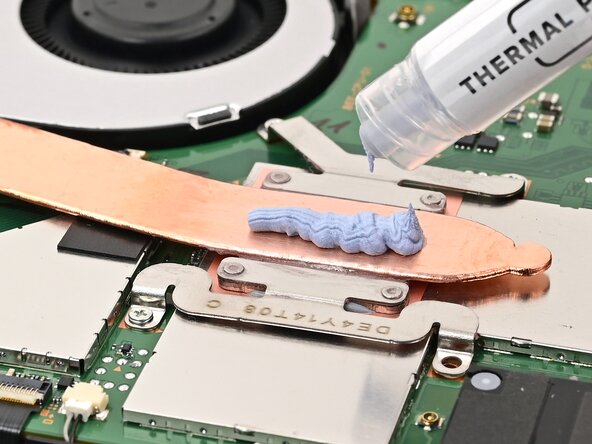
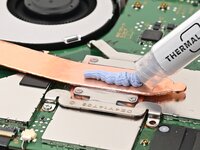
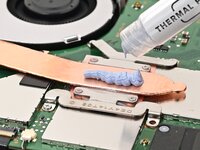
    1. Nintendo Switch 2 Shield Plate Installation, Apply thermal putty: step 1, image 1 of 3 Nintendo Switch 2 Shield Plate Installation, Apply thermal putty: step 1, image 2 of 3 Nintendo Switch 2 Shield Plate Installation, Apply thermal putty: step 1, image 3 of 3
      Tool used on this step:
      iFixit Thermal Putty
      $9.95
      Buy
      • Apply a line of new thermal putty down the center of the heat pipe, roughly the thickness of a pea.

      Ask FixBot

      Add Comment

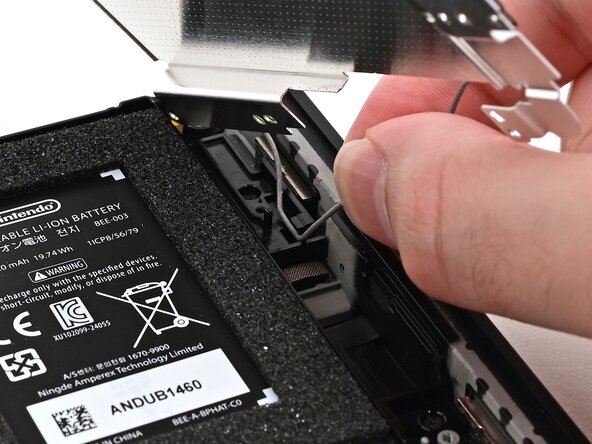
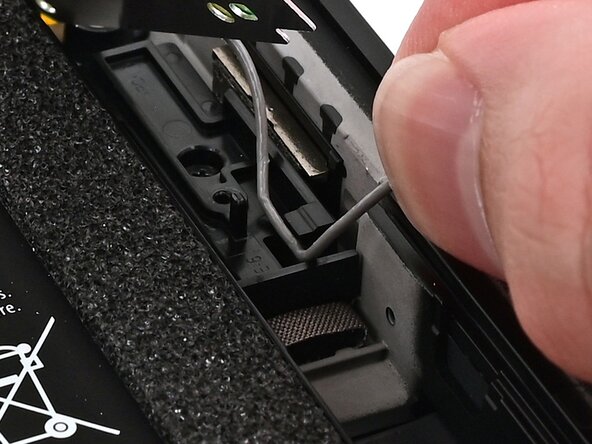
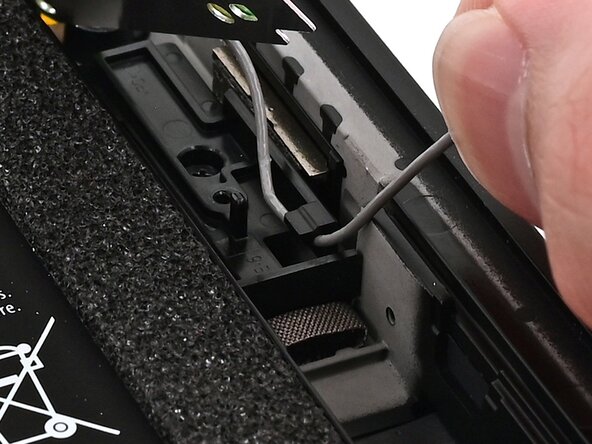
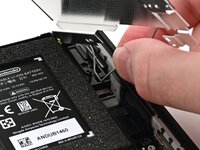
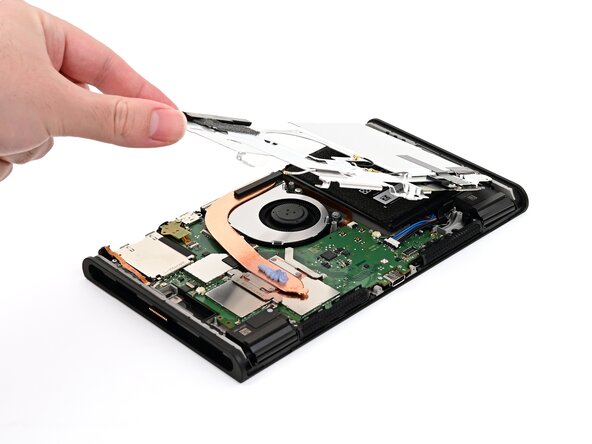
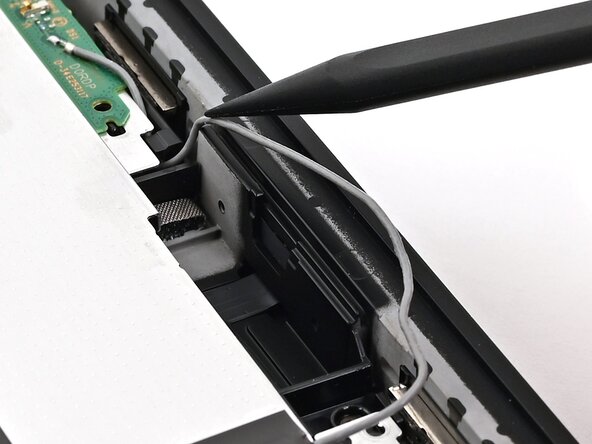
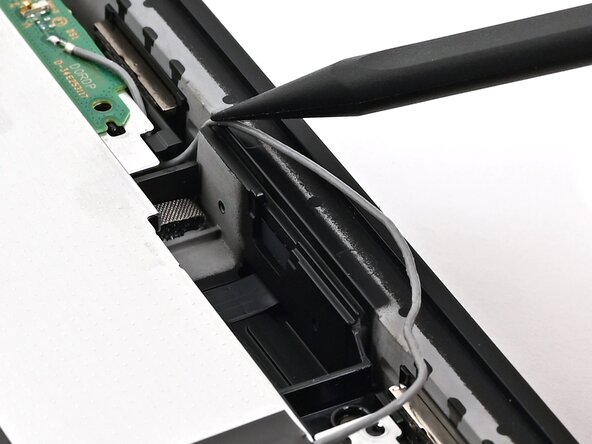
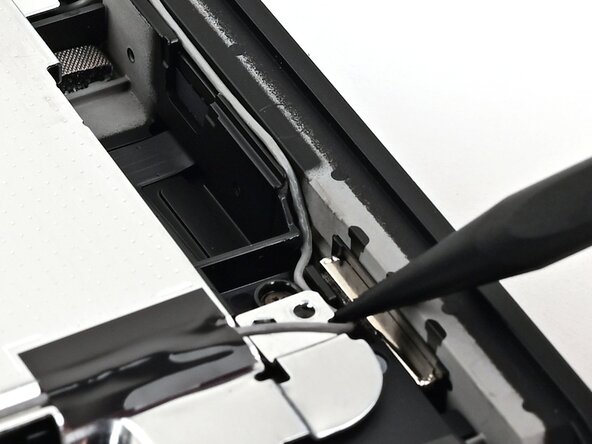
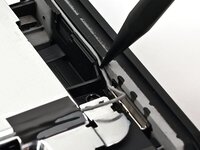
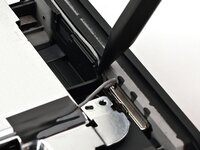
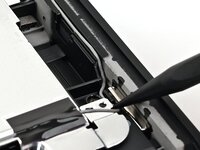
    2. Nintendo Switch 2 Shield Plate Installation, Route the gray antenna cable: step 2, image 1 of 3 Nintendo Switch 2 Shield Plate Installation, Route the gray antenna cable: step 2, image 2 of 3 Nintendo Switch 2 Shield Plate Installation, Route the gray antenna cable: step 2, image 3 of 3
      • Hold the top‑right corner of the shield plate above the top‑right corner of the console.

      • Route the gray antenna cable underneath the black hook near the top corner of the frame.

      Ask FixBot

      Add Comment

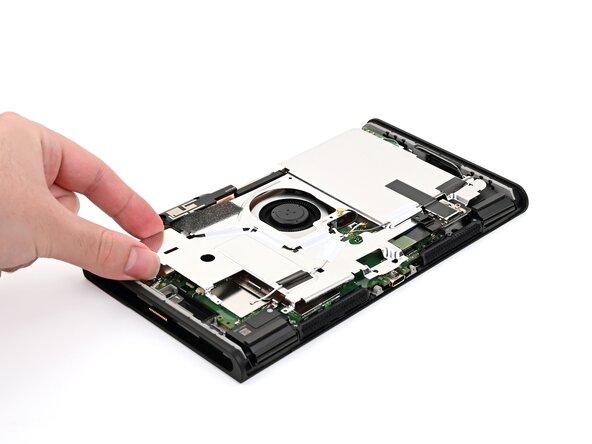
    3. Nintendo Switch 2 Shield Plate Installation, Lower the shield plate: step 3, image 1 of 2 Nintendo Switch 2 Shield Plate Installation, Lower the shield plate: step 3, image 2 of 2
      • Lower the shield plate into place and align it with its screw holes.

      Ask FixBot

      Add Comment

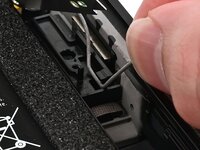
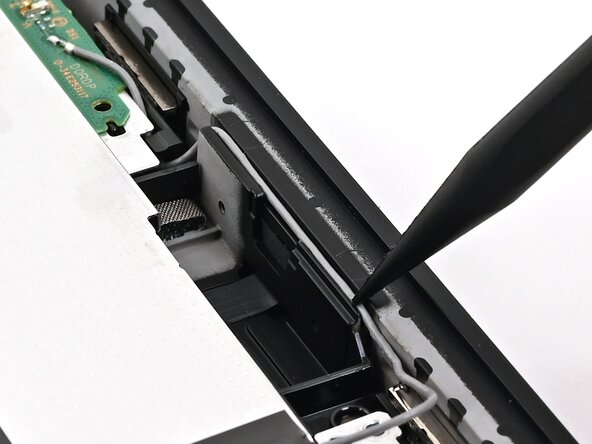
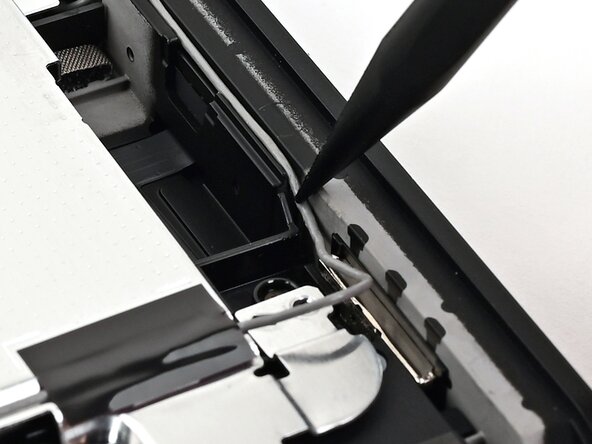
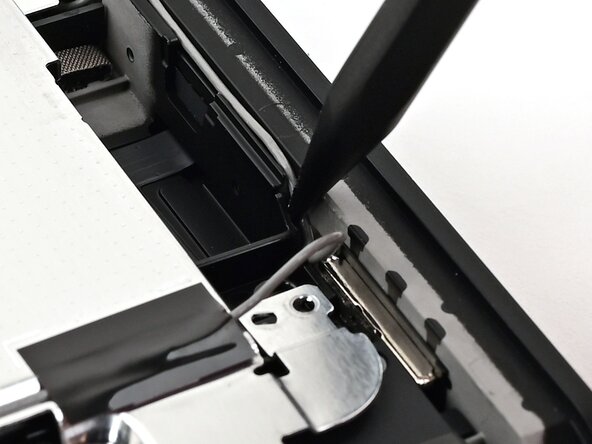
    4. Nintendo Switch 2 Shield Plate Installation, Finish routing the gray antenna cable: step 4, image 1 of 3 Nintendo Switch 2 Shield Plate Installation, Finish routing the gray antenna cable: step 4, image 2 of 3 Nintendo Switch 2 Shield Plate Installation, Finish routing the gray antenna cable: step 4, image 3 of 3
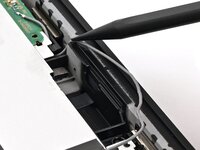
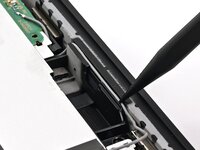
      • Route the gray antenna cable down its channel on the right edge of the frame.

      Ask FixBot

      Add Comment

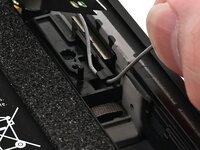
    5. Nintendo Switch 2 Shield Plate Installation: step 5, image 1 of 3 Nintendo Switch 2 Shield Plate Installation: step 5, image 2 of 3 Nintendo Switch 2 Shield Plate Installation: step 5, image 3 of 3
      • Press the gray antenna cable into its groove at the bottom of its channel, and continue routing until it's secured to the clip at the bottom of the frame.

      Ask FixBot

      Add Comment

    6. Nintendo Switch 2 Shield Plate Installation, Install the shield plate screws: step 6, image 1 of 2 Nintendo Switch 2 Shield Plate Installation, Install the shield plate screws: step 6, image 2 of 2
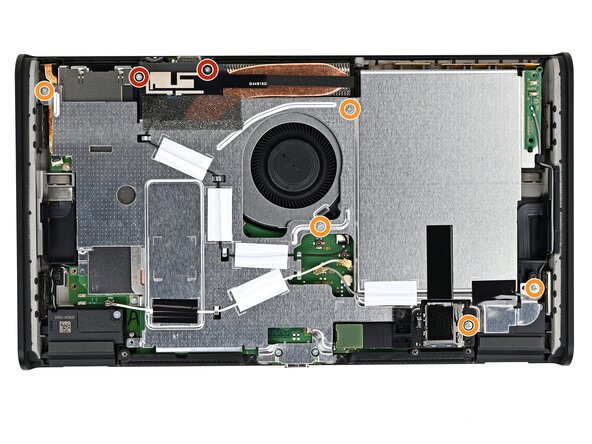
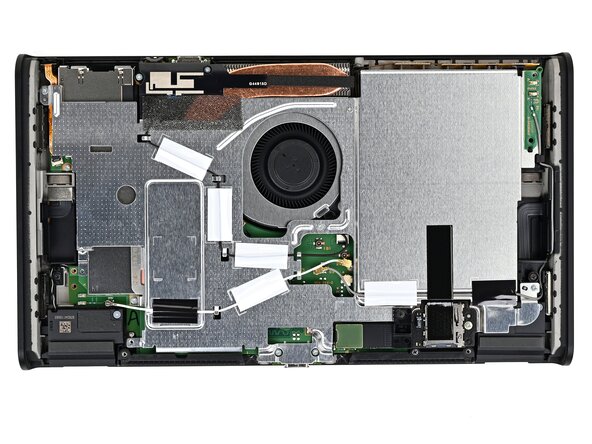
      • Use a JIS 00 driver to install the seven screws securing the shield plate:

      • Two 6.2 mm‑long silver screws

      • Five 4.4 mm‑long silver screws

      Ask FixBot

      Add Comment

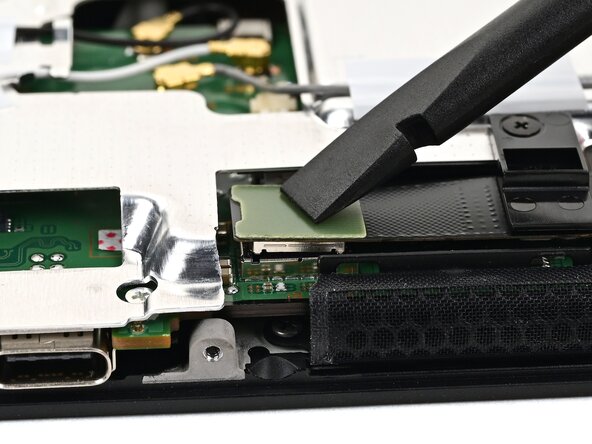
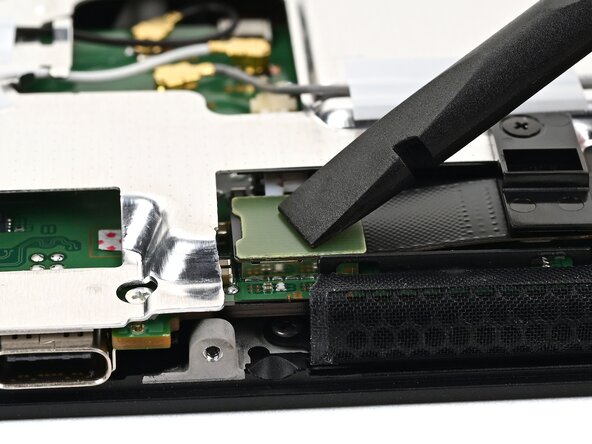
    7. Nintendo Switch 2 Shield Plate Installation, Connect the MicroSD connector: step 7, image 1 of 2 Nintendo Switch 2 Shield Plate Installation, Connect the MicroSD connector: step 7, image 2 of 2
      • Use your finger or the flat end of a spudger to press the MicroSD card reader press connector onto its socket on the board.

      • Don't try to force the connector into place. If you're having trouble, reposition it and try again.

      Ask FixBot

      Add Comment

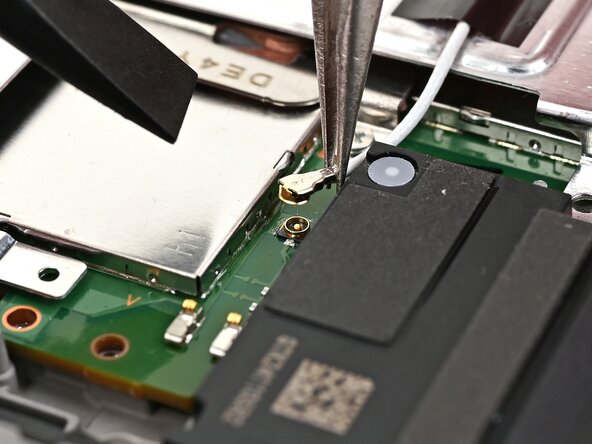
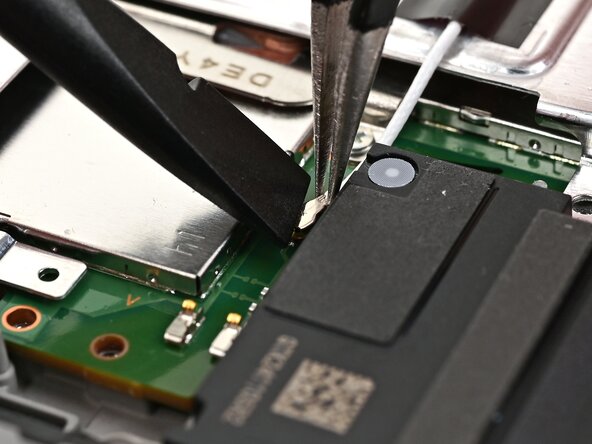
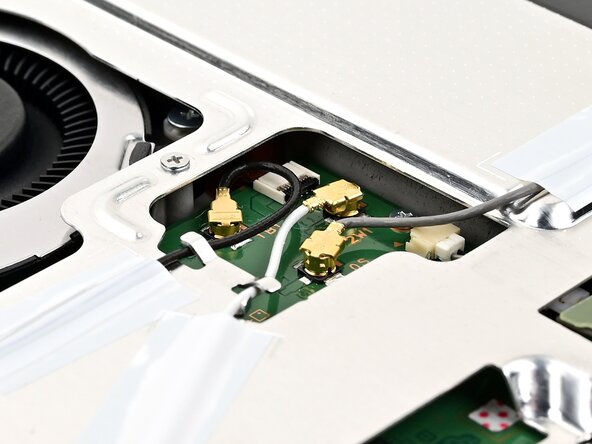
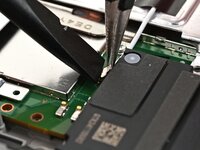
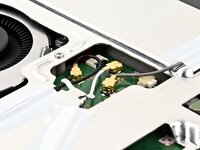
    8. Nintendo Switch 2 Shield Plate Installation, Connect the antenna cables: step 8, image 1 of 3 Nintendo Switch 2 Shield Plate Installation, Connect the antenna cables: step 8, image 2 of 3 Nintendo Switch 2 Shield Plate Installation, Connect the antenna cables: step 8, image 3 of 3
      • Use tweezers to hold the lower antenna coaxial connector in place over its socket and gently press down with your finger or a spudger—the connector should "snap" into place. If you're having trouble, reposition the head instead of using more force.

      • Repeat this process to connect the three central coaxial connectors to their respective sockets.

      • The black cable connects to the socket closest to the fan, the white to the middle, and the gray the furthest away.

      Ask FixBot

      Add Comment

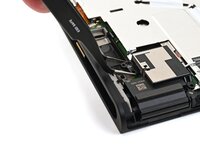
    9. Nintendo Switch 2 Shield Plate Installation, Install the upper antenna: step 9, image 1 of 3 Nintendo Switch 2 Shield Plate Installation, Install the upper antenna: step 9, image 2 of 3 Nintendo Switch 2 Shield Plate Installation, Install the upper antenna: step 9, image 3 of 3
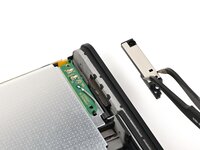
      • Use tweezers or your fingers to align the upper antenna with its screw holes and black alignment pegs and set it into place.

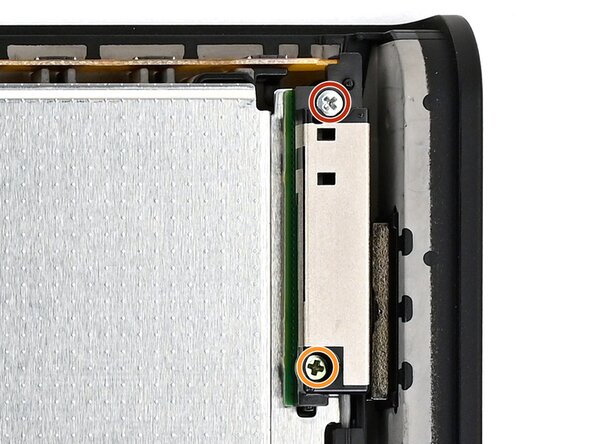
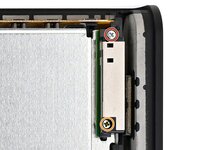
      • Use a JIS 00 driver to install the two screws securing the upper antenna:

      • One 4.4 mm‑long silver screw

      • One 4.6 mm‑long green screw

      Ask FixBot

      Add Comment

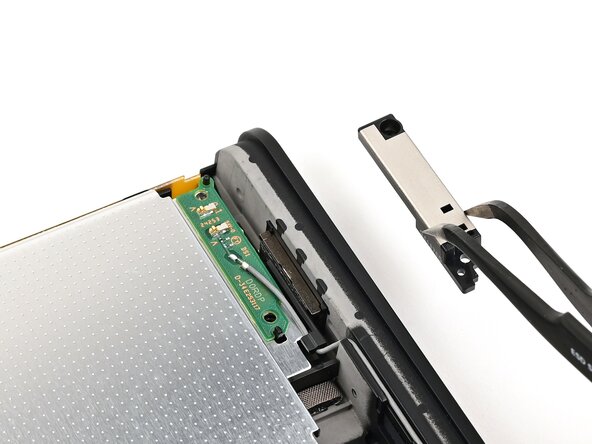
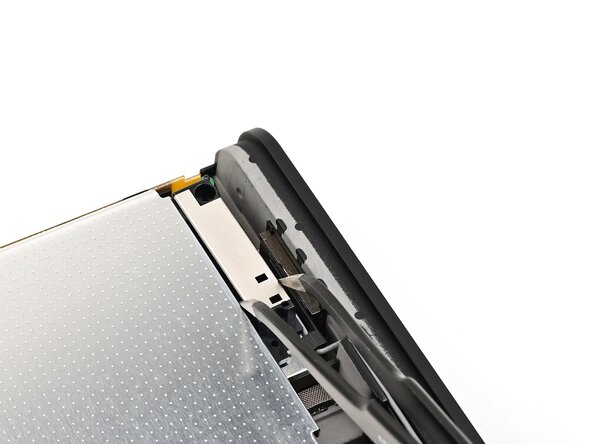
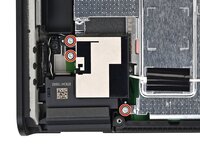
    10. Nintendo Switch 2 Shield Plate Installation, Install the lower antenna: step 10, image 1 of 3 Nintendo Switch 2 Shield Plate Installation, Install the lower antenna: step 10, image 2 of 3 Nintendo Switch 2 Shield Plate Installation, Install the lower antenna: step 10, image 3 of 3
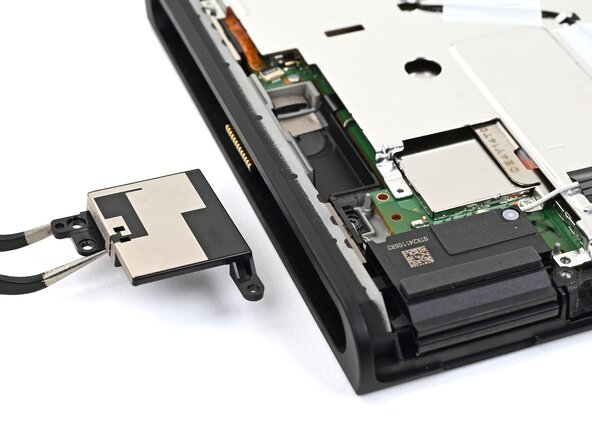
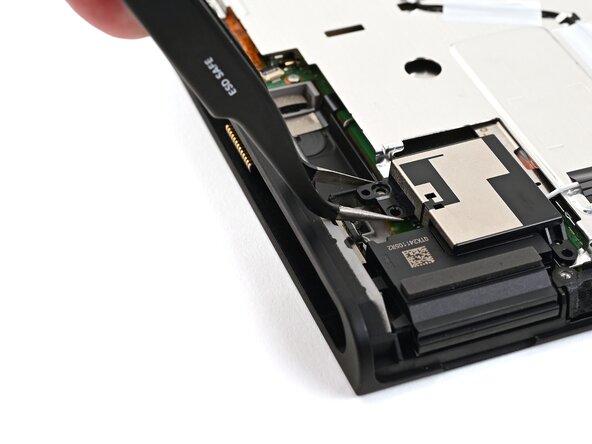
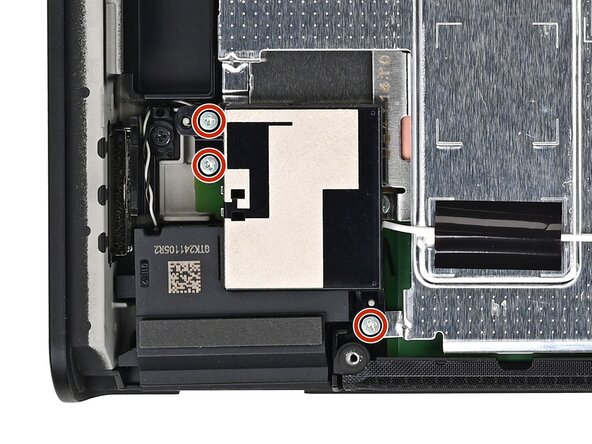
      • Use tweezers or your fingers to align the lower antenna with its screw holes and gray alignment pegs and set it into place.

      • Use a JIS 00 driver to install the three 4.4 mm‑long screws securing the lower antenna.

      Ask FixBot

      Add Comment

Conclusion

To reassemble your device, follow these instructions in reverse order.

Cancel: I did not complete this guide.

Nick Schultz

Member since: 03/24/24

65,446 Reputation

343 Guides authored

0 Guide Comments

Add Comment

View Statistics:

Past 24 Hours: 3

Past 7 Days: 4

Past 30 Days: 14

All Time: 355