Free Shipping on Domestic Orders $75+

Nintendo Switch 2 Screen Installation

Prerequisite Only
This is a prerequisite-only guide! This guide is part of another procedure and isn’t meant to be used alone.

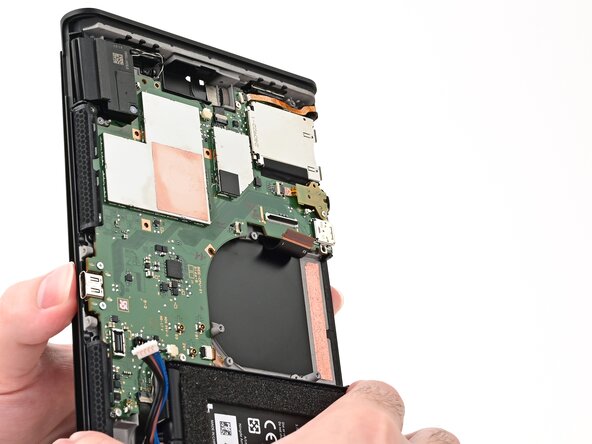
What you need

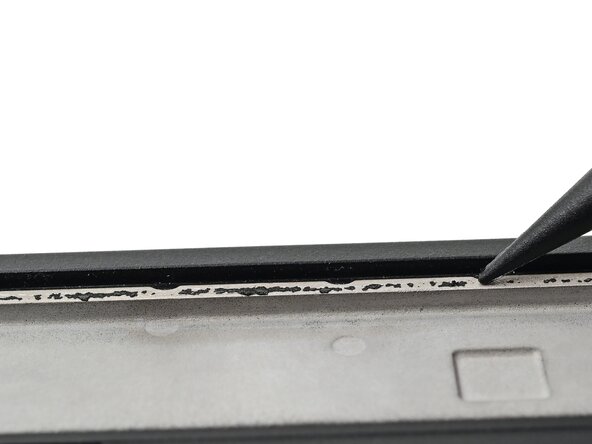
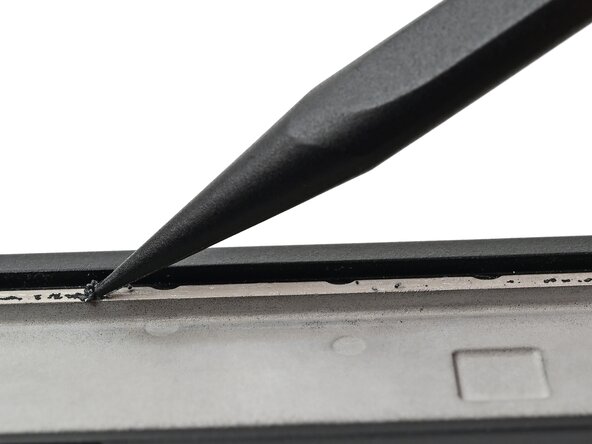
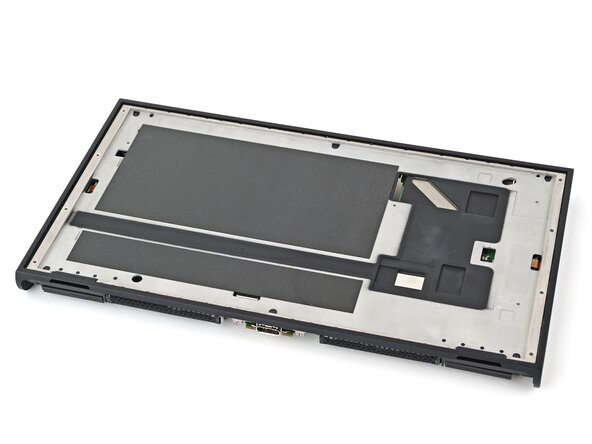
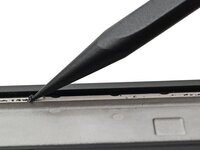
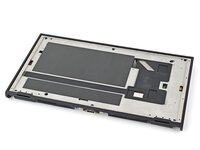
    1. Nintendo Switch 2 Screen Installation, Clean the frame: step 1, image 1 of 3 Nintendo Switch 2 Screen Installation, Clean the frame: step 1, image 2 of 3 Nintendo Switch 2 Screen Installation, Clean the frame: step 1, image 3 of 3
      Tool used on this step:
      Adhesive Cleanup Kit (Set of 12)
      $7.99
      Buy
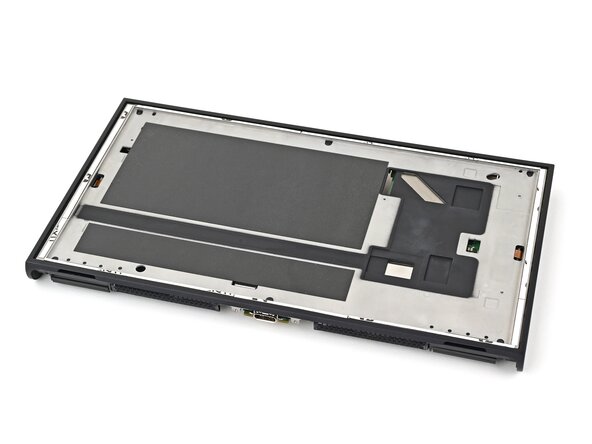
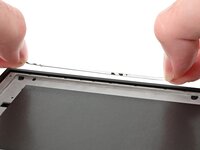
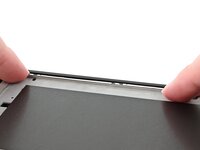
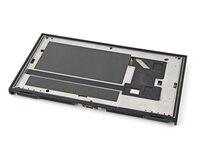
      • Use the point of a spudger to scrape off any adhesive left on the frame.

      • Apply a bit of isopropyl alcohol to a cotton swab or lint-free cloth and clean the frame until it's free of adhesive residue.

      • Alternatively, use our adhesive cleanup kit.

      Ask FixBot

      Add Comment

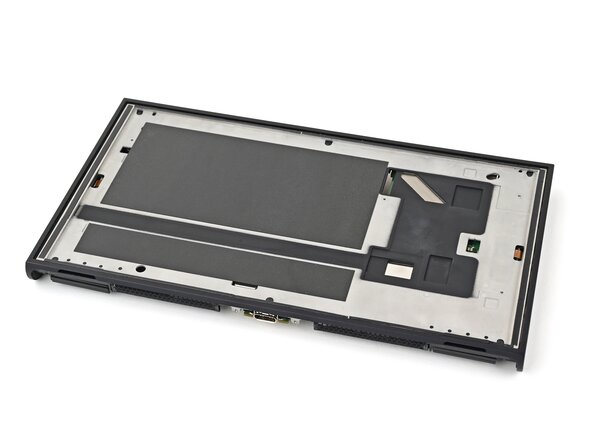
    2. Nintendo Switch 2 Screen Installation, Apply new adhesive: step 2, image 1 of 3 Nintendo Switch 2 Screen Installation, Apply new adhesive: step 2, image 2 of 3 Nintendo Switch 2 Screen Installation, Apply new adhesive: step 2, image 3 of 3
      Tool used on this step:
      Tesa 61395 Tape
      $2.95
      Buy
      • If your replacement screen comes with adhesive pre-applied, skip this step.

      • Use your fingers to install strips of thin, double-sided tape to the raised lip along the edges of the frame. Use 1 mm strips for the top and bottom edges and 2 mm strips for the sides.

      Ask FixBot

      Add Comment

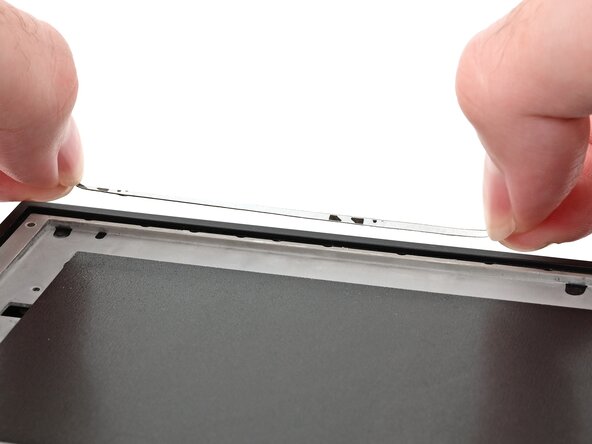
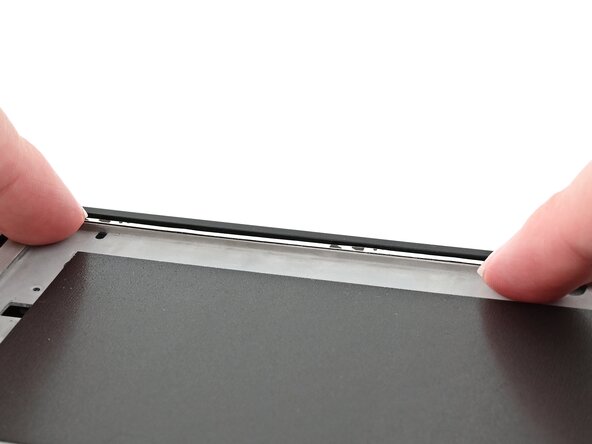
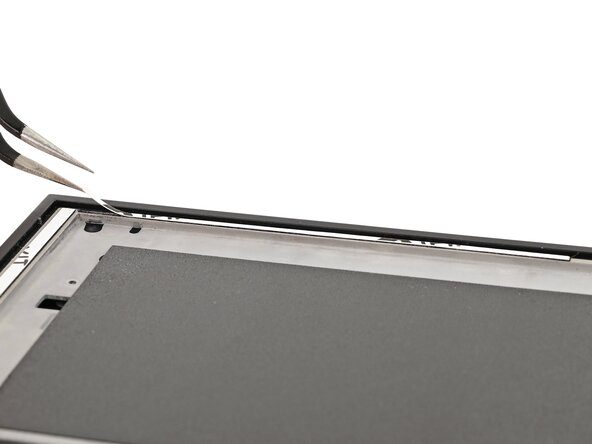
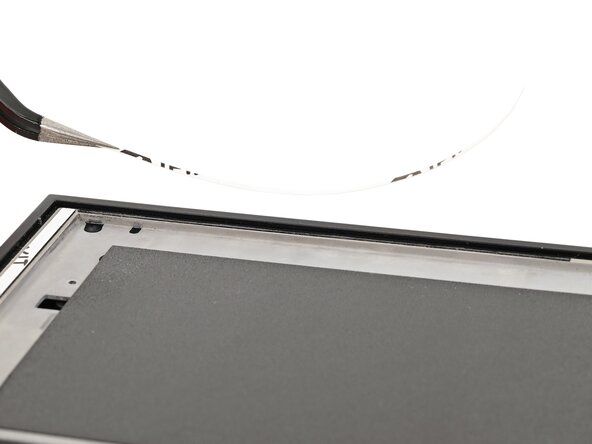
    3. Nintendo Switch 2 Screen Installation, Prepare the adhesive: step 3, image 1 of 3 Nintendo Switch 2 Screen Installation, Prepare the adhesive: step 3, image 2 of 3 Nintendo Switch 2 Screen Installation, Prepare the adhesive: step 3, image 3 of 3
      • Use angled tweezers to peel off all liners from the adhesive.

      Ask FixBot

      Add Comment

    4. Nintendo Switch 2 Screen Installation, Install the screen cable: step 4, image 1 of 3 Nintendo Switch 2 Screen Installation, Install the screen cable: step 4, image 2 of 3 Nintendo Switch 2 Screen Installation, Install the screen cable: step 4, image 3 of 3
      • Don't adhere the screen to the frame yet.

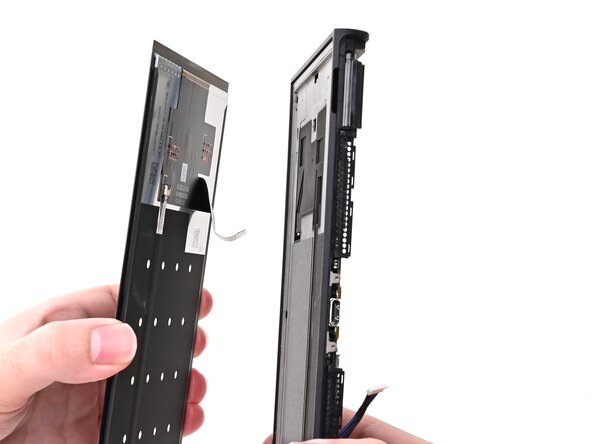
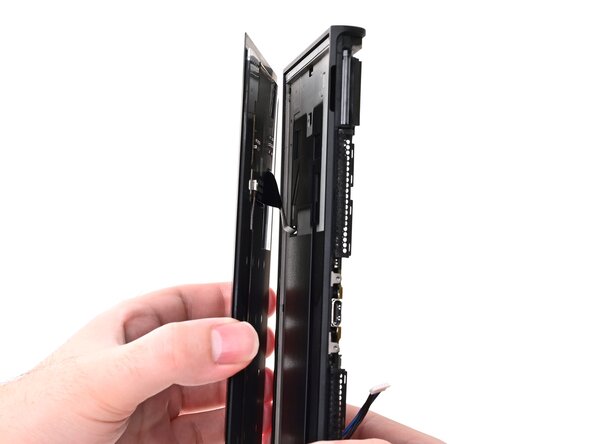
      • Align the screen's cable with its cutout in the frame.

      • Route the cable through its cutout, ensuring it reaches its connector on the board.

      Ask FixBot

      Add Comment

    5. Nintendo Switch 2 Screen Installation, Adhere the screen: step 5, image 1 of 3 Nintendo Switch 2 Screen Installation, Adhere the screen: step 5, image 2 of 3 Nintendo Switch 2 Screen Installation, Adhere the screen: step 5, image 3 of 3
      • Align the right edge of the screen with its recess in the frame.

      • Press the right edge of the screen into place, then work your way to the left edge until the entire screen is adhered to the frame.

      • If the screen starts to feel misaligned as you work your way down, lift it back up and try again. Try to avoid stretching or creasing the adhesive.

      Ask FixBot

      Add Comment

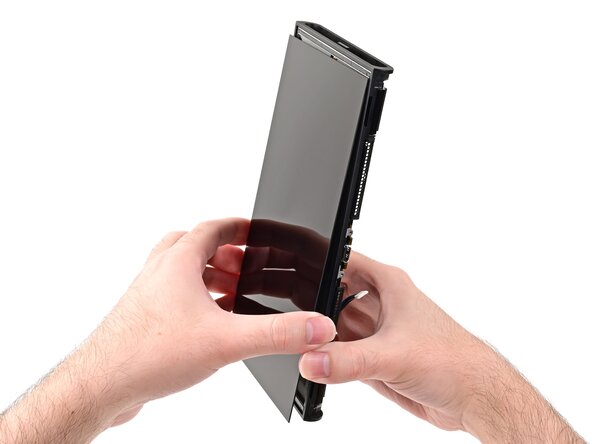
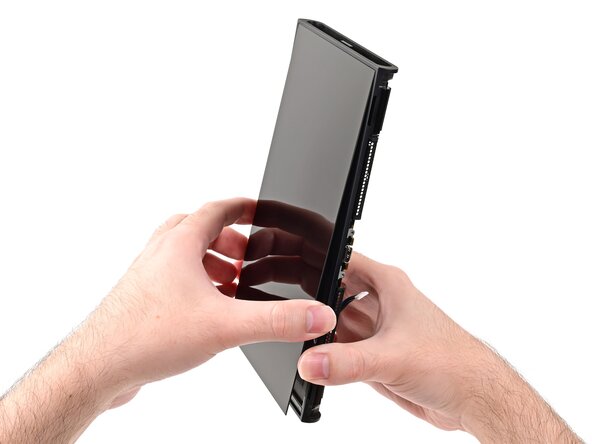
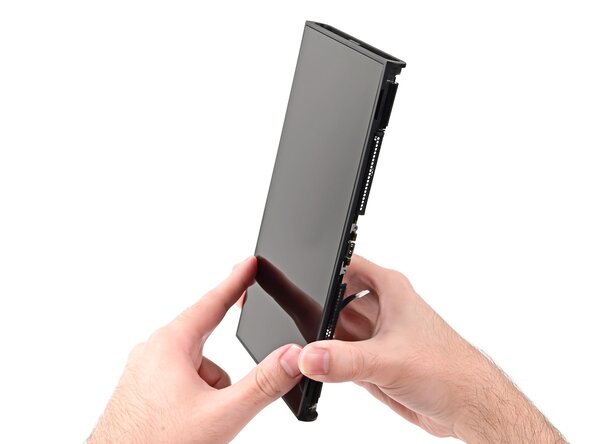
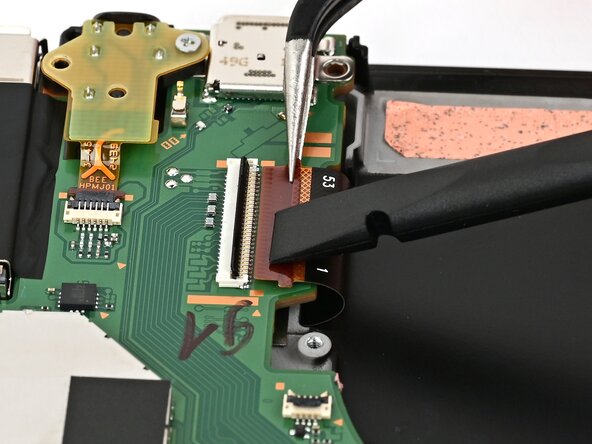
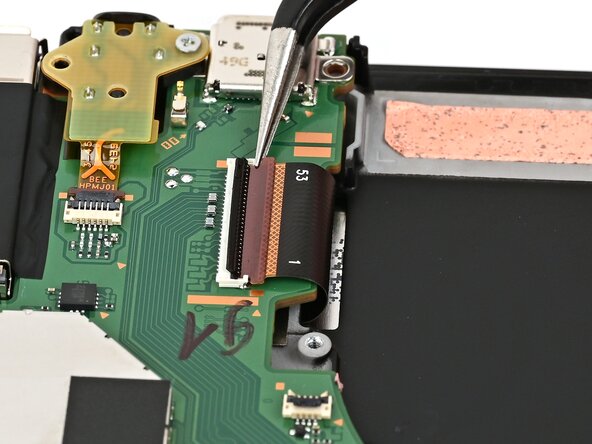
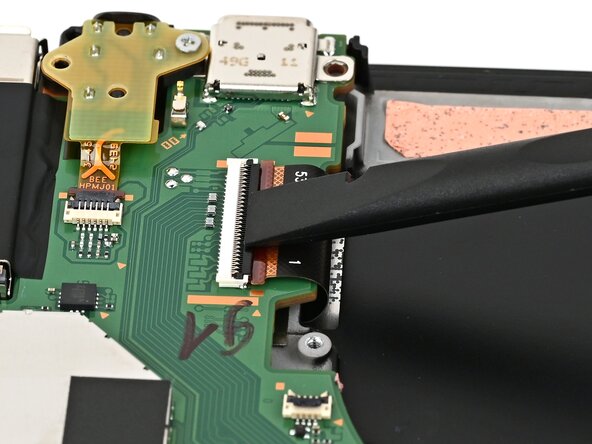
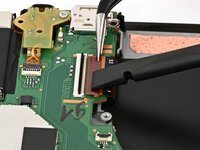
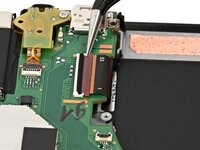
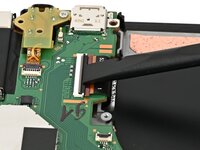
    6. Nintendo Switch 2 Screen Installation, Connect the screen cable: step 6, image 1 of 3 Nintendo Switch 2 Screen Installation, Connect the screen cable: step 6, image 2 of 3 Nintendo Switch 2 Screen Installation, Connect the screen cable: step 6, image 3 of 3
      • Use tweezers or your fingers to slide the screen cable into its ZIF connector until it's fully seated.

      • If you're using tweezers, you can use the flat end of a spudger to help guide the cable into its connector.

      • Flip the hinged locking flap down to secure the cable.

      Ask FixBot

      Add Comment

Conclusion

To reassemble your device, follow these instructions in reverse order.

Cancel: I did not complete this guide.

Nick Schultz

Member since: 03/24/24

65,246 Reputation

343 Guides authored

0 Guide Comments

Add Comment

View Statistics:

Past 24 Hours: 1

Past 7 Days: 3

Past 30 Days: 12

All Time: 142