Free Shipping on Domestic Orders $75+

Nintendo Switch 2 Left Joy-Con 2 Connector Installation

Prerequisite Only
This is a prerequisite-only guide! This guide is part of another procedure and isn’t meant to be used alone.

What you need

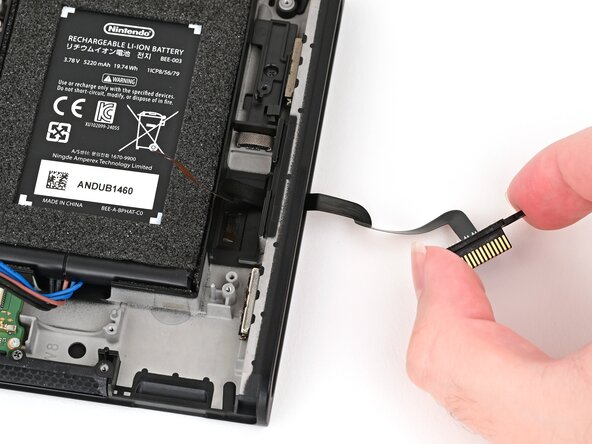
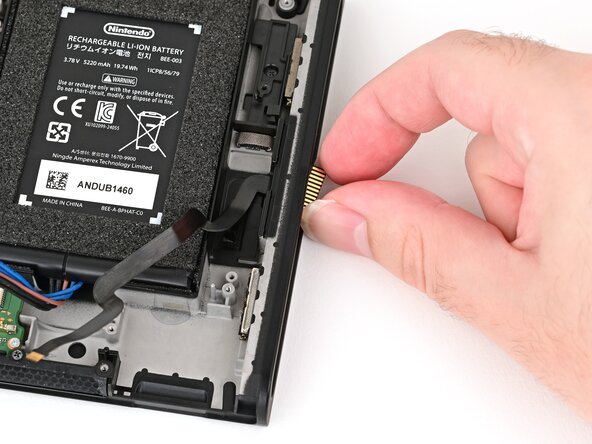
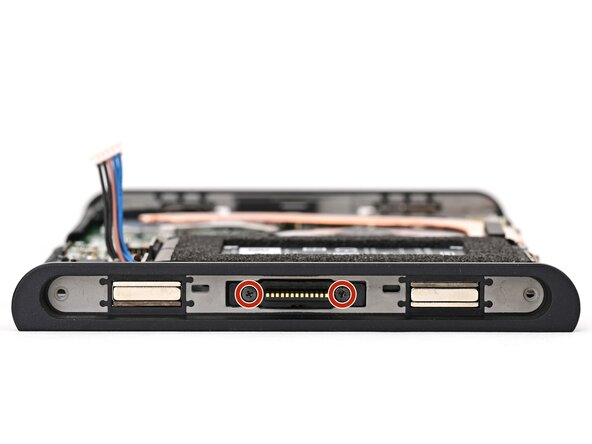
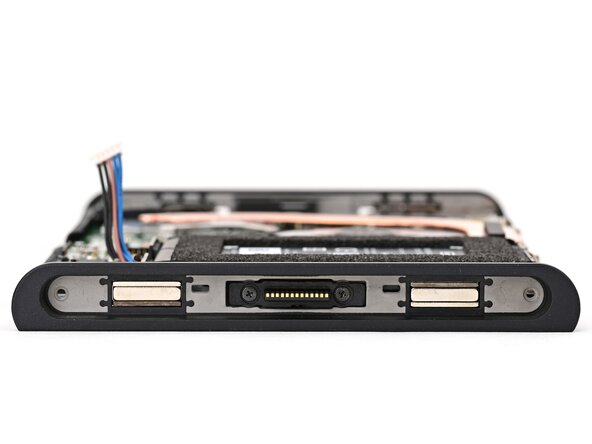
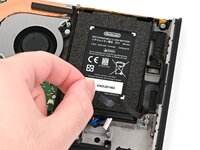
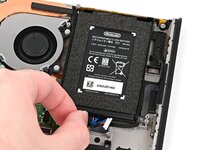
    1. Nintendo Switch 2 Left Joy-Con 2 Connector Installation, Install the left Joy‑Con 2 connector: step 1, image 1 of 2 Nintendo Switch 2 Left Joy-Con 2 Connector Installation, Install the left Joy‑Con 2 connector: step 1, image 2 of 2
      • Route the left Joy‑Con 2 connector cable through its slot in the frame until the connector itself is aligned with its screw holes.

      Ask FixBot

      Add Comment

    2. Nintendo Switch 2 Left Joy-Con 2 Connector Installation: step 2, image 1 of 2 Nintendo Switch 2 Left Joy-Con 2 Connector Installation: step 2, image 2 of 2
      • Use a JIS 00 driver to install the two 3.2 mm‑long black screws securing the left Joy‑Con 2 connector.

      Ask FixBot

      Add Comment

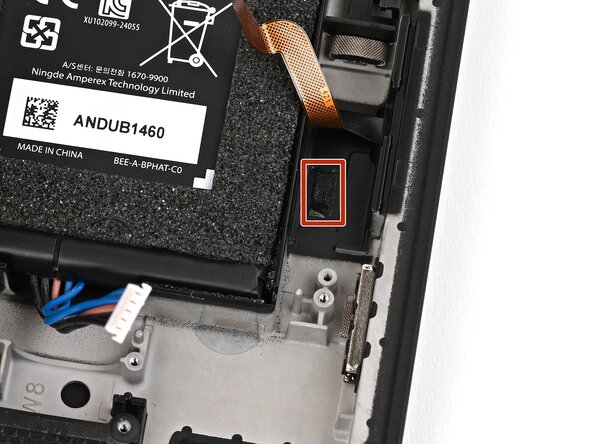
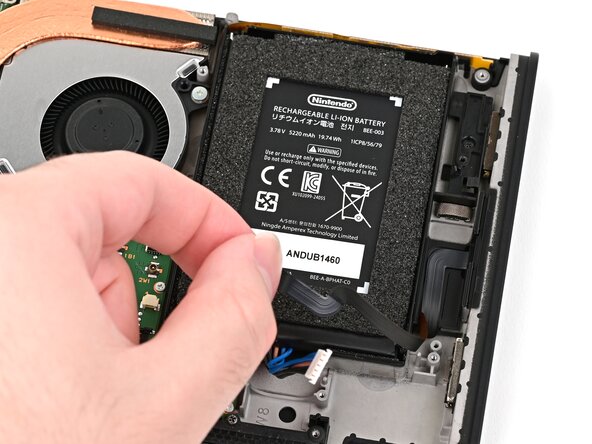
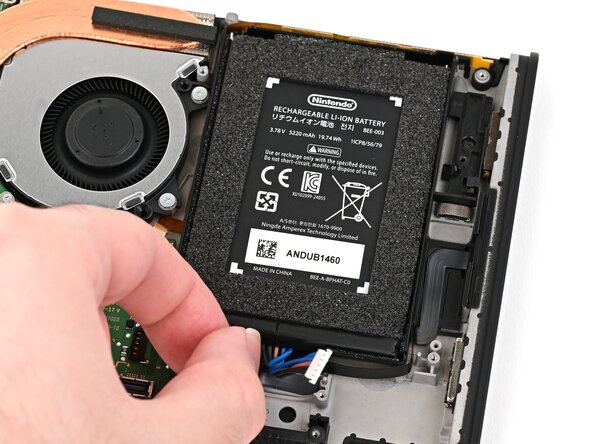
    3. Nintendo Switch 2 Left Joy-Con 2 Connector Installation, Route the left Joy‑Con 2 cable: step 3, image 1 of 3 Nintendo Switch 2 Left Joy-Con 2 Connector Installation, Route the left Joy‑Con 2 cable: step 3, image 2 of 3 Nintendo Switch 2 Left Joy-Con 2 Connector Installation, Route the left Joy‑Con 2 cable: step 3, image 3 of 3
      Tool used on this step:
      Tesa 61395 Tape
      $2.95
      Buy
      • Stick the cable onto its adhesive securing it to the frame.

      • If the adhesive got lost or damaged, replace it with a piece of thin, double-sided tape.

      • Route the connector's cable beneath the battery cable.

      Ask FixBot

      Add Comment

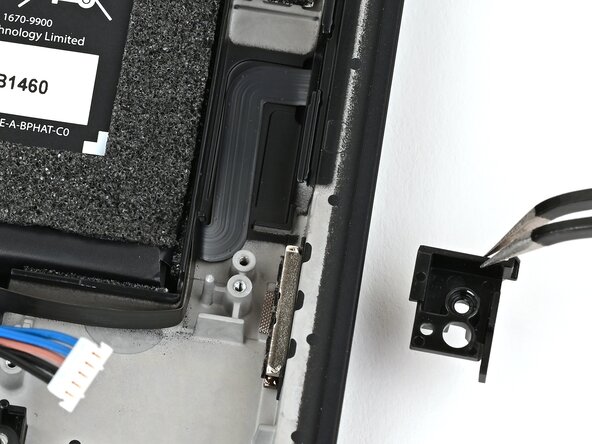
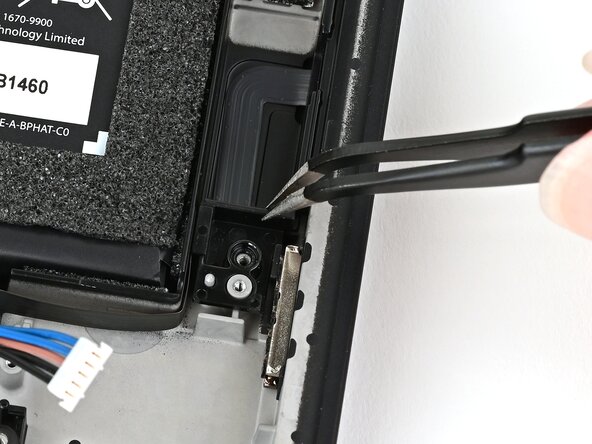
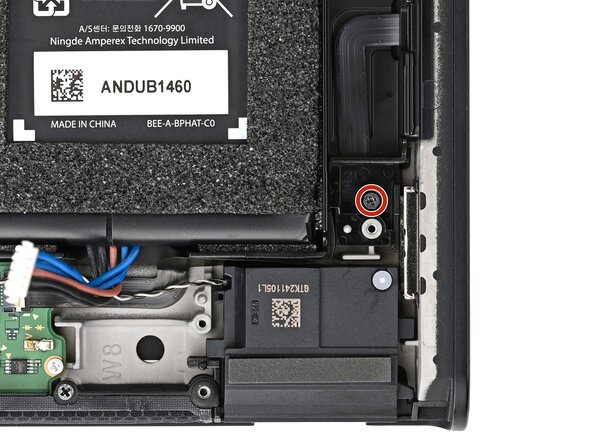
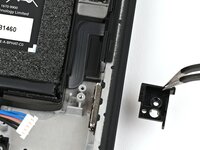
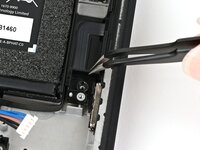
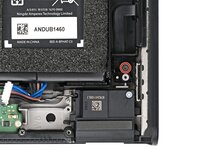
    4. Nintendo Switch 2 Left Joy-Con 2 Connector Installation: step 4, image 1 of 3 Nintendo Switch 2 Left Joy-Con 2 Connector Installation: step 4, image 2 of 3 Nintendo Switch 2 Left Joy-Con 2 Connector Installation: step 4, image 3 of 3
      • Align the cable's bracket with its posts and set it into the frame.

      • Use a JIS 00 driver to install the 2.3 mm‑long black screw securing the bracket.

      Ask FixBot

      Add Comment

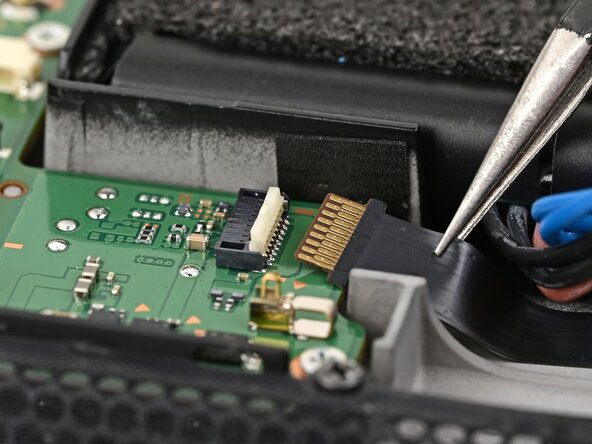
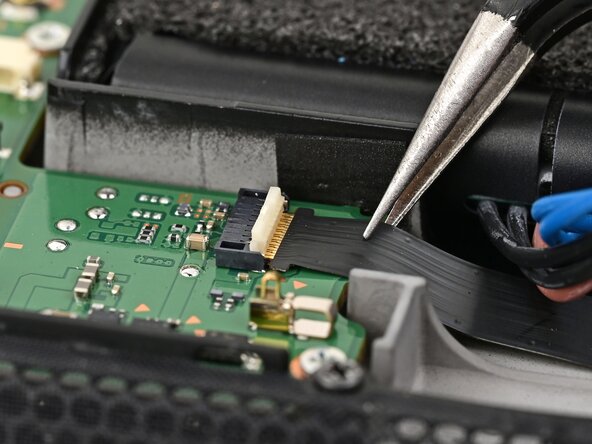
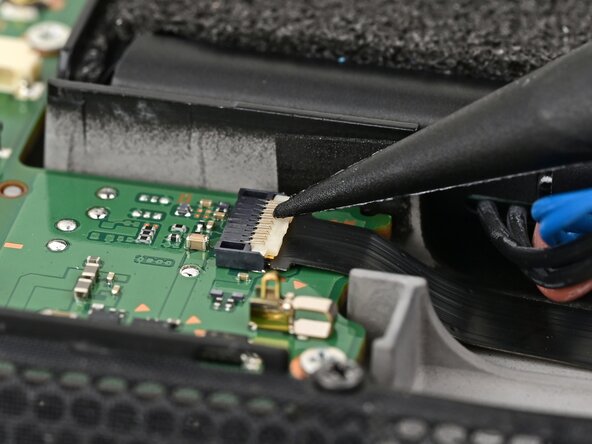
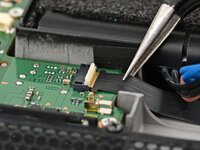
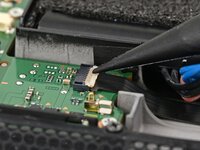
    5. Nintendo Switch 2 Left Joy-Con 2 Connector Installation, Connect the left Joy‑Con 2 cable: step 5, image 1 of 3 Nintendo Switch 2 Left Joy-Con 2 Connector Installation, Connect the left Joy‑Con 2 cable: step 5, image 2 of 3 Nintendo Switch 2 Left Joy-Con 2 Connector Installation, Connect the left Joy‑Con 2 cable: step 5, image 3 of 3
      • Use tweezers to insert the left Joy‑Con 2 connector cable into its ZIF connector on the board until it's fully seated.

      • Flip the hinged locking flap down to secure the cable.

      Ask FixBot

      Add Comment

Conclusion

To reassemble your device, follow these instructions in reverse order.

Cancel: I did not complete this guide.

Nick Schultz

Member since: 03/24/24

65,697 Reputation

343 Guides authored

0 Guide Comments

Add Comment

View Statistics:

Past 24 Hours: 0

Past 7 Days: 10

Past 30 Days: 18

All Time: 132