Free Shipping on Domestic Orders $75+

Nintendo Switch 2 Board Removal

Prerequisite Only
This is a prerequisite-only guide! This guide is part of another procedure and isn’t meant to be used alone.

What you need

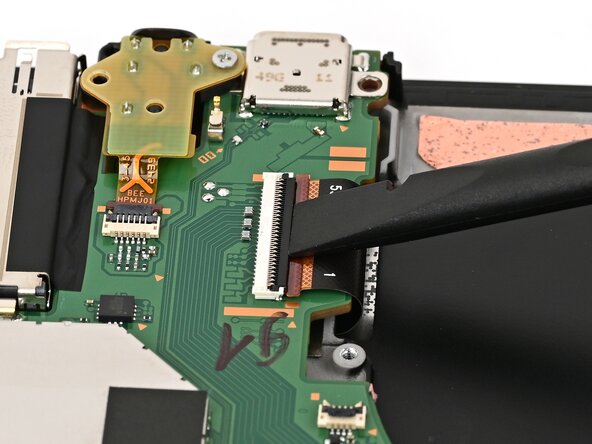
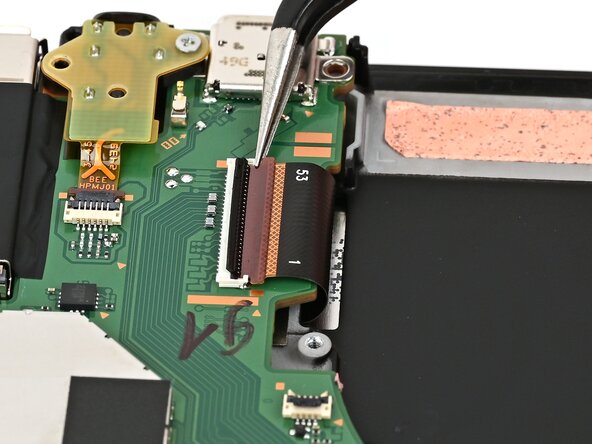
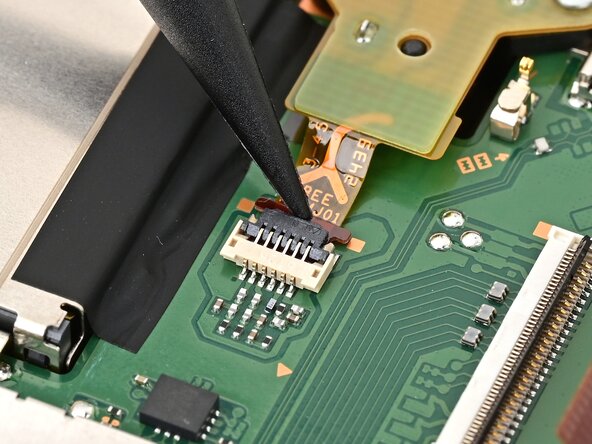
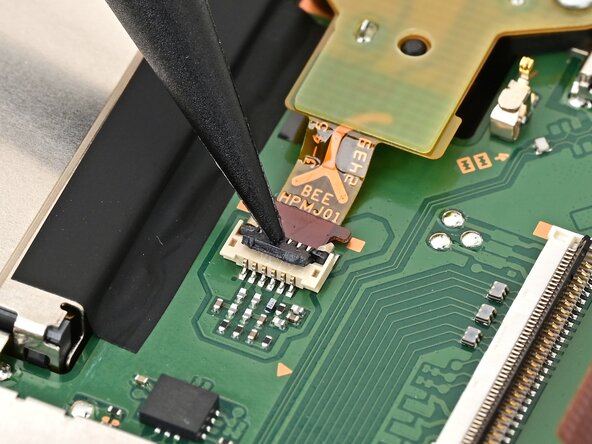
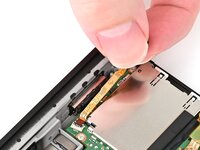
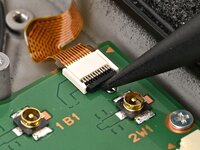
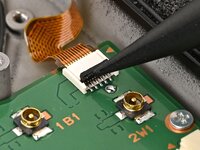
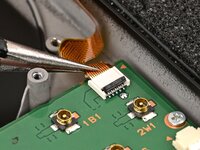
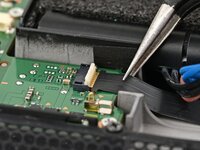
    1. Nintendo Switch 2 Board Removal, Disconnect the screen: step 1, image 1 of 2 Nintendo Switch 2 Board Removal, Disconnect the screen: step 1, image 2 of 2
      • Use your finger or the flat end of a spudger to flip up the locking flap on the screen cable ZIF connector.

      Ask FixBot

      Add Comment

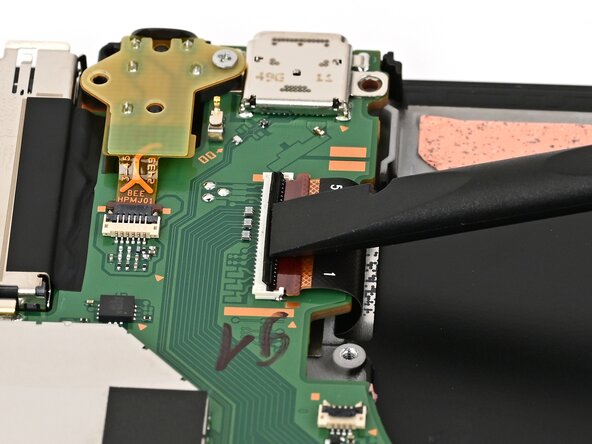
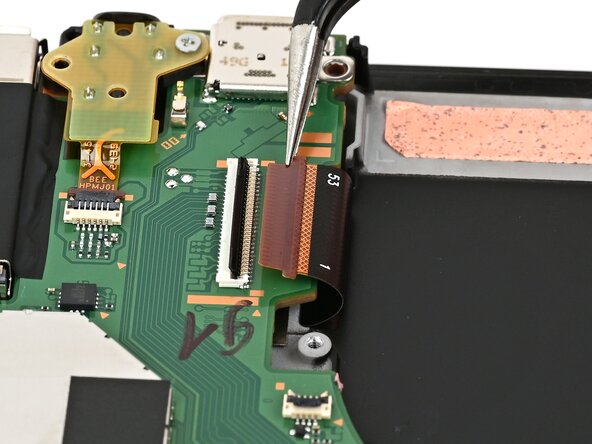
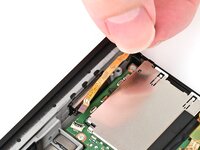
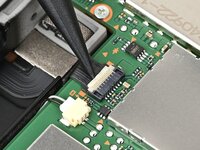
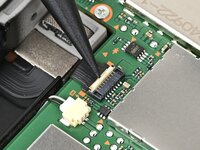
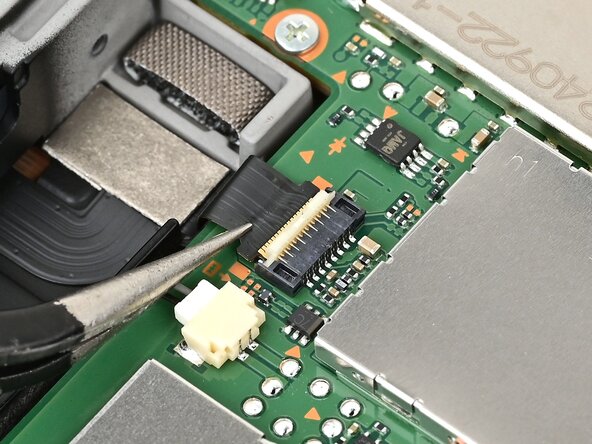
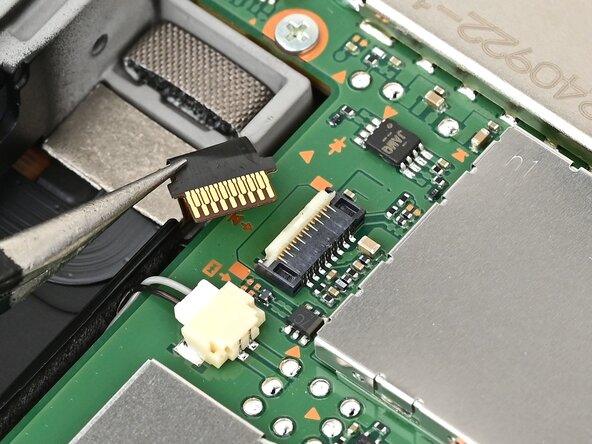
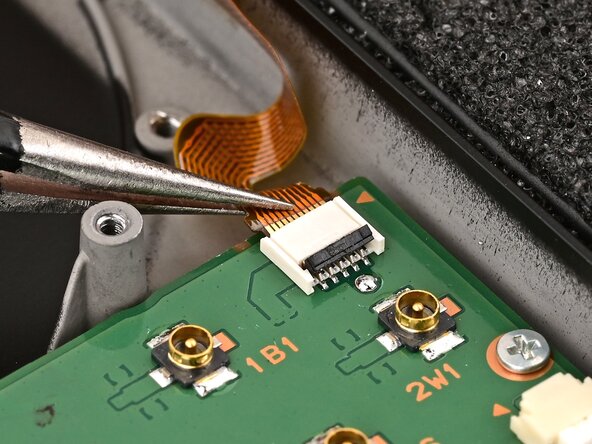
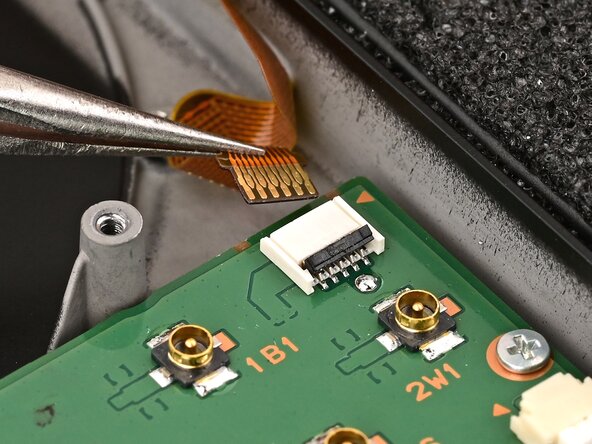
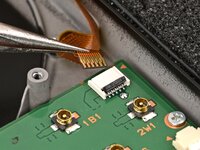
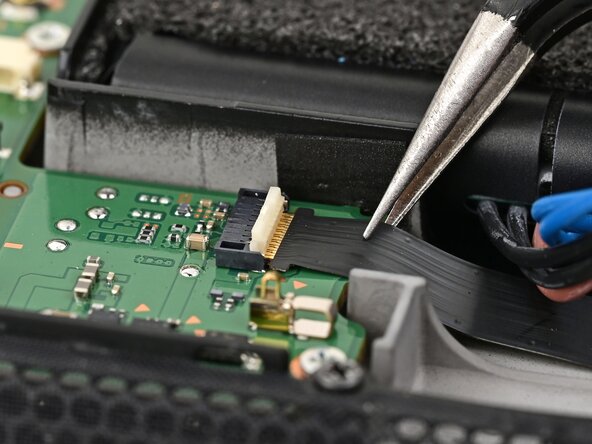
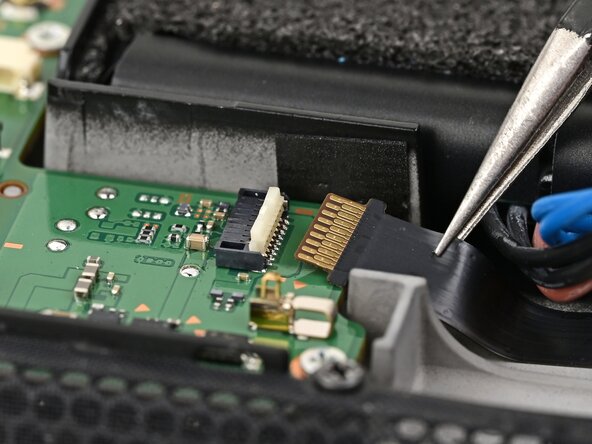
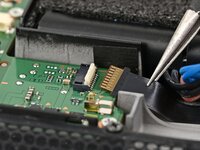
    2. Nintendo Switch 2 Board Removal: step 2, image 1 of 2 Nintendo Switch 2 Board Removal: step 2, image 2 of 2
      • Use tweezers or your fingers to gently pull the screen cable out of its connector.

      Ask FixBot

      Add Comment

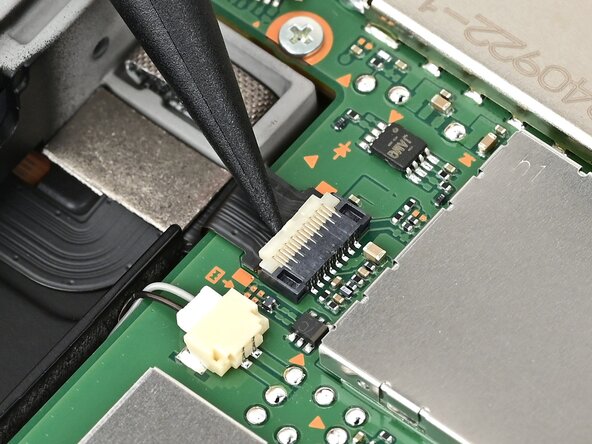
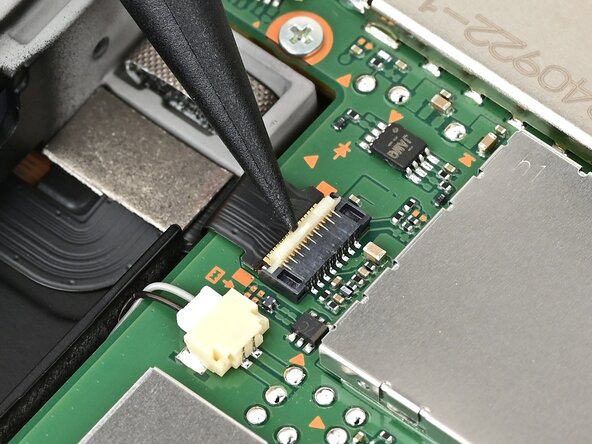
    3. Nintendo Switch 2 Board Removal, Disconnect the headphone jack: step 3, image 1 of 2 Nintendo Switch 2 Board Removal, Disconnect the headphone jack: step 3, image 2 of 2
      • Use the point of a spudger to flip up the locking flap on the headphone jack ZIF connector, located on the top edge of the console's board.

      Ask FixBot

      Add Comment

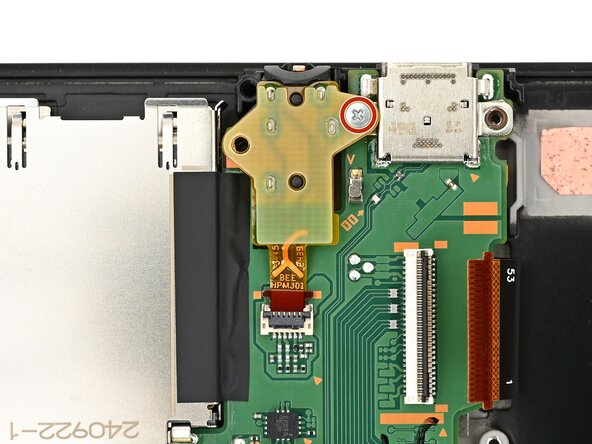
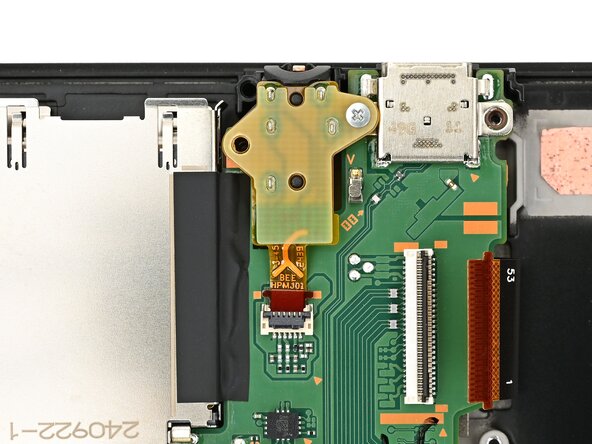
    4. Nintendo Switch 2 Board Removal, Remove the headphone jack: step 4, image 1 of 2 Nintendo Switch 2 Board Removal, Remove the headphone jack: step 4, image 2 of 2
      • Use a JIS 00 driver to remove the 6.2 mm‑long silver screw securing the headphone jack.

      Ask FixBot

      Add Comment

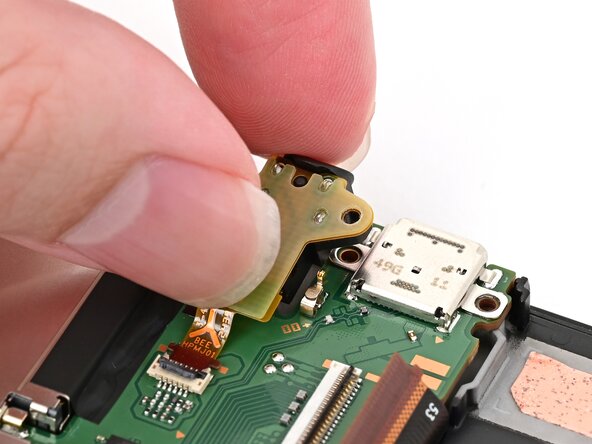
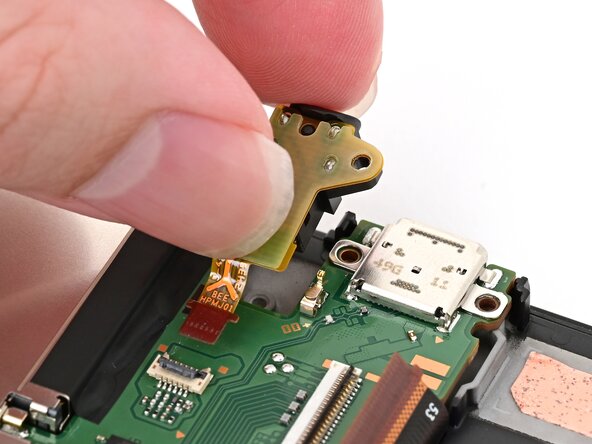
    5. Nintendo Switch 2 Board Removal: step 5, image 1 of 2 Nintendo Switch 2 Board Removal: step 5, image 2 of 2
      • Pick up the headphone jack assembly and pull its cable straight out of its connector to remove it.

      Ask FixBot

      Add Comment

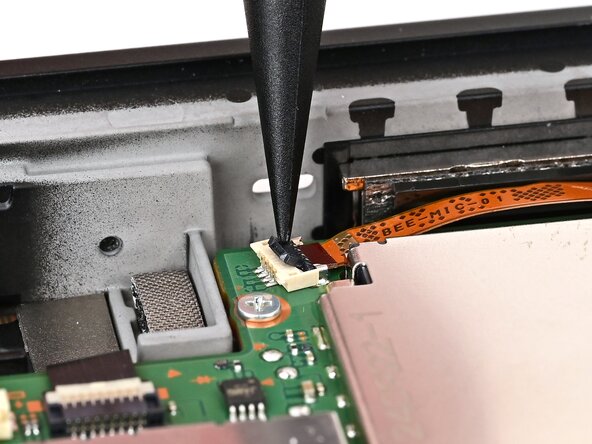
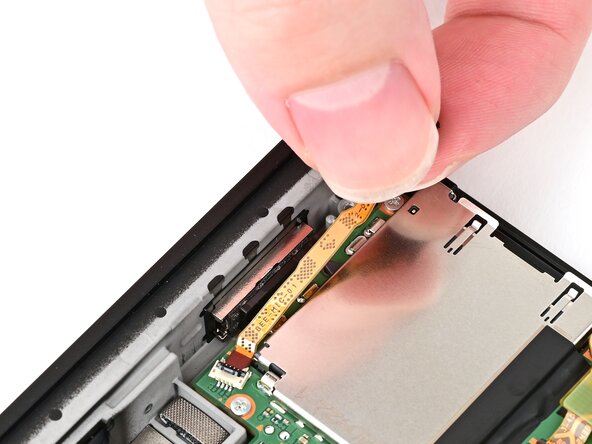
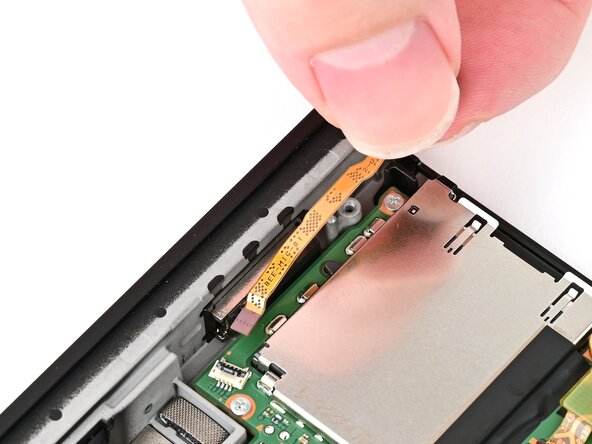
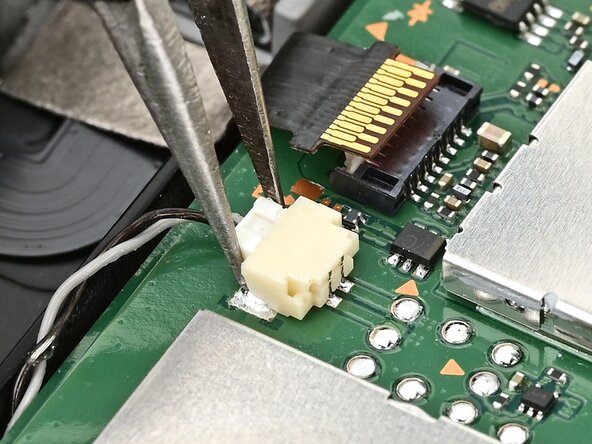
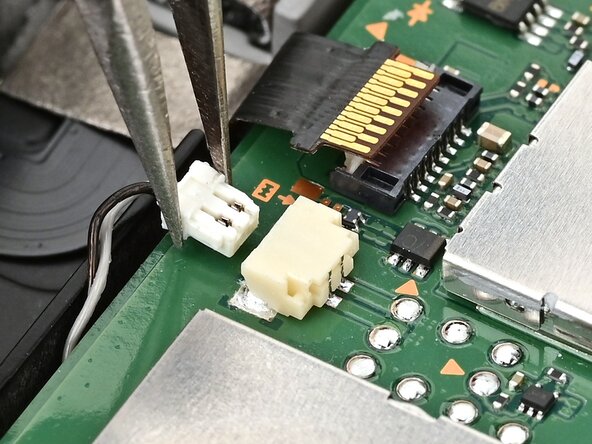
    6. Nintendo Switch 2 Board Removal, Remove the microphone: step 6, image 1 of 3 Nintendo Switch 2 Board Removal, Remove the microphone: step 6, image 2 of 3 Nintendo Switch 2 Board Removal, Remove the microphone: step 6, image 3 of 3
      • Follow the same procedure to disconnect and remove the microphone.

      Ask FixBot

      Add Comment

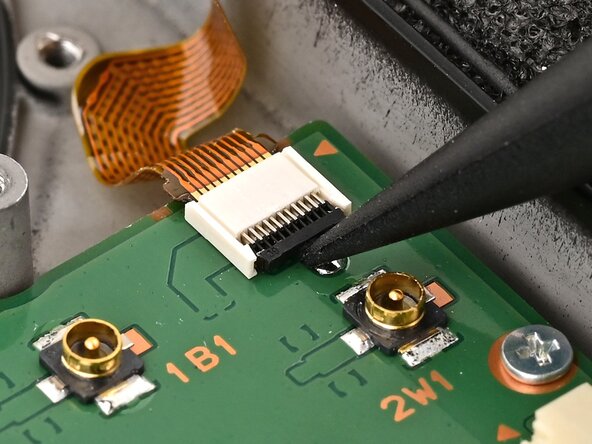
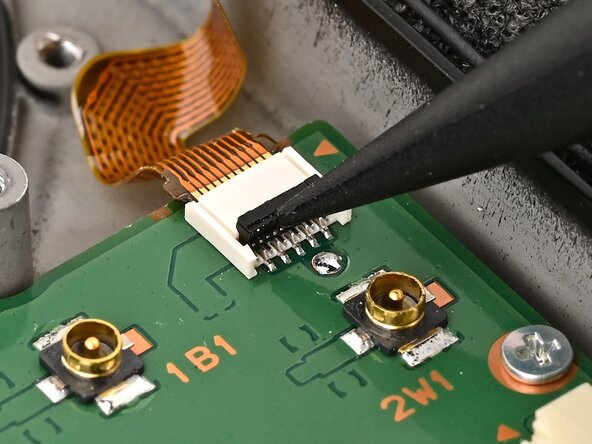
    7. Nintendo Switch 2 Board Removal, Disconnect the right Joy-Con 2 connector: step 7, image 1 of 2 Nintendo Switch 2 Board Removal, Disconnect the right Joy-Con 2 connector: step 7, image 2 of 2
      • Use the point of a spudger to flip up the locking flap on the right Joy‑Con 2 connector cable ZIF connector, located on the edge of the console's board.

      Ask FixBot

      Add Comment

    8. Nintendo Switch 2 Board Removal: step 8, image 1 of 2 Nintendo Switch 2 Board Removal: step 8, image 2 of 2
      • Use tweezers or your fingers to gently pull the cable out of its connector.

      Ask FixBot

      Add Comment

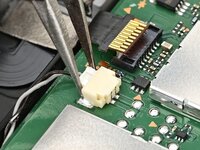
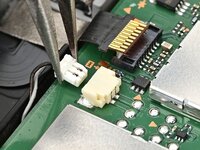
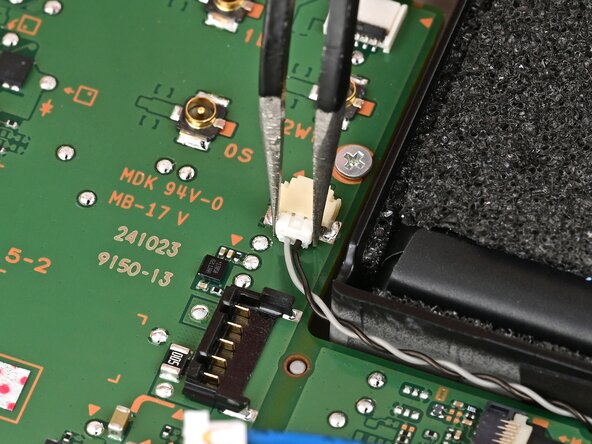
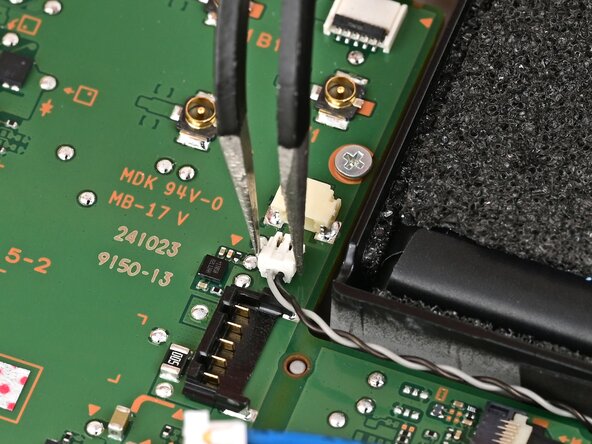
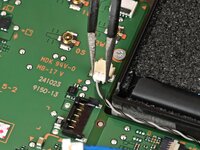
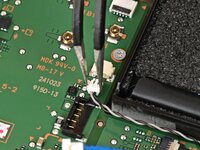
    9. Nintendo Switch 2 Board Removal, Disconnect the right speaker: step 9, image 1 of 2 Nintendo Switch 2 Board Removal, Disconnect the right speaker: step 9, image 2 of 2
      • Use tweezers or your fingers to firmly grip the right speaker cable's white JST connector and pull straight away from its socket to disconnect it.

      Ask FixBot

      Add Comment

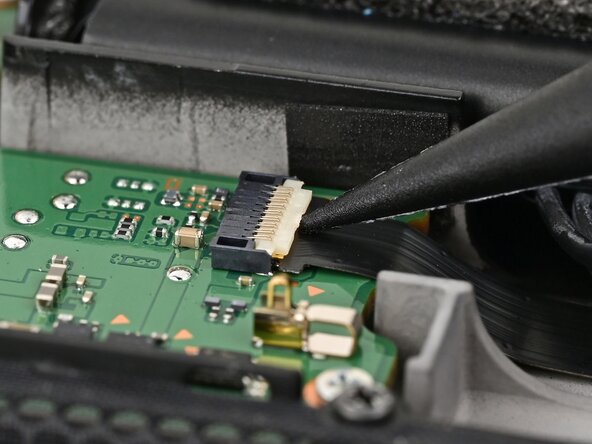
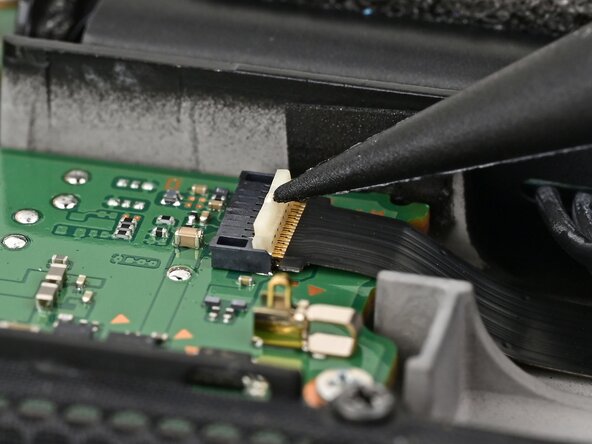
    10. Nintendo Switch 2 Board Removal, Disconnect the button board: step 10, image 1 of 2 Nintendo Switch 2 Board Removal, Disconnect the button board: step 10, image 2 of 2
      • Use the point of a spudger to flip up the locking flap on the button cable ZIF connector, located next to the battery.

      Ask FixBot

      Add Comment

    11. Nintendo Switch 2 Board Removal: step 11, image 1 of 2 Nintendo Switch 2 Board Removal: step 11, image 2 of 2
      • Use tweezers or your fingers to gently pull the button board cable out of its connector.

      Ask FixBot

      Add Comment

    12. Nintendo Switch 2 Board Removal, Disconnect the left speaker: step 12, image 1 of 2 Nintendo Switch 2 Board Removal, Disconnect the left speaker: step 12, image 2 of 2
      • Use tweezers or your fingers to firmly grip the left speaker cable's white JST connector and pull straight away from its socket to disconnect it.

      Ask FixBot

      Add Comment

    13. Nintendo Switch 2 Board Removal, Disconnect the left Joy‑Con 2 connector: step 13, image 1 of 2 Nintendo Switch 2 Board Removal, Disconnect the left Joy‑Con 2 connector: step 13, image 2 of 2
      • Use the point of a spudger to flip up the locking flap on the left Joy‑Con 2 connector cable ZIF connector, located next to the battery on the console's board.

      Ask FixBot

      Add Comment

    14. Nintendo Switch 2 Board Removal: step 14, image 1 of 2 Nintendo Switch 2 Board Removal: step 14, image 2 of 2
      • Use tweezers or your fingers to gently pull the cable out of its connector.

      Ask FixBot

      Add Comment

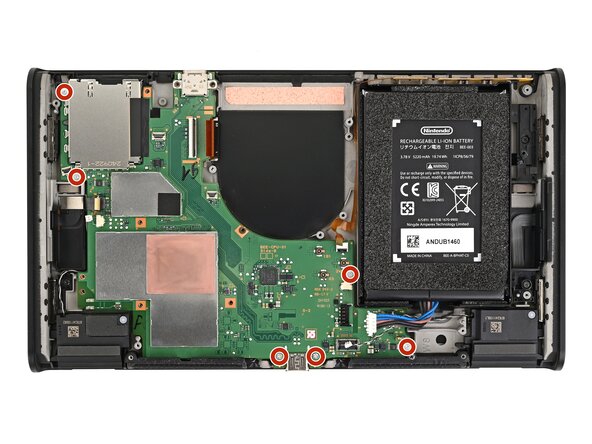
    15. Nintendo Switch 2 Board Removal, Remove the board screws: step 15, image 1 of 2 Nintendo Switch 2 Board Removal, Remove the board screws: step 15, image 2 of 2
      • Use a JIS 00 driver to remove the six 3.4 mm‑long silver screws securing the board.

      Ask FixBot

      Add Comment

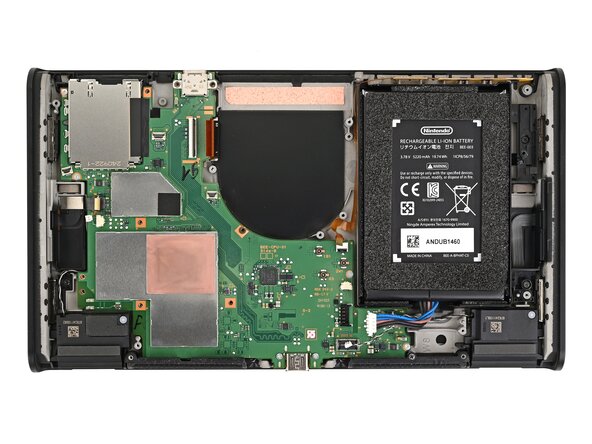
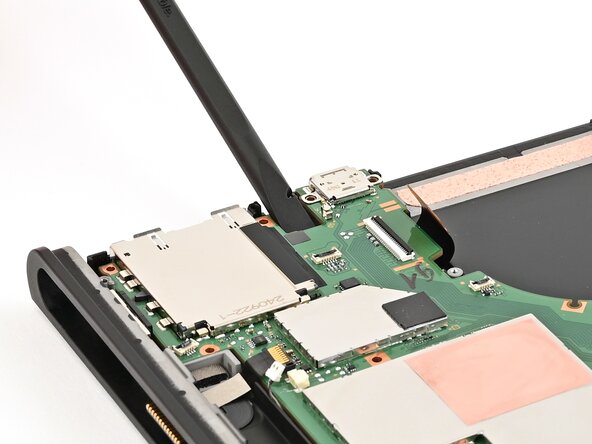
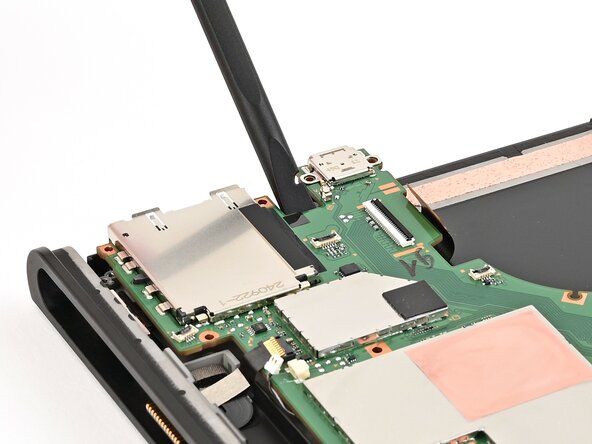
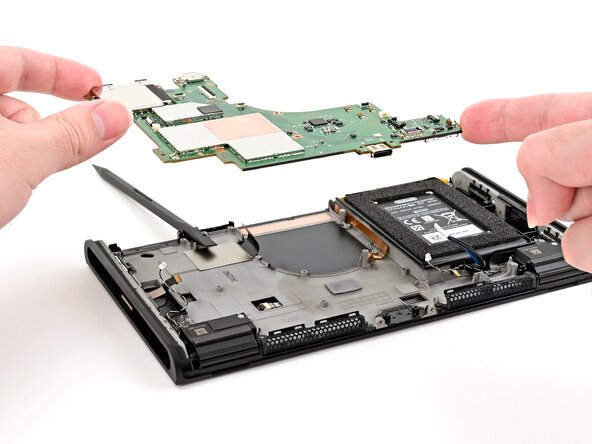
    16. Nintendo Switch 2 Board Removal, Lift the board: step 16, image 1 of 2 Nintendo Switch 2 Board Removal, Lift the board: step 16, image 2 of 2
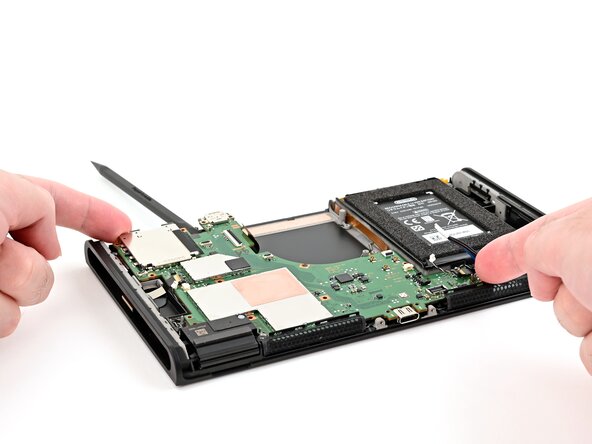
      • Use the flat end of a spudger to lift the board off the frame from the headphone jack cutout.

      Ask FixBot

      Add Comment

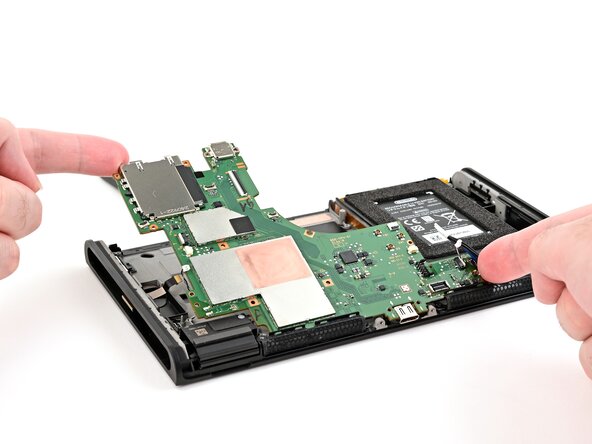
    17. Nintendo Switch 2 Board Removal, Remove the board: step 17, image 1 of 3 Nintendo Switch 2 Board Removal, Remove the board: step 17, image 2 of 3 Nintendo Switch 2 Board Removal, Remove the board: step 17, image 3 of 3
      • Lift the top edge of the board, then the bottom, to remove it.

      Ask FixBot

      Add Comment

Conclusion

To reassemble your device, follow these instructions in reverse order.

Cancel: I did not complete this guide.

Nick Schultz

Member since: 03/24/24

65,497 Reputation

343 Guides authored

0 Guide Comments

Add Comment

View Statistics:

Past 24 Hours: 1

Past 7 Days: 1

Past 30 Days: 11

All Time: 120