Shop the Holiday Gift Guide
Free Shipping on Domestic Orders $75+

Nintendo Switch 2 Board Installation

Views: 100

View statistics:

Past 24 Hours:
0
Past 7 Days:
2
Past 30 Days:
7
All Time:
100
Comments: 0

No one has left comments on this guide. Will you be first?

Go to guide comments
Completed: 0

No one has marked this guide "completed." Will you be the first?

Favorites: 0

No one has favorited (and subscribed to) this guide. Will you be the first?

Time Required: No estimate
Difficulty: Moderate
Prerequisite Only

This is a prerequisite-only guide! This guide is part of another procedure and isn’t meant to be used alone.

Nintendo Switch 2 Board Installation

What you need

Tools

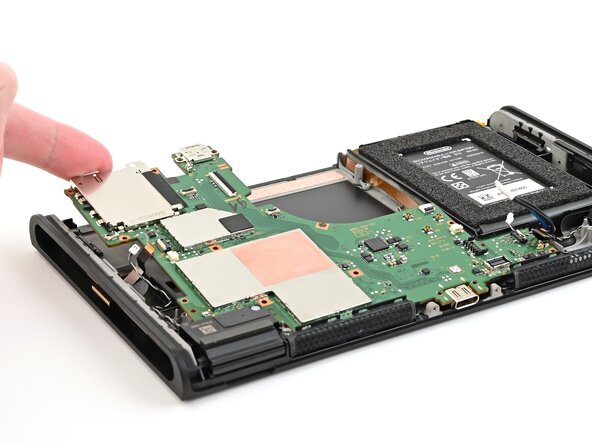
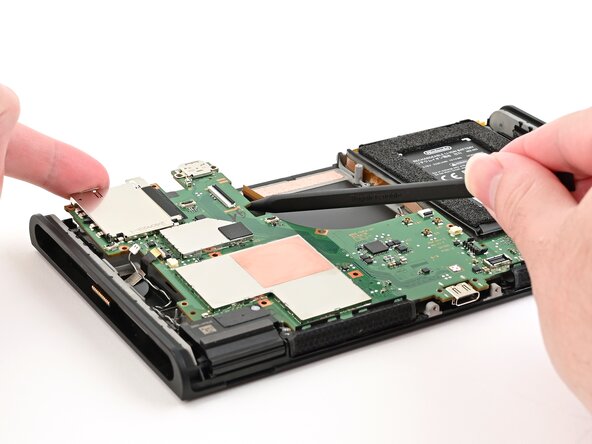
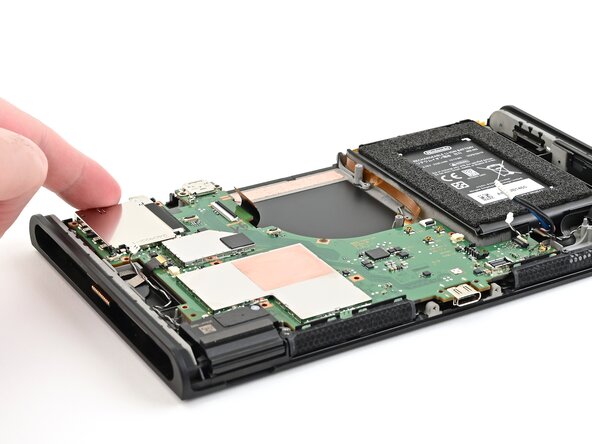
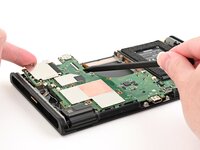
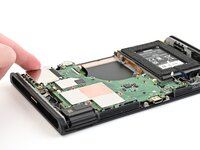
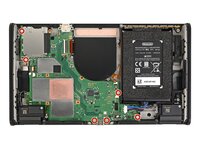
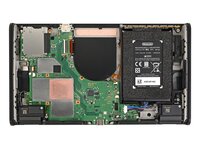
    1. Nintendo Switch 2 Board Installation, Install the board: step 1, image 1 of 3 Nintendo Switch 2 Board Installation, Install the board: step 1, image 2 of 3 Nintendo Switch 2 Board Installation, Install the board: step 1, image 3 of 3
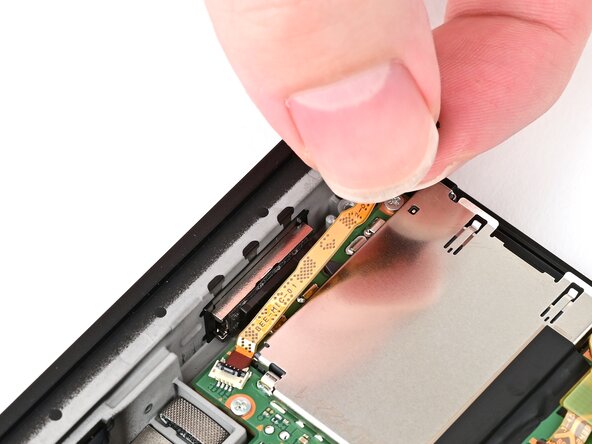
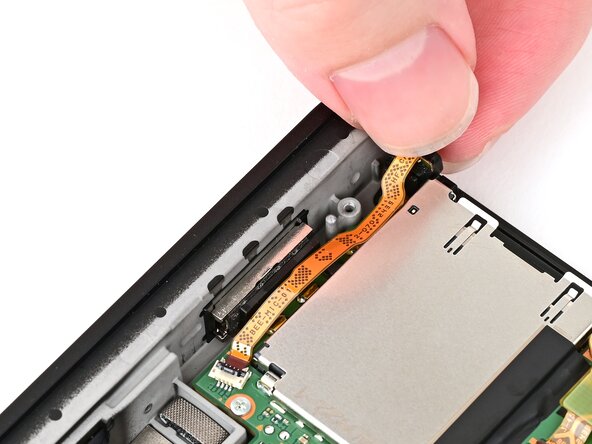
      • Place the board into the console at an angle so it sits underneath the metal grilles on the bottom edge of the console.

      • Use your fingers or a spudger to bend all the ribbon cables away from the board so they aren't stuck beneath it.

      • Lower the board into the console.

      Ask FixBot

      Add Comment

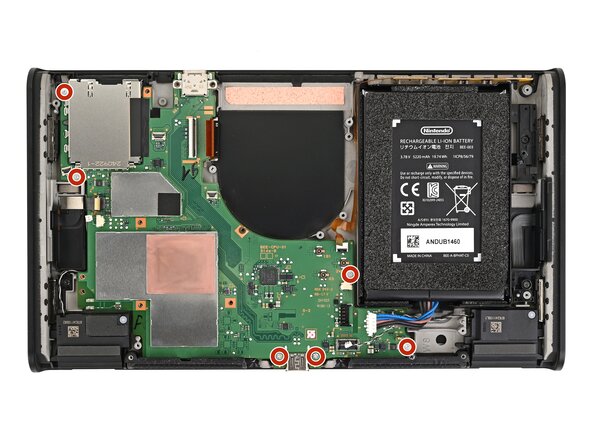
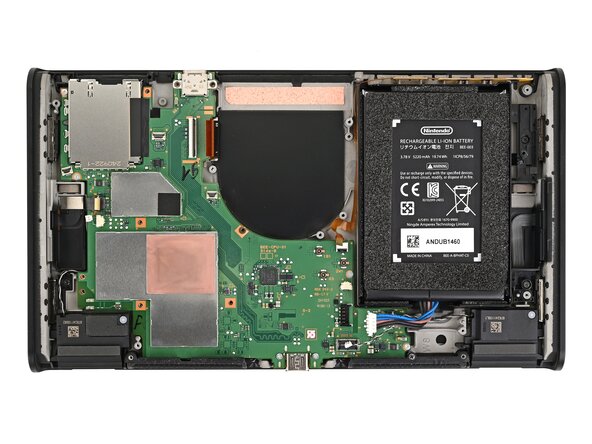
    2. Nintendo Switch 2 Board Installation, Install the board screws: step 2, image 1 of 2 Nintendo Switch 2 Board Installation, Install the board screws: step 2, image 2 of 2
      • Use a JIS 00 driver to install the six 3.4 mm‑long silver screws securing the board.

      Ask FixBot

      Add Comment

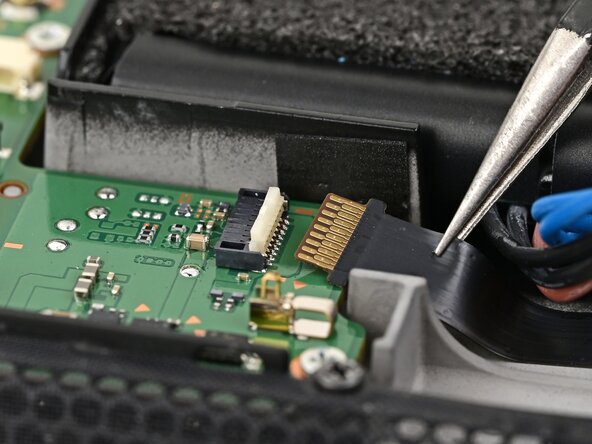
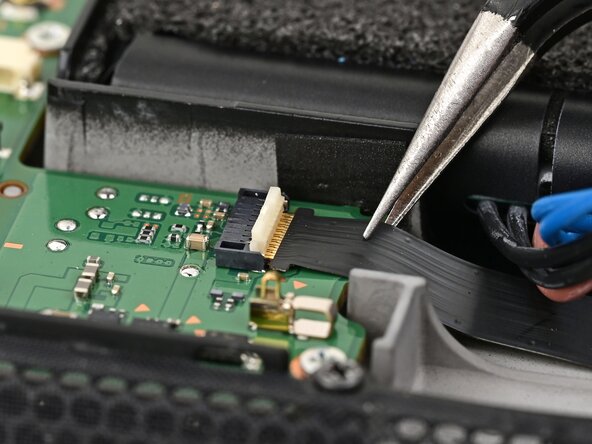
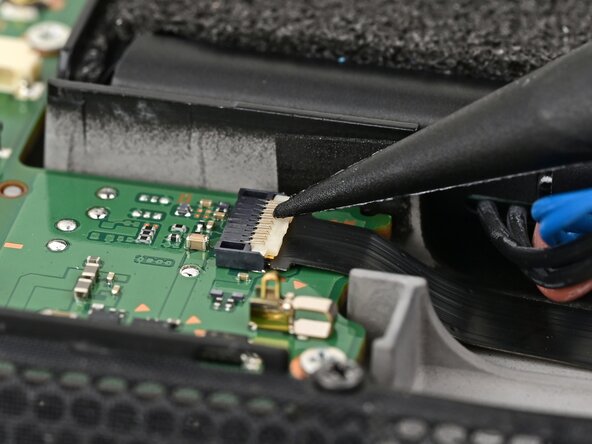
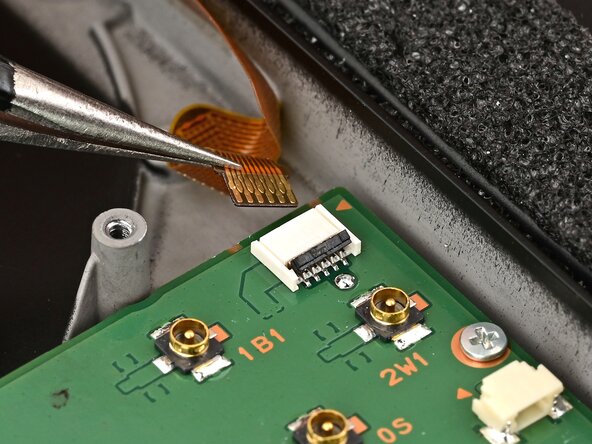
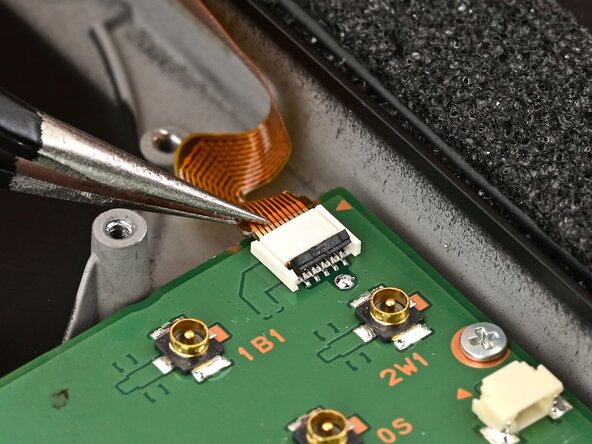
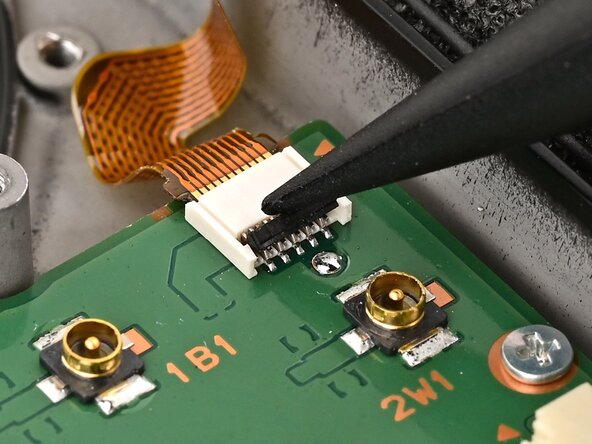
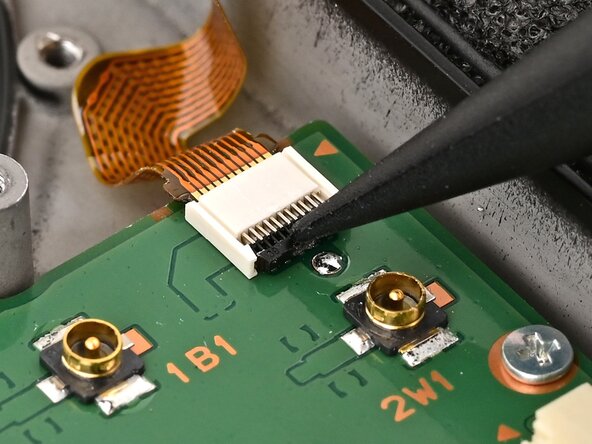
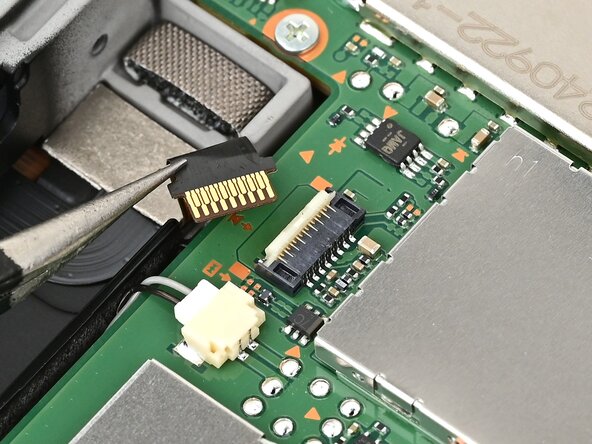
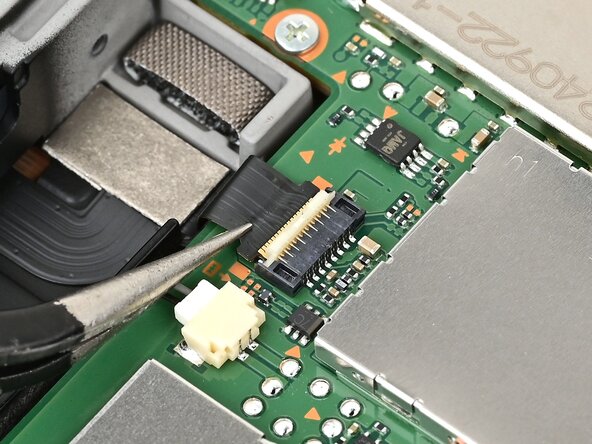
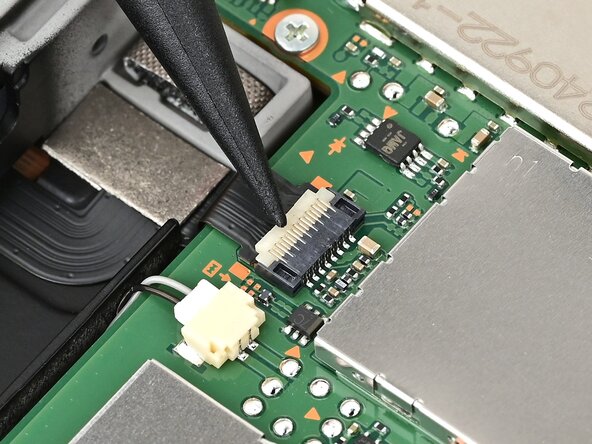
    3. Nintendo Switch 2 Board Installation, Connect the left Joy‑Con 2 cable: step 3, image 1 of 3 Nintendo Switch 2 Board Installation, Connect the left Joy‑Con 2 cable: step 3, image 2 of 3 Nintendo Switch 2 Board Installation, Connect the left Joy‑Con 2 cable: step 3, image 3 of 3
      • Use tweezers to insert the left Joy‑Con 2 connector cable into its ZIF connector on the board until it's fully seated.

      • Use your finger or a spudger to flip the hinged locking flap down to secure the cable.

      Ask FixBot

      Add Comment

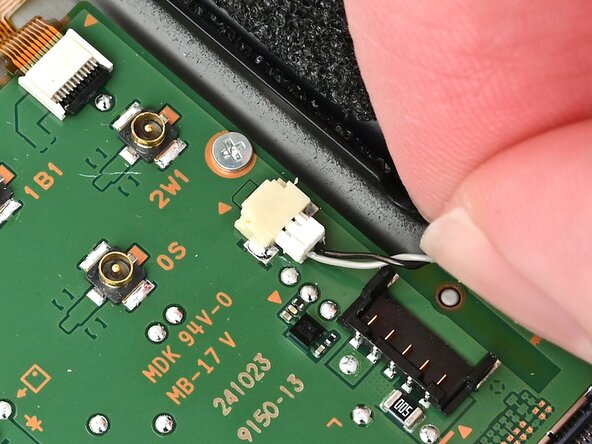
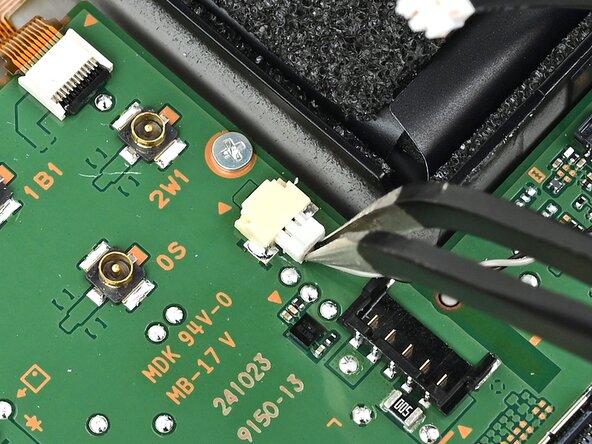
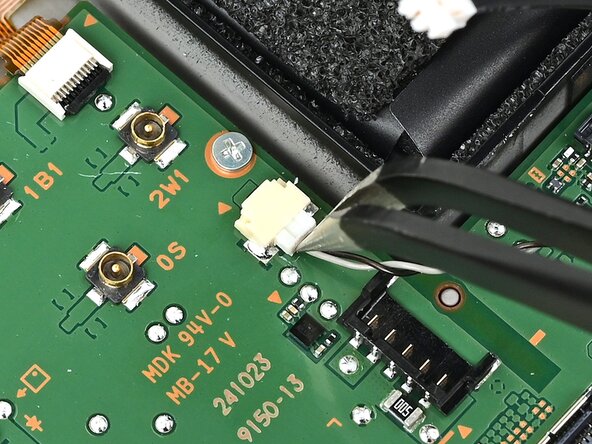
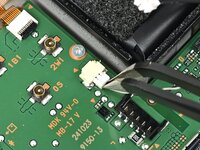
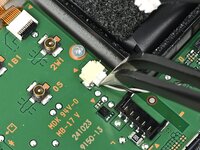
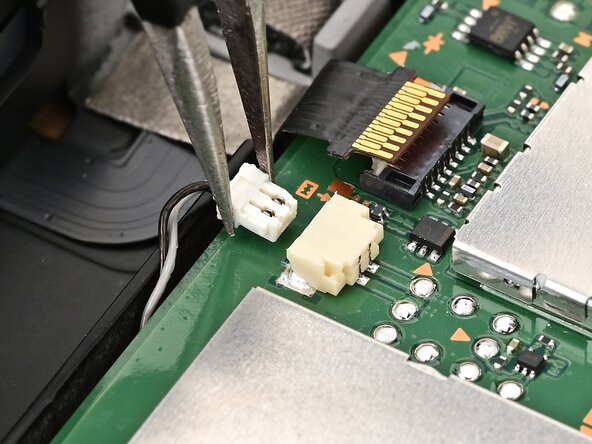
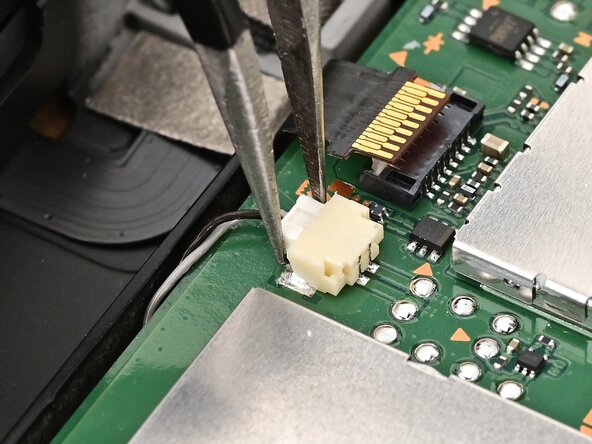
    4. Nintendo Switch 2 Board Installation, Connect the left speaker: step 4, image 1 of 3 Nintendo Switch 2 Board Installation, Connect the left speaker: step 4, image 2 of 3 Nintendo Switch 2 Board Installation, Connect the left speaker: step 4, image 3 of 3
      • Align the left speaker cable's white JST connector with its socket on the board.

      • Use tweezers or your fingers to fully seat the connector into its socket.

      Ask FixBot

      Add Comment

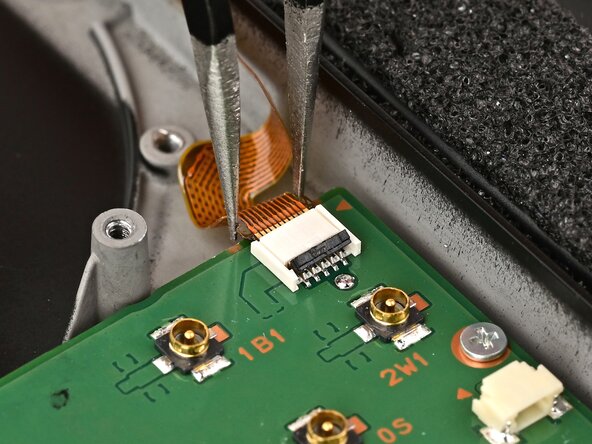
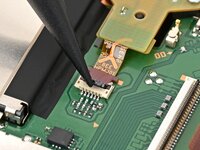
    5. Nintendo Switch 2 Board Installation, Connect the button board: step 5, image 1 of 3 Nintendo Switch 2 Board Installation, Connect the button board: step 5, image 2 of 3 Nintendo Switch 2 Board Installation, Connect the button board: step 5, image 3 of 3
      • Use tweezers or your fingers to insert the button board cable into its ZIF connector.

      • If you're using tweezers, push on the cable's "wings" to ensure it's fully seated.

      Ask FixBot

      Add Comment

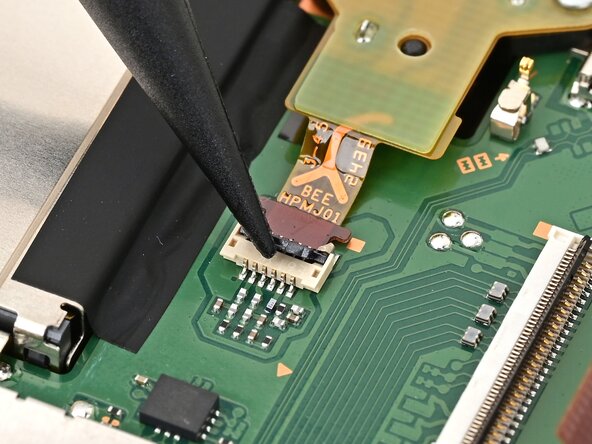
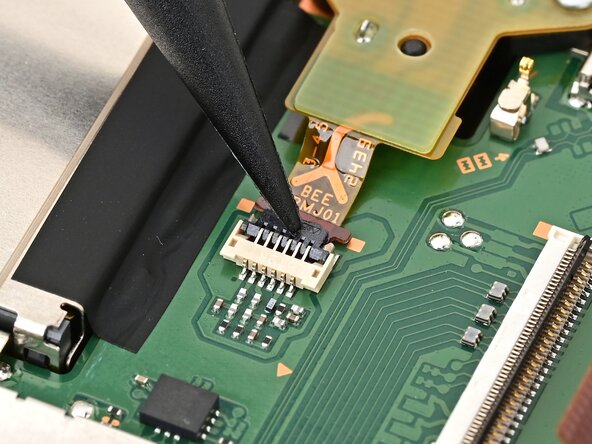
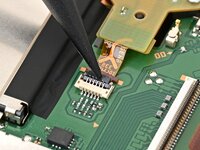
    6. Nintendo Switch 2 Board Installation: step 6, image 1 of 2 Nintendo Switch 2 Board Installation: step 6, image 2 of 2
      • Flip the hinged locking flap down to secure the button board cable.

      Ask FixBot

      Add Comment

    7. Nintendo Switch 2 Board Installation, Connect the right speaker: step 7, image 1 of 2 Nintendo Switch 2 Board Installation, Connect the right speaker: step 7, image 2 of 2
      • Align the right speaker cable's JST connector with its socket on the board and push it in until it's fully seated.

      Ask FixBot

      Add Comment

    8. Nintendo Switch 2 Board Installation, Connect the right Joy-Con 2 connector: step 8, image 1 of 3 Nintendo Switch 2 Board Installation, Connect the right Joy-Con 2 connector: step 8, image 2 of 3 Nintendo Switch 2 Board Installation, Connect the right Joy-Con 2 connector: step 8, image 3 of 3
      • Use tweezers to insert the right Joy‑Con 2 connector cable into its ZIF connector on the board until it's fully seated.

      • Flip the hinged locking flap down to secure the cable.

      Ask FixBot

      Add Comment

    9. Nintendo Switch 2 Board Installation, Install the microphone: step 9, image 1 of 3 Nintendo Switch 2 Board Installation, Install the microphone: step 9, image 2 of 3 Nintendo Switch 2 Board Installation, Install the microphone: step 9, image 3 of 3
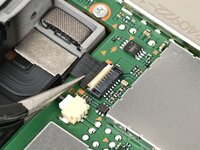
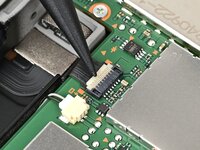
      • Insert the microphone cable into its ZIF connector, then set the microphone into its slot in the frame.

      • Flip the hinged locking flap down to secure the microphone cable.

      Ask FixBot

      Add Comment

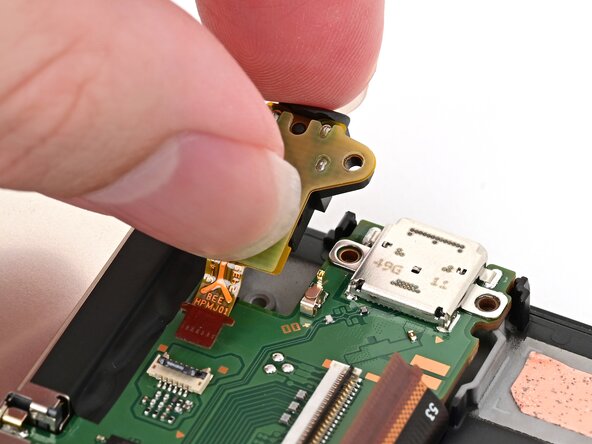
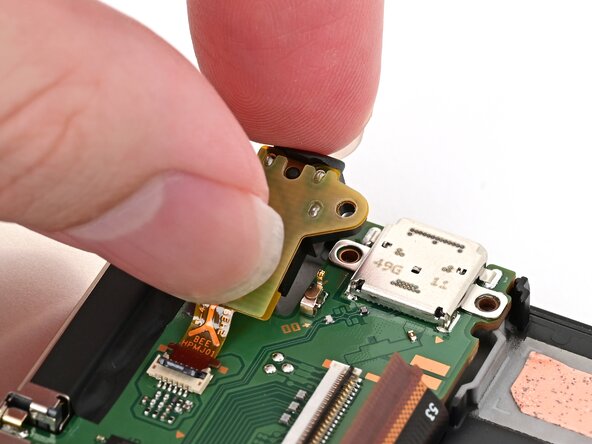
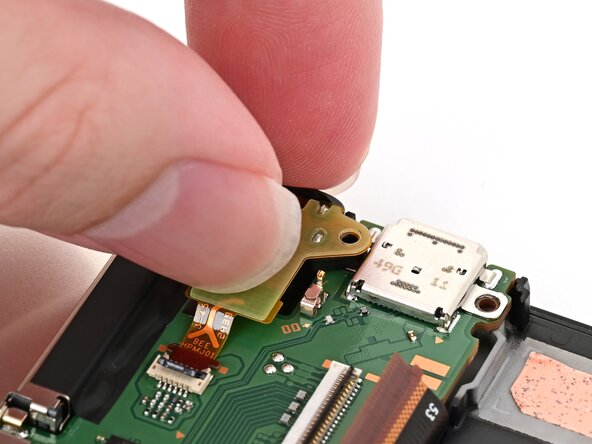
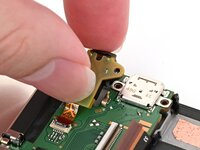
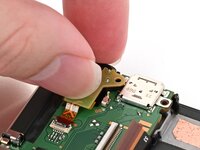
    10. Nintendo Switch 2 Board Installation, Install the headphone jack: step 10, image 1 of 3 Nintendo Switch 2 Board Installation, Install the headphone jack: step 10, image 2 of 3 Nintendo Switch 2 Board Installation, Install the headphone jack: step 10, image 3 of 3
      • Guide the headphone jack cable into its connector, then set the assembly into its recess in the frame.

      Ask FixBot

      Add Comment

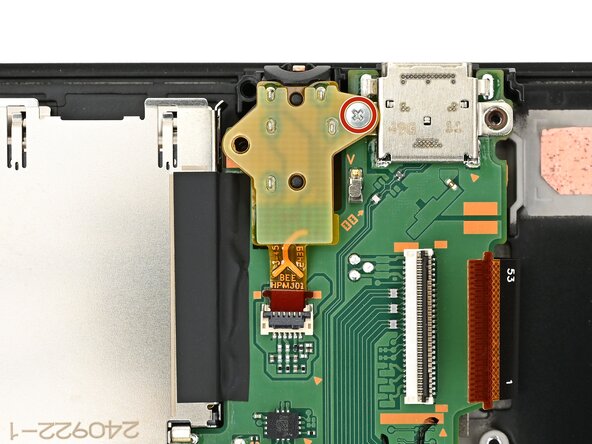
    11. Nintendo Switch 2 Board Installation: step 11, image 1 of 2 Nintendo Switch 2 Board Installation: step 11, image 2 of 2
      • Use a JIS 00 driver to install the 6.2 mm‑long silver screw securing the headphone jack.

      Ask FixBot

      Add Comment

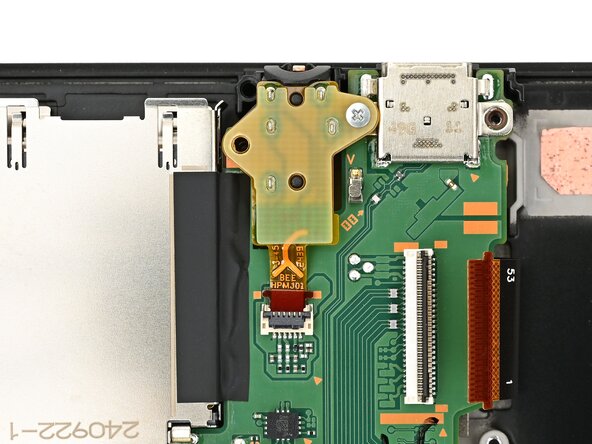
    12. Nintendo Switch 2 Board Installation: step 12, image 1 of 2 Nintendo Switch 2 Board Installation: step 12, image 2 of 2
      • Flip the hinged locking flap down to secure the headphone jack cable.

      Ask FixBot

      Add Comment

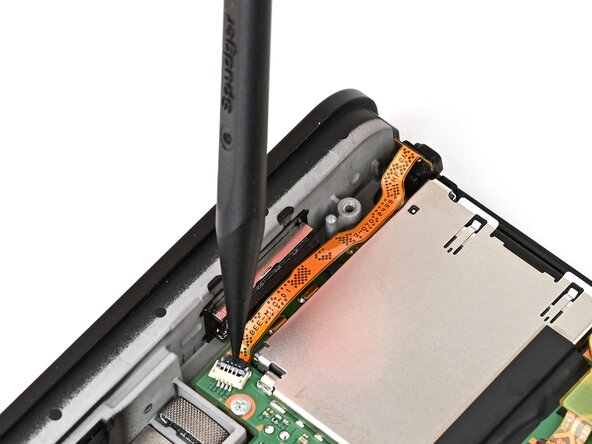
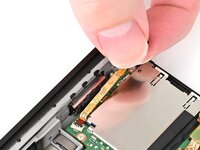
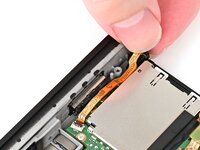
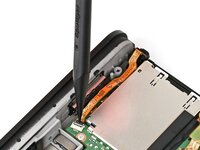
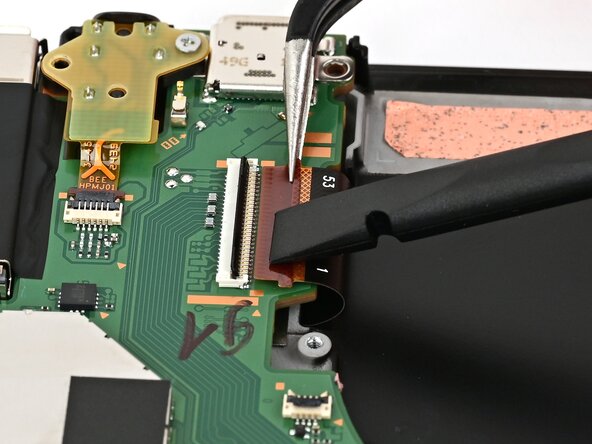
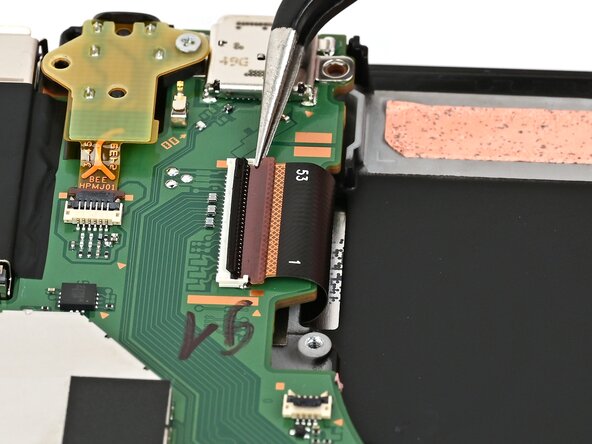
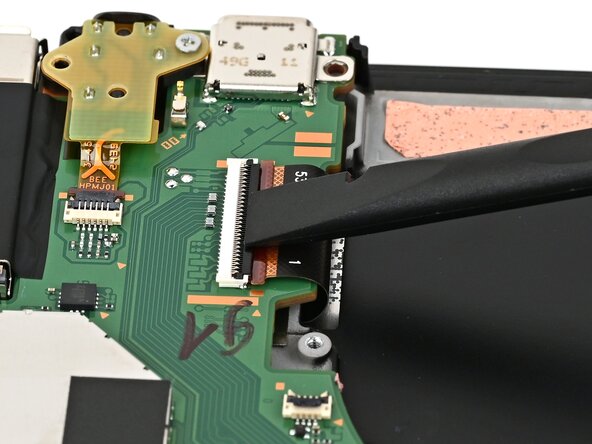
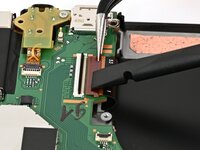
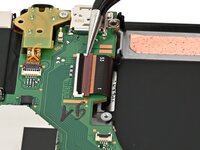
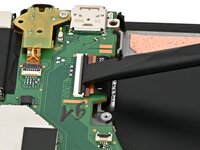
    13. Nintendo Switch 2 Board Installation, Connect the screen cable: step 13, image 1 of 3 Nintendo Switch 2 Board Installation, Connect the screen cable: step 13, image 2 of 3 Nintendo Switch 2 Board Installation, Connect the screen cable: step 13, image 3 of 3
      • Use tweezers or your fingers to slide the screen cable into its ZIF connector until it's fully seated.

      • If you're using tweezers, you can use the flat end of a spudger to help guide the cable into its connector.

      • Flip the hinged locking flap down to secure the cable.

      Ask FixBot

      Add Comment

Conclusion

To reassemble your device, follow these instructions in reverse order.

Cancel: I did not complete this guide.

Nick Schultz

Member since: 03/24/24

70,853 Reputation

363 Guides authored

0 Guide Comments

Add Comment

View Statistics:

Past 24 Hours: 0

Past 7 Days: 2

Past 30 Days: 7

All Time: 100