Free Shipping on Domestic Orders $75+

Nintendo Switch 2 Battery Installation

Prerequisite Only
This is a prerequisite-only guide! This guide is part of another procedure and isn’t meant to be used alone.

What you need

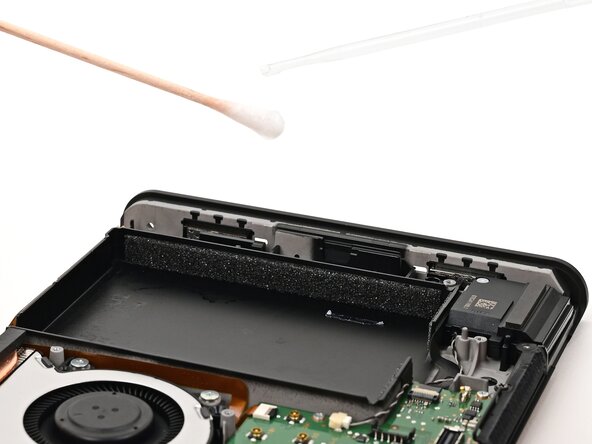
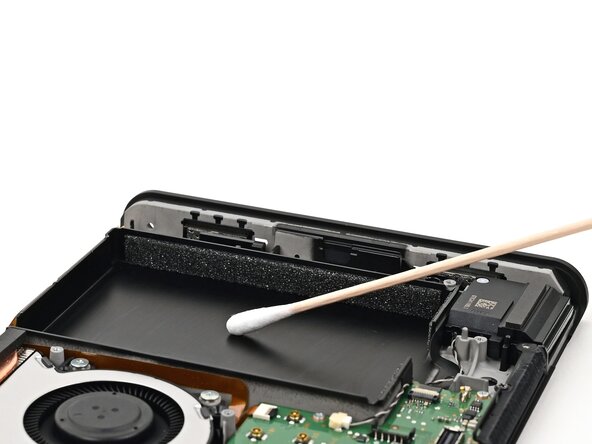
    1. Nintendo Switch 2 Battery Installation, Clean the battery well: step 1, image 1 of 2 Nintendo Switch 2 Battery Installation, Clean the battery well: step 1, image 2 of 2
      Tool used on this step:
      Cotton Swabs
      $4.99
      Buy
      • Apply high-concentration (90% or higher) isopropyl alcohol to a cotton swab and wipe any adhesive residue from the battery well.

      • The foam on the inside walls of the well dissolves in isopropyl alcohol. Avoid touching the foam with your cotton swab so you don't damage it.

      Ask FixBot

      Add Comment

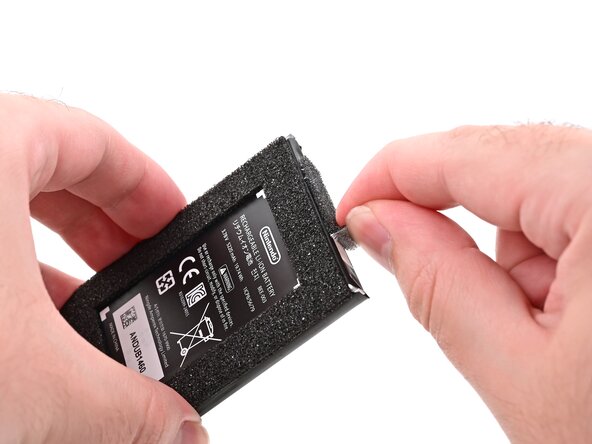
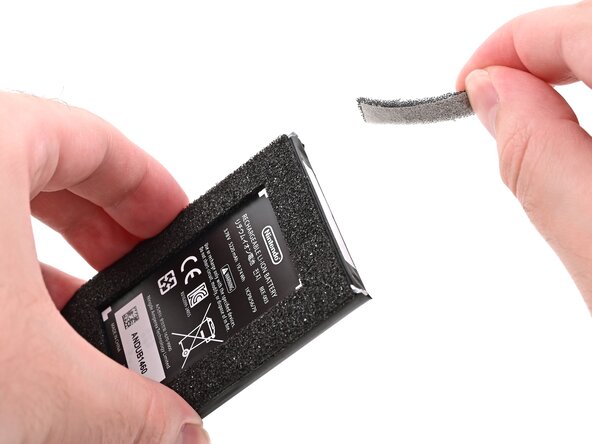
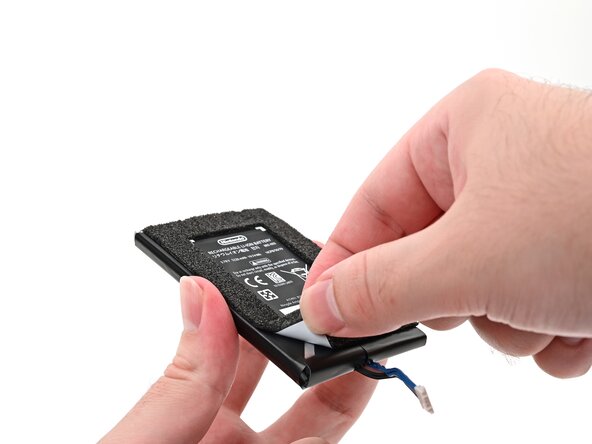
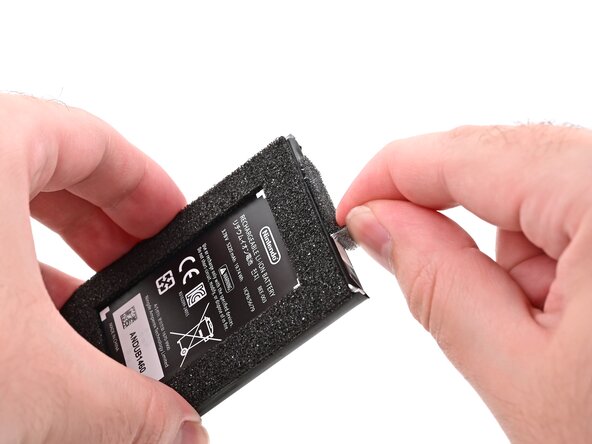
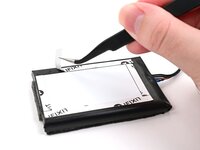
    2. Nintendo Switch 2 Battery Installation, Transfer the foam: step 2, image 1 of 2 Nintendo Switch 2 Battery Installation, Transfer the foam: step 2, image 2 of 2
      • If your new battery comes with foam pre-installed, skip the next two steps.

      • Use an opening pick or your fingernail to lift the foam strip off the top edge of the battery by its adhesive, not the foam itself.

      Ask FixBot

      Add Comment

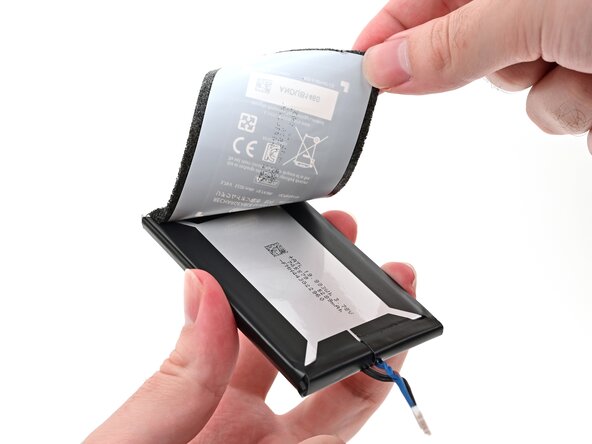
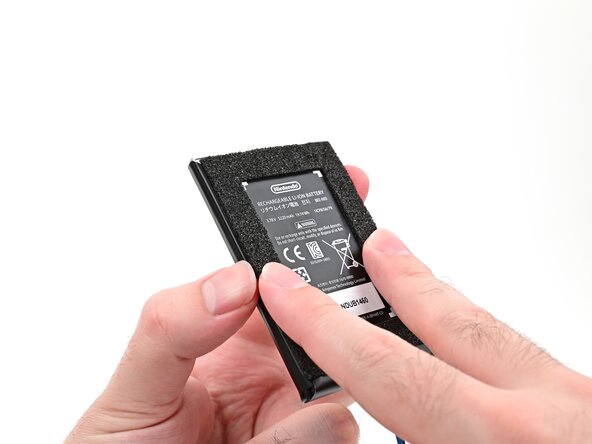
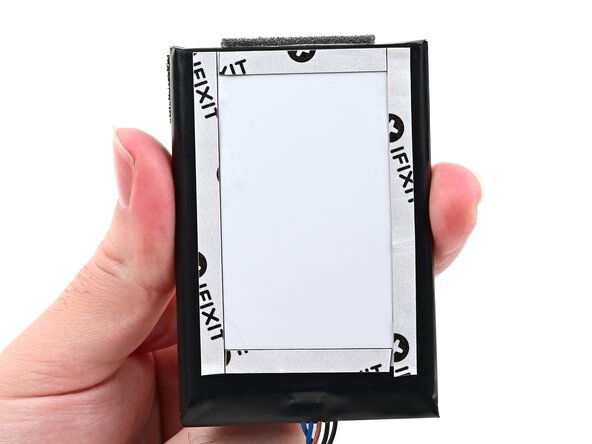
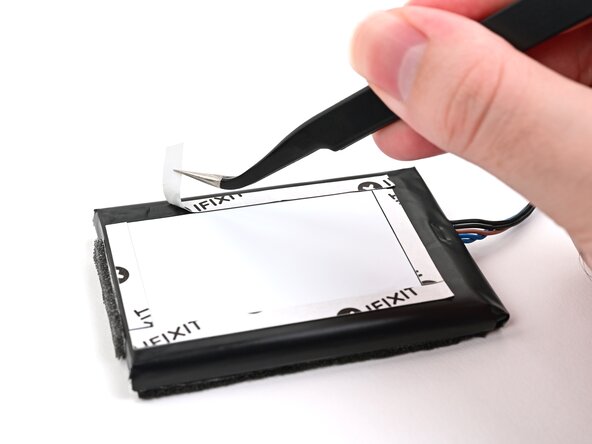
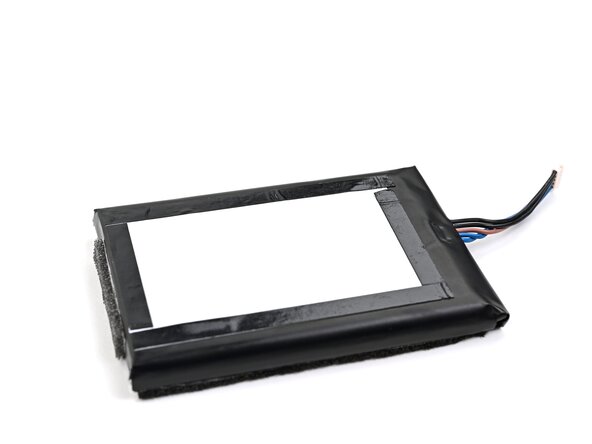
    3. Nintendo Switch 2 Battery Installation: step 3, image 1 of 2 Nintendo Switch 2 Battery Installation: step 3, image 2 of 2
      • Peel the entire sticker, including the foam, from the front of the battery.

      Ask FixBot

      Add Comment

    4. Nintendo Switch 2 Battery Installation: step 4, image 1 of 2 Nintendo Switch 2 Battery Installation: step 4, image 2 of 2
      • Install the foam stickers in their original positions onto the new battery.

      Ask FixBot

      Add Comment

    5. Nintendo Switch 2 Battery Installation, Prepare the adhesive: step 5, image 1 of 3 Nintendo Switch 2 Battery Installation, Prepare the adhesive: step 5, image 2 of 3 Nintendo Switch 2 Battery Installation, Prepare the adhesive: step 5, image 3 of 3
      Tool used on this step:
      Tesa 61395 Tape
      $2.95
      Buy
      • If your battery doesn't come with pre-installed adhesive, apply 5 mm‑wide strips of thin, double-sided tape to the flat area on the bottom of the battery. Don't install adhesive along the angled parts of the edges.

      • Remove all adhesive backings.

      Ask FixBot

      Add Comment

    6. Nintendo Switch 2 Battery Installation, Install the new battery: step 6, image 1 of 3 Nintendo Switch 2 Battery Installation, Install the new battery: step 6, image 2 of 3 Nintendo Switch 2 Battery Installation, Install the new battery: step 6, image 3 of 3
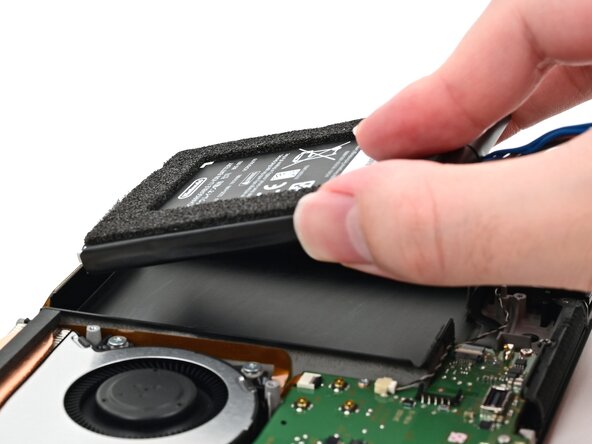
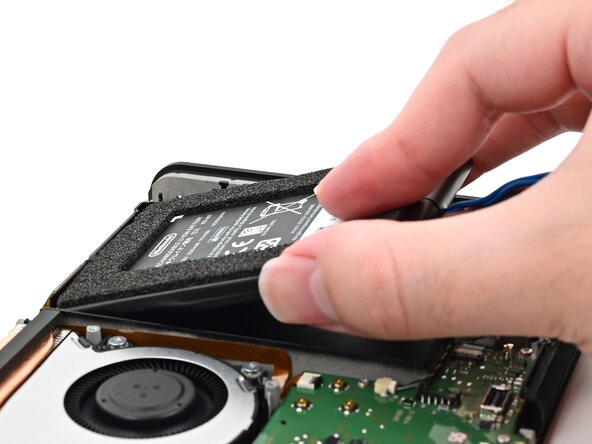
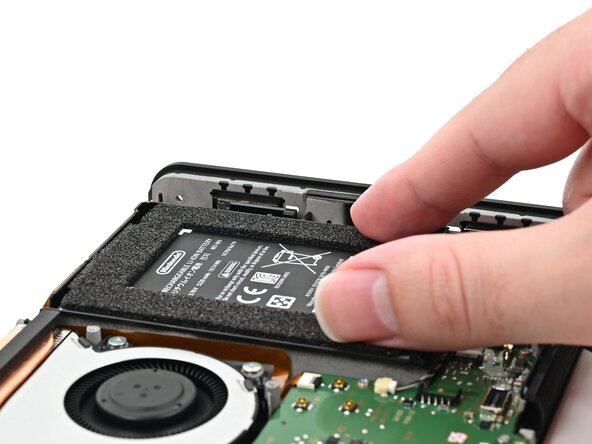
      • Align the battery with its well, ensuring the cable aligns with its cutout.

      • Carefully lower the battery into the frame.

      • Once the adhesive sticks on more than one side, don't try to lift and reposition the battery.

      • Gently press down on the battery for around 20 seconds to adhere it to the frame.

      Ask FixBot

      Add Comment

    7. Nintendo Switch 2 Battery Installation, Connect the battery: step 7, image 1 of 2 Nintendo Switch 2 Battery Installation, Connect the battery: step 7, image 2 of 2
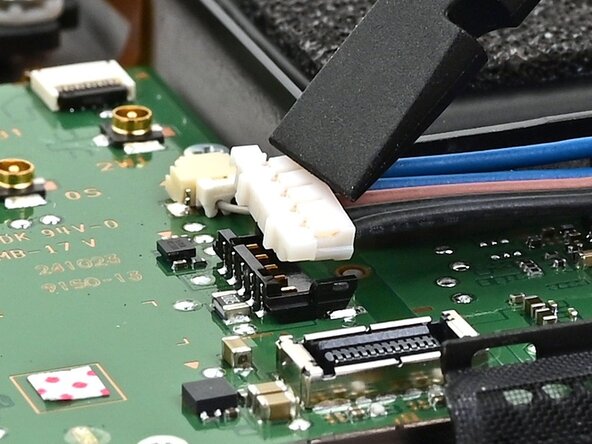
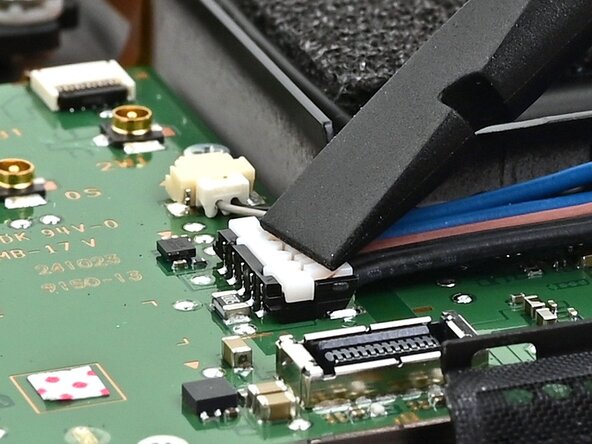
      • Use your finger or the flat end of a spudger to press the flat-topped battery connector onto its socket until it's fully seated.

      Ask FixBot

      Add Comment

Conclusion

To reassemble your device, follow these instructions in reverse order.

Cancel: I did not complete this guide.

Nick Schultz

Member since: 03/24/24

65,446 Reputation

343 Guides authored

0 Guide Comments

Add Comment

View Statistics:

Past 24 Hours: 2

Past 7 Days: 4

Past 30 Days: 12

All Time: 282