What you need
-
-
-
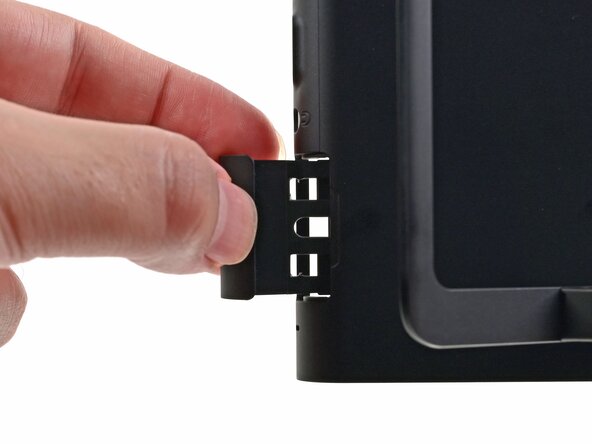
Fully pull out the game card tray.
-
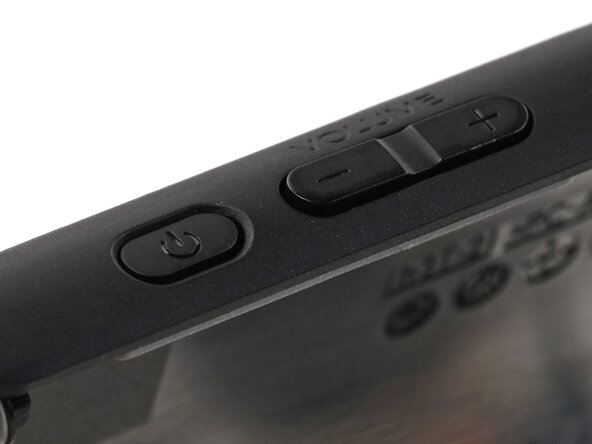
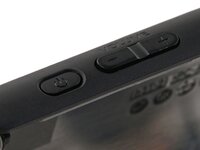
Double-check the power and volume buttons to ensure they're seated correctly. If the rubber membrane beneath the buttons is out of place, ensure it's aligned with its pegs.
-
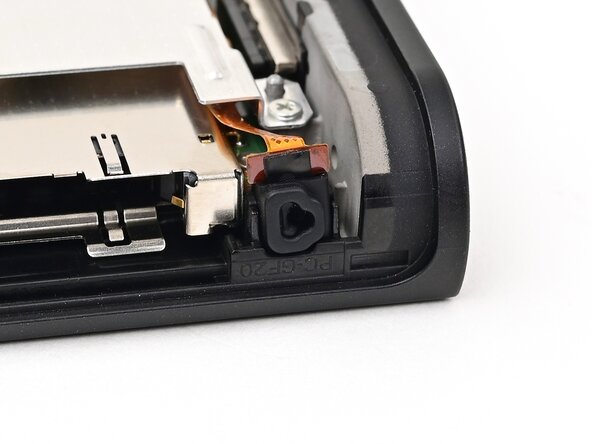
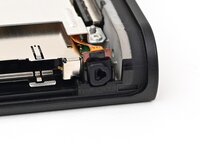
Check the microphone to ensure it's fully seated in its slot in the frame.
 Ask FixBot
-
-
-
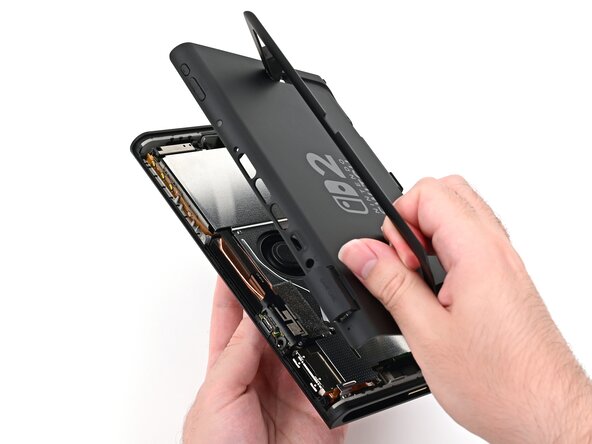
Align the top of the back cover with the top of the console.
-
Set the top edge of the back cover into place, checking the buttons and ports to ensure they're aligned properly. If they aren't, lift the back cover and try again.
-
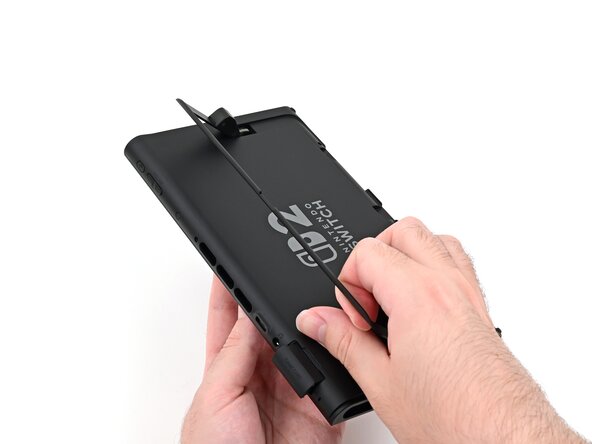
Press along the top edge to fasten the clips securing the back cover to the console.
-
-
-
-
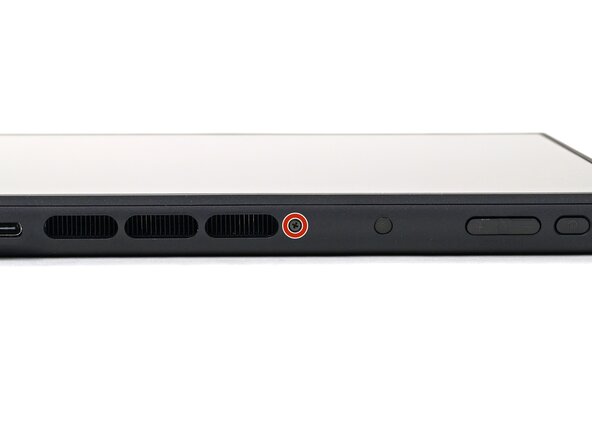
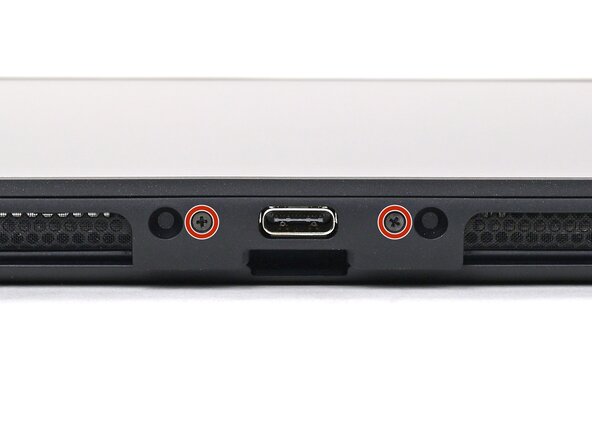
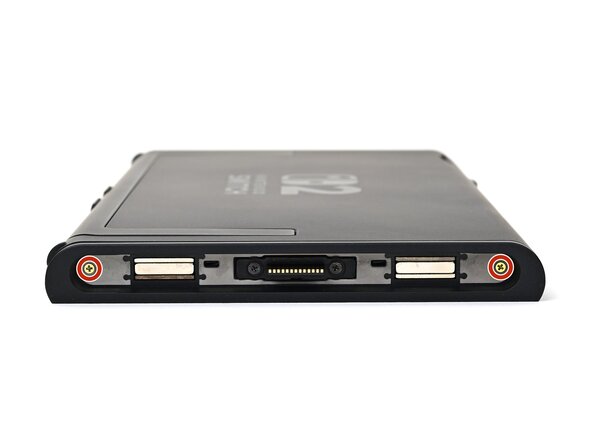
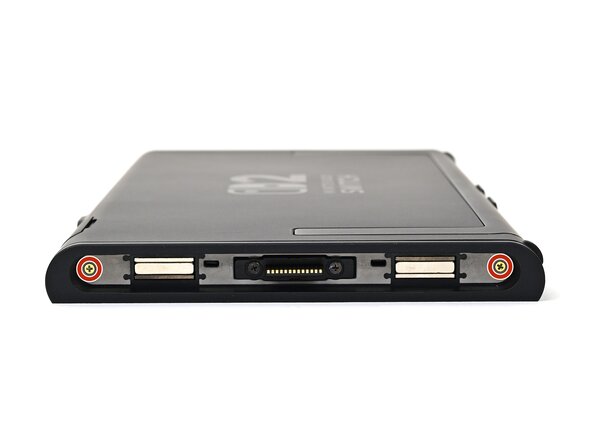
Use a JIS 00 driver to install the three 3.1 mm‑long screws securing the back cover: one on the top edge of the console, and two on either side of the bottom USB-C port.
-
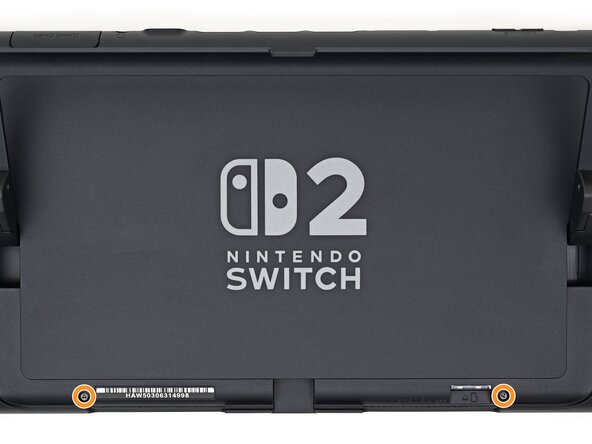
Use a Y00 driver to install the two 4.4 mm‑long screws in the kickstand cutout.
-
-
-
Use a JIS 00 driver to install the two 3.6 mm‑long gold screws on each side of the console (four in total).
-
-
-
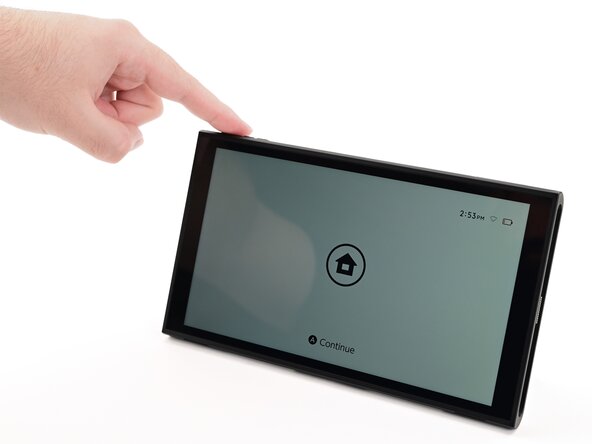
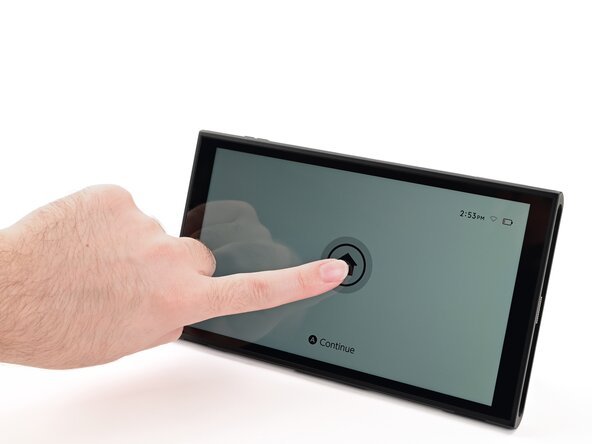
Power on the console and test functionality to ensure it's working as expected.
-
-
-
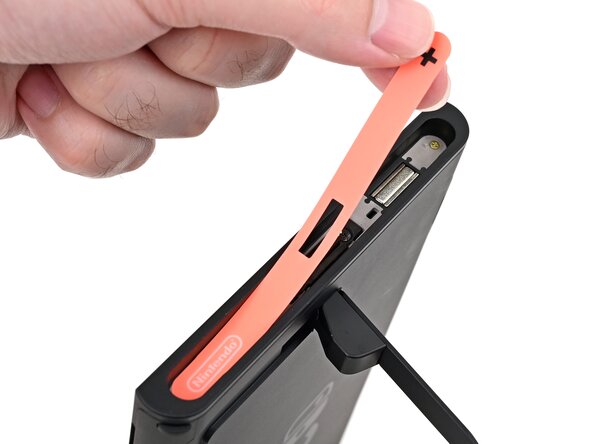
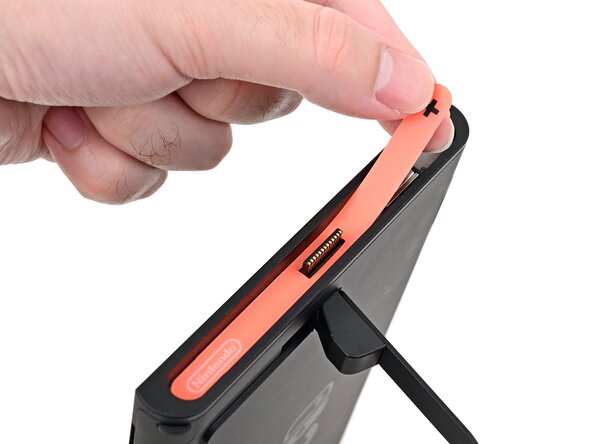
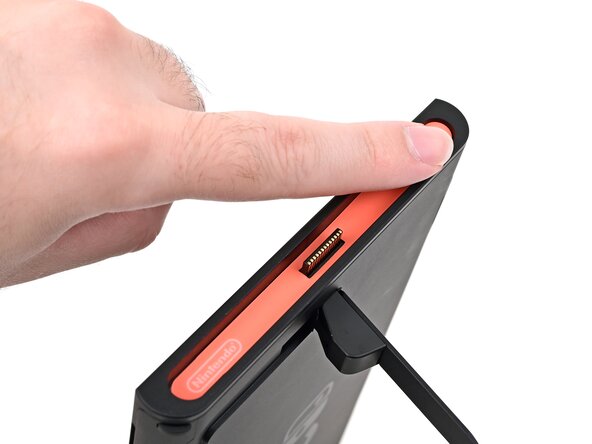
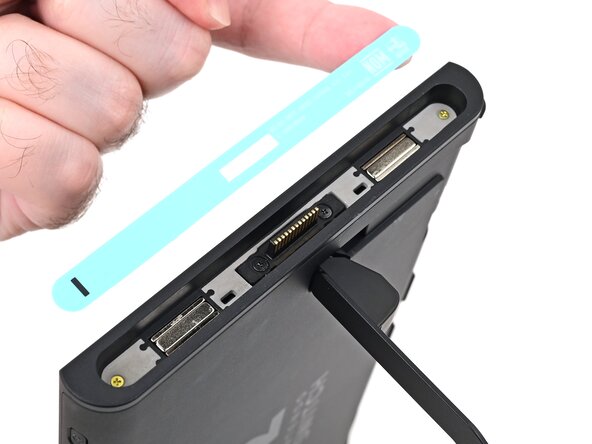
Align the right side sticker with its recess. Ensure the cutout in the sticker is aligned with the Joy-Con connector.
-
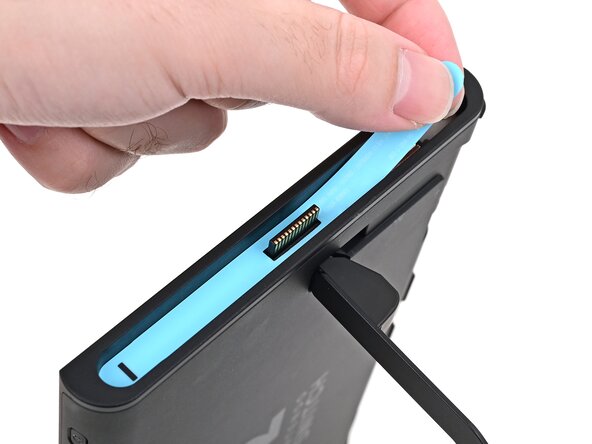
Set the sticker into its recess, first on one side, then the other.
-
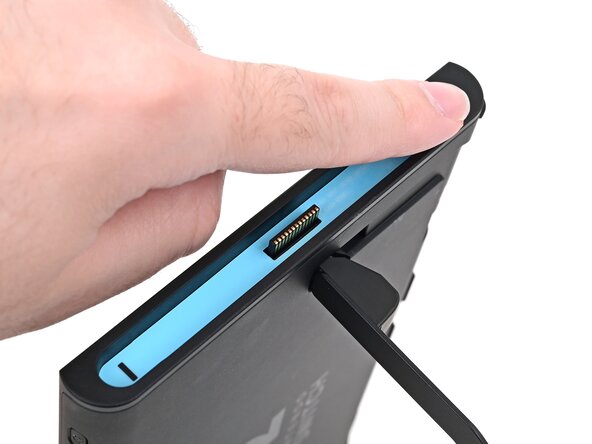
Use your finger or the flat end of a spudger to press the sticker into place.
-
-
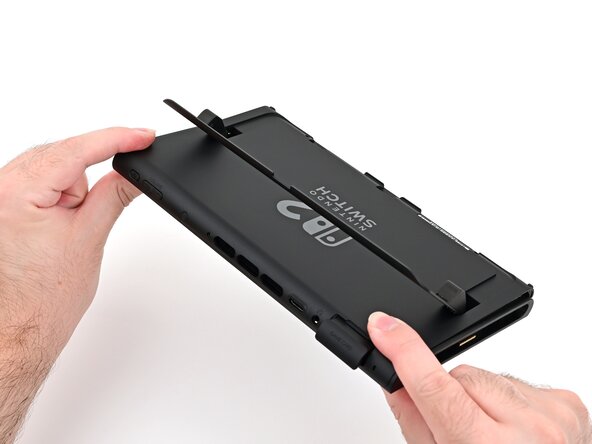
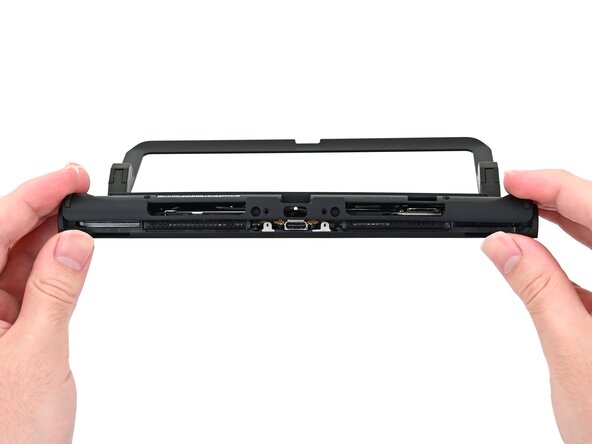
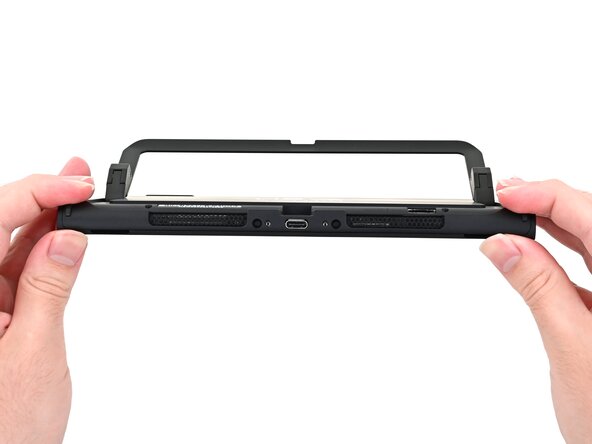
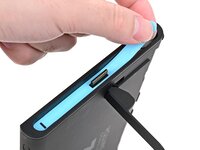
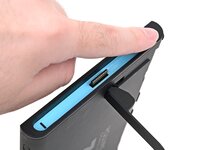
To reassemble your device, follow these instructions in reverse order.

