Introduction
If your Nintendo NES Advantage Model NES-026 Start Button is not being responsive to being pressed, although plugged into NES, you may need to replace the Start Button, using this guide.
The Start Button is an input sensory button used for starting and pausing the game.
What you need
-
-
Remove the six 8 mm screws from the bottom of the device with a Phillips #0 screwdriver.
-
Use your hands to pull the back panel away from the controller.
-
-
-
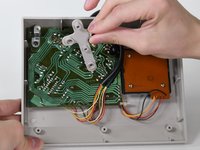
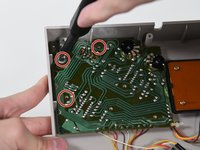
Remove the three 14 mm screws from the gray cross with a Phillips #0 screwdriver.
-
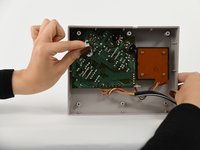
Lift the gray component away from the device.
-
-
-
Tool used on this step:Tweezers$4.99
-
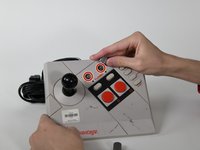
Remove the two silver knobs on the front of the device.
-
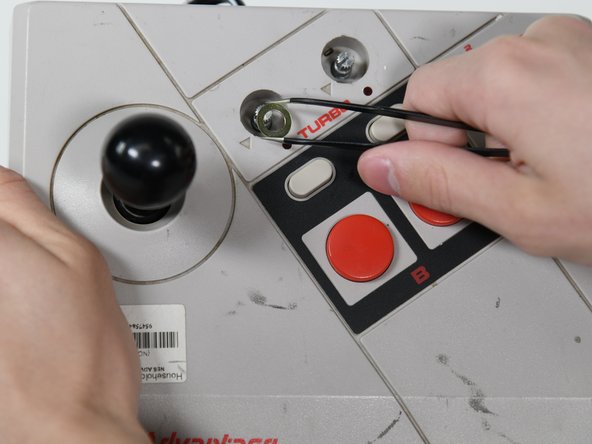
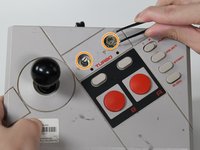
Unscrew the two silver nuts using a flathead screwdriver.
-
Remove each silver nut and silver washer using a pair of tweezers.
-
-
-
Remove the remaining three 8 mm screws on the circuit board with a Phillips #0 screwdriver.
-
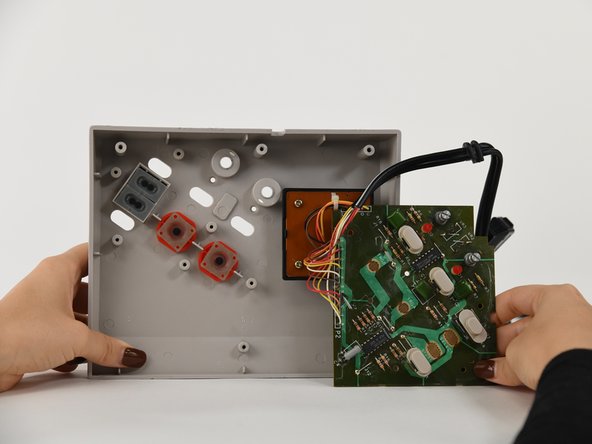
Remove the silver bracket from the top of the circuit board.
-


To reassemble your device, follow these instructions in reverse order.
Team

University of Colorado Denver, Team 1-2, Campeau Fall 2022 Member of University of Colorado Denver, Team 1-2, Campeau Fall 2022
UCDENVER-CAMPEAU-F22S1G2
5 Members
7 Guides authored