Shop the Holiday Gift Guide
Free Shipping on Domestic Orders $75+

Nintendo NES Advantage Joystick Spring Replacement

Views: 837

View statistics:

Past 24 Hours:
2
Past 7 Days:
38
Past 30 Days:
97
All Time:
837
Comments: 0

No one has left comments on this guide. Will you be first?

Go to guide comments
Completed: 0

No one has marked this guide "completed." Will you be the first?

Favorites: 0

No one has favorited (and subscribed to) this guide. Will you be the first?

Time Required: 20 minutes
Difficulty: Moderate
Nintendo NES Advantage Joystick Spring Replacement

Introduction

Go to step 1 ↓

If your Nintendo NES Advantage Model NES-026 joystick is stiff or has no range of motion, you may need to replace your joystick spring.

To replace the spring you will need to have another spring that is the correct size as well as a Phillips #0 screwdriver and a spudger.

When replacing the base of the joystick, be sure to line up the marks correctly or your joystick won't move at all when you reassemble your Nintendo NES Advantage.

The joystick spring ensures that your joystick has full range of motion, giving you the ability to move freely throughout your game.

What you need

Tools

  • Spudger
    4.9
  • Phillips #0 Screwdriver
    5
    1. Nintendo NES Advantage Joystick Spring Replacement, Back Panel: step 1, image 1 of 1
      • Remove the four sticky pads from the bottom of the device.

      • If the pads are stuck, use a spudger to remove them.

      Ask FixBot

      Add Comment

    2. Nintendo NES Advantage Joystick Spring Replacement: step 2, image 1 of 2 Nintendo NES Advantage Joystick Spring Replacement: step 2, image 2 of 2
      • Remove the six 8 mm screws from the bottom of the device with a Phillips #0 screwdriver.

      • Use your hands to pull the back panel away from the controller.

      Ask FixBot

      Add Comment

    1. Nintendo NES Advantage Joystick Spring Replacement, Joystick Panel: step 3, image 1 of 1
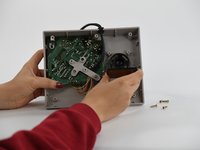
      • Remove the four 12 mm screws from the small square panel on the right with a Phillips #0 screwdriver.

      • While removing the last (fourth) screw, apply downward pressure on the panel. This will make it easier to remove the last screw because of the joystick spring on the other side of this panel.

      Ask FixBot

      Add Comment

    2. Nintendo NES Advantage Joystick Spring Replacement: step 4, image 1 of 2 Nintendo NES Advantage Joystick Spring Replacement: step 4, image 2 of 2
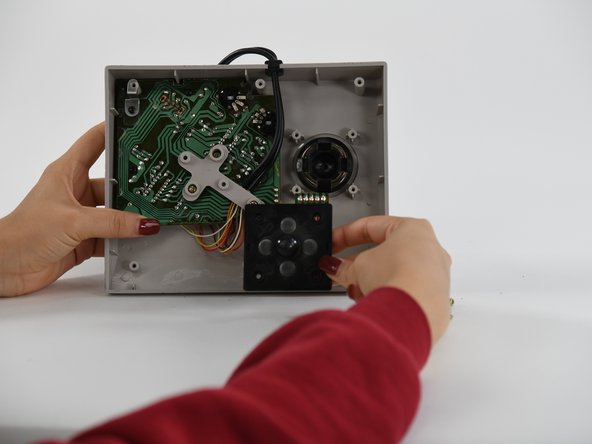
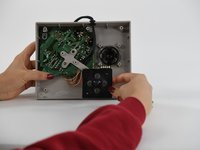
      • Remove the small square panel.

      • This panel is connected with wires to the main circuit board. To replace the joystick panel, you will need to desolder the wires. To learn more about soldering, refer to our How To Solder and Desolder Connections guide.

      Ask FixBot

      Add Comment

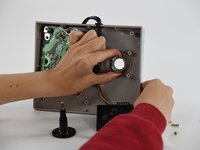
    1. Nintendo NES Advantage Joystick Spring Replacement, Joystick: step 5, image 1 of 2 Nintendo NES Advantage Joystick Spring Replacement, Joystick: step 5, image 2 of 2
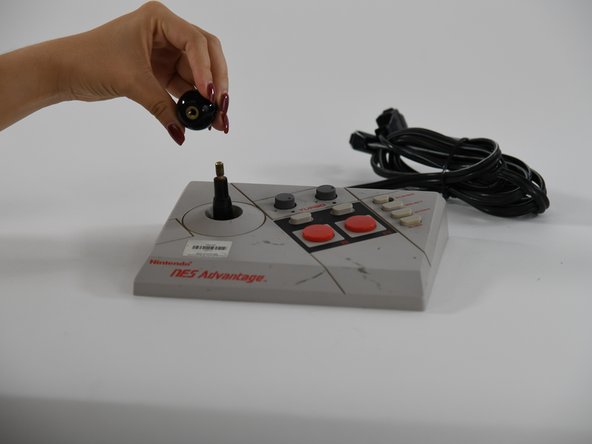
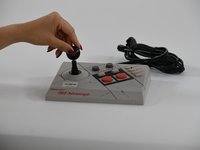
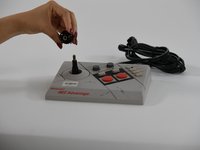
      • Using your hands, unscrew the ball on top of the joystick.

      Ask FixBot

      Add Comment

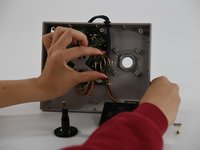
    2. Nintendo NES Advantage Joystick Spring Replacement: step 6, image 1 of 1
      • Pull the joystick through the back of the NES Advantage Gamepad.

      Ask FixBot

      Add Comment

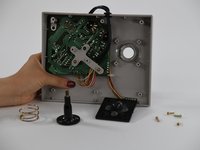
    1. Nintendo NES Advantage Joystick Spring Replacement, Joystick Spring: step 7, image 1 of 3 Nintendo NES Advantage Joystick Spring Replacement, Joystick Spring: step 7, image 2 of 3 Nintendo NES Advantage Joystick Spring Replacement, Joystick Spring: step 7, image 3 of 3
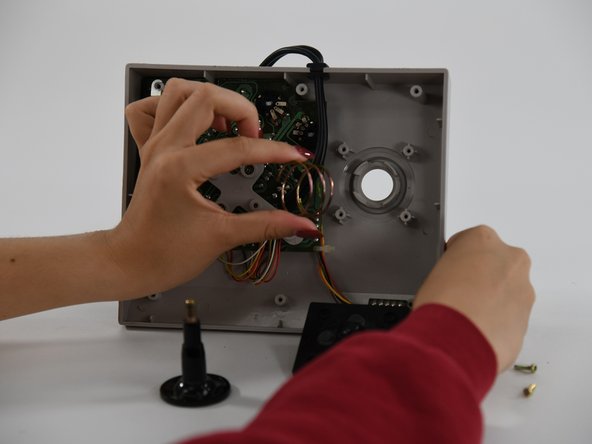
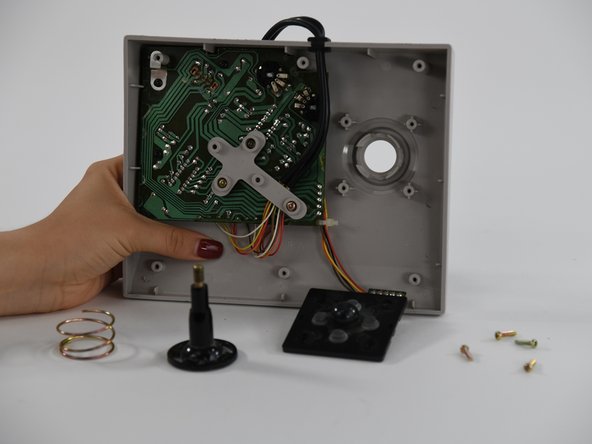
      • Using your fingers, pull the spring up and off.

      Ask FixBot

      Add Comment

Conclusion

To reassemble your device, follow these instructions in reverse order.

Cancel: I did not complete this guide.

Author

with

Danielle Guthrie

Member since: 09/06/22

97 Reputation

1 Guide authored

0 Guide Comments

Add Comment

View Statistics:

Past 24 Hours: 2

Past 7 Days: 38

Past 30 Days: 97

All Time: 837