Introduction
If your GameBoy Advance SP AGS-001 or AGS-101 has a deteriorating shell, or if you’re looking to customize it, use this guide to replace the shell.
Before using this guide, plug in your console and charge it for a few minutes. If the battery is too old, it may start expanding and could potentially explode. If it starts to swell, you’ll have to order a replacement battery - which you can find below:
https://www.amazon.com/Game-Boy-Advance-...
Before beginning the replacement process, power off your console and unplug it from the outlet if it is plugged in.
What you need
-
-
-
Unscrew the screw on the battery compartment with a Phillips #00 screwdriver.
-
Open the battery compartment and remove the battery.
-
Remove the four 6.45 mm Tri-point Y00 screws from the corners of the device.
-
Remove the two 4.6 mm Tri-point Y00 screws from inside the battery compartment and game cartridge comparments.
 Ask FixBot
-
-
-
Lift off the bottom cover to expose the motherboard.
-
Remove the three 4mm Phillips #00 screws from the motherboard.
-
Gently lift up the motherboard and remove the ribbon cable by gently pulling the two clips on the side up and towards the cable.
-
Remove the small Phillips #00 screw hidden underneath the ribbon cable. It holds the hinge cover of the top screen together.
-
-
-
Open the GBA SP screen and use the pointed end of a spudger to remove the rubber pads around the screen bezel.
-
Remove the five Tri-point Y00 screws hidden beneath the rubber pads.
-
Remove the bezel from the screen with a spudger.
-
-
-
-
Remove the hinges from the original shell. This is the most difficult step, as it requires a lot of force to remove the hinges.
-
Apply pressure with the pointed end of a spudger from the inside, pushing out with plenty of force. The hinges will likely fly out of the shell a few feet; this is normal.
-
Once the hinges are removed, remove the caps on the end of each hinge.
-
-
-
Take out your replacement shell.
-
Push the hinges from the old case into the slot of the new case about halfway while the case is closed.
-
Then open the shell and push the hinges the rest of the way in.
-
-
-
Place your screen into the new shell and affix the bezel into position; the ribbon cable should slide through the gap like before.
-
Reinstall the five Tri-point Y00 screws around the screen.
-
Reinstall the speaker, buttons, and silicone pads into the bottom case.
-
-
-
Reinsert the ribbon cable into the motherboard and lock it into place.
-
Guide the motherboard into the new case and screw it down with the three 4mm Phillips #00 screws.
-
Install the square, threaded washer on the back of the shell. This is where the battery compartment's screw gets held, so it is important!
-
-
-
Make sure the volume and power sliders are in place before putting the back cover on.
-
Put the back cover on and push the two parts together.
-
Screw the shell together with the four 6.45 mm Tri-point Y00 and two 4.6 mm Tri-point Y00 screws, then reinstall the battery.
-
-
-
Reinstall the rubber pads around the screen bezel—they stop the shell from rubbing together on the inside.
-
Find the "Nintendo" logo replacement sticker and put it into place.
-
Test the console and make sure it works properly!
-
-


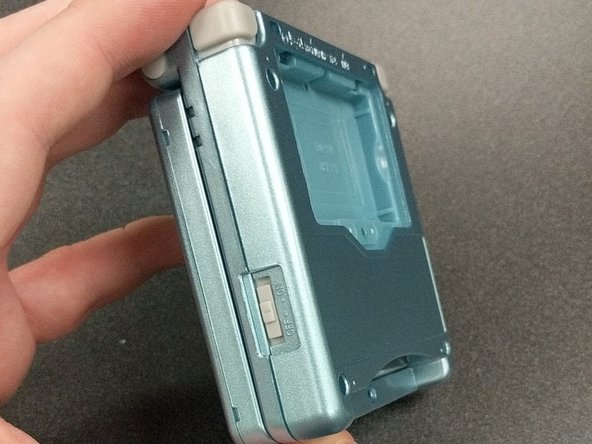




Rehousing your GBA SP can be a fun project! It doesn’t take very long, and once you’re done you’ll have a fun new customized console! The ease of difficulty and ability to express yourself both make this project well worth attempting.

Team

University of North Texas, Team S1-G1, Raign Fall 2020 Member of University of North Texas, Team S1-G1, Raign Fall 2020
UNT-RAIGN-F20S1G1
2 Members
14 Guides authored
