
Kano Computer Kit Complete Display Board Replacement

Julia Sherrill and 5 other contributors
Last updated on Apr 17, 2020
Views: 2.3K
View statistics:
- Past 24 Hours:
- 4
- Past 7 Days:
- 23
- Past 30 Days:
- 79
- All Time:
- 2,273
Comments: 6
6 comments on steps.
Completed: 1 2
1 person has marked this guide "completed." Will you be next?
2 people have marked this guide "completed." Including you — great job!
Favorites: 0 1
No one has favorited (and subscribed to) this guide. Will you be the first?
1 person has favorited (and subscribed to) this guide — and that's you!
Better Introduction
Improve this guide by completing or revising its introduction.
Introduction
Go to step 1 ↓If your computer continuously gives off a burning odor or it keeps crashing after bugs have supposedly been fixed, chances are you need to replace your Display driver. This guide will show you exactly how to do that through simple, easy to follow steps with pictures to help you along. The only tool you will be needing is a Phillips #1 Screwdriver for the four 8.5mm screws to complete this guide.
What you need
Tools

-
-
-
Take off the clear backing of the computer and set it aside.
-
The Display board is located in the top right corner of the case.
 Ask FixBot
-
-
-
Always disconnect the battery before performing repairs.
-
Remove the power cable (Circled in red) from the board.
-
-
-


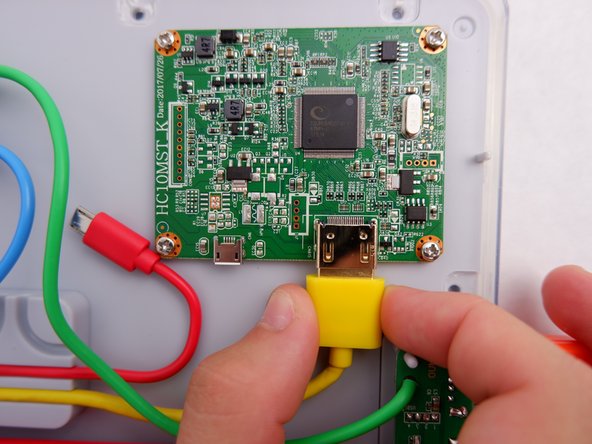
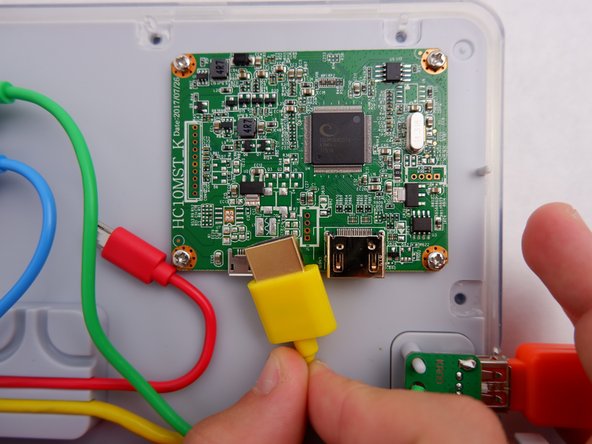
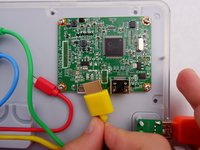


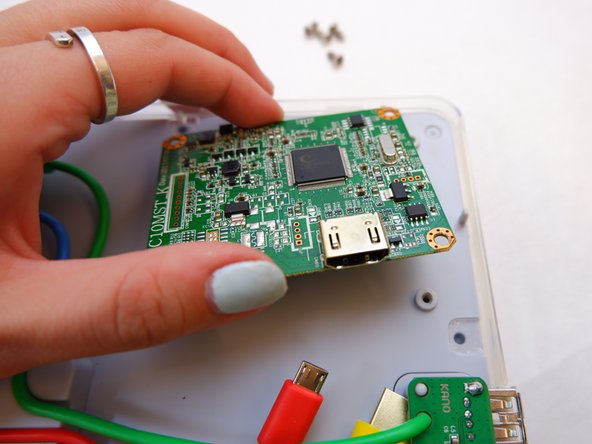

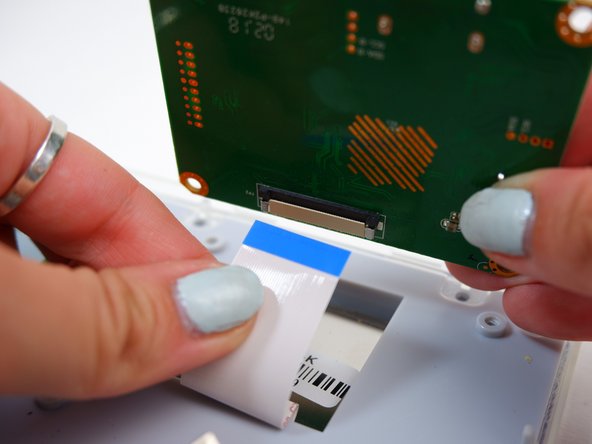
To reassemble your device, follow these instructions in reverse order.
Cancel: I did not complete this guide.
One other person completed this guide.

Team

Embry-Riddle Aeronautical University, Team S1-G4, Watkins Fall 2019 Member of Embry-Riddle Aeronautical University, Team S1-G4, Watkins Fall 2019
ERAU-WATKINS-F19S1G4
4 Members
60 Guides authored
