Introduction
If your device won't read SD cards you may need to replace the SD card reader. Be careful of the three tri-wing screws on the SD card reader, as these are soft and strip easily. Go slow and press down firmly on the screw.
What you need
-
-
Unscrew the two 3mm Phillips #1 head screws along the top edge of the device.
 Ask FixBot
-
-
-
Pull the top corner tabs of the front face plate outward and towards you.
-
Pull the faceplate up and out of the slots at the bottom of the device.
-
Set aside the back faceplate.
-
-
-
-
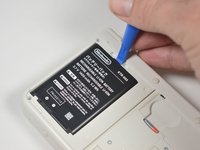
Insert a plastic opening tool into the notch at the top of the battery.
-
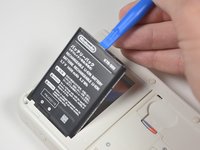
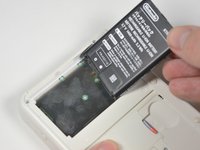
Pry the battery up with the plastic opening tool.
-
-
-
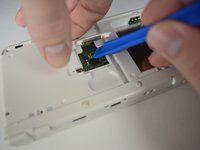
Unscrew the three 3mm Y0 screws along the right and bottom of the SD card reader.
-
-
-
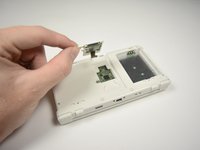
Pull the SD card reader from the edge with two holes gently to free the tab at the top of the SD card reader.
-
Reorient the device so that the power jack faces you.
-
-
-
Lift the SD card reader gently.
-
Use a plastic opening tool to pry the SD card ribbon cable off the socket on the motherboard.
-
Lift the SD card reader out off of the lower casing.
-


To reassemble your device, follow these instructions in reverse order.
Cancel: I did not complete this guide.
5 other people completed this guide.
Team

Cal Poly, Team 4-6, Livingston Fall 2016 Member of Cal Poly, Team 4-6, Livingston Fall 2016
CPSU-LIVINGSTON-F16S4G6
4 Members
46 Guides authored