Introduction
This guide will demonstrate how to disconnect the power plug.
What you need
-
-
Unscrew the Phillips #0 11mm screws.
-
Unscrew the Torx Security #10 11mm screw.
 Ask FixBot
-
-
-
Unscrew the six Phillips #2 11mm screws from the remainder of the bottom plate.
-
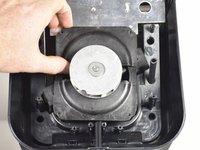
Pull the bottom covering off of the blender.
-
-
-
-
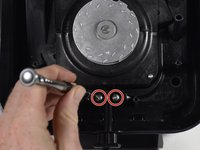
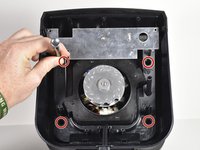
Unscrew the four Phillips #2 11mm screws.
-
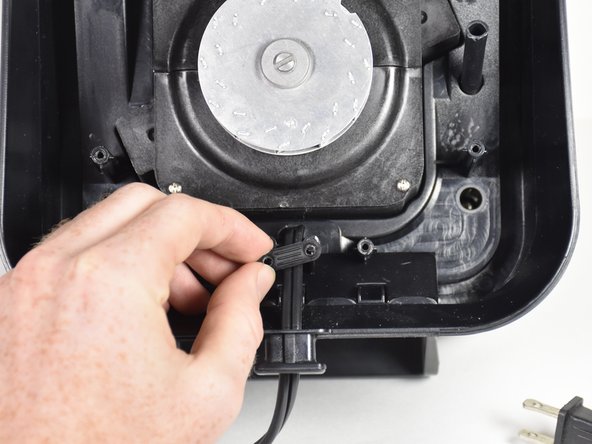
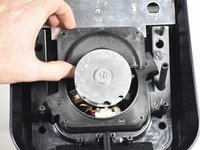
Pull the power cord through as shown to create slack.
-
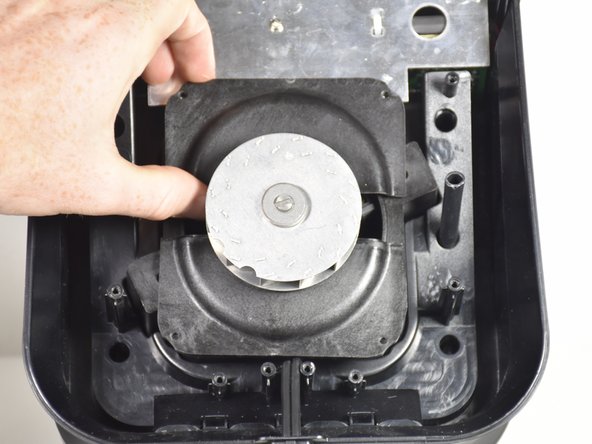
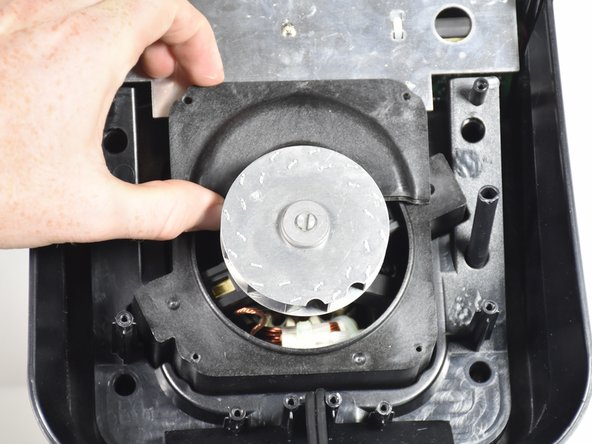
Remove plastic casing by lifting upwards.
-
-
-
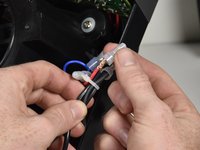
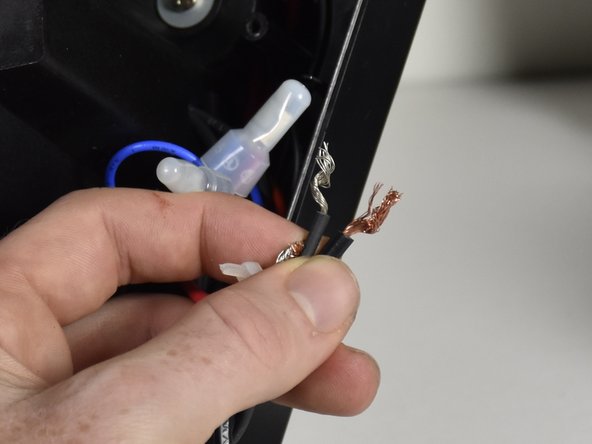
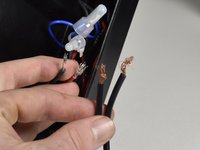
Follow the power plug cords to find the right plastic caps.
-
Squeeze the caps with pliers to loosen the grip.
-
Pull the plastic caps off the twisted wires.
-


To reassemble your device, follow these instructions in reverse order.
Cancel: I did not complete this guide.
One other person completed this guide.
Team

Cal Poly, Team S9-G4, Banghart Fall 2017 Member of Cal Poly, Team S9-G4, Banghart Fall 2017
CPSU-BANGHART-F17S9G4
4 Members
11 Guides authored