Free Shipping on Domestic Orders $75+

Ninja Professional Blender BL660 LED Lights Replacement

What you need

    1. Ninja Professional Blender BL660 LED Lights  Replacement, Blender Base: step 1, image 1 of 2 Ninja Professional Blender BL660 LED Lights  Replacement, Blender Base: step 1, image 2 of 2
      • Using the Phillips #1 screwdriver, remove the 5 screws (13mm long, 6mm wide) holding the outer base.

      • Lift the base up to remove it.

      Ask FixBot

      Add Comment

    2. Ninja Professional Blender BL660 LED Lights  Replacement: step 2, image 1 of 2 Ninja Professional Blender BL660 LED Lights  Replacement: step 2, image 2 of 2
      • Remove the midsection by pulling it up. If the section is stuck, use the iFixit plastic opening tool to pry it off.

      • Pull the power cord through the mid-section opening.

      Ask FixBot

      Add Comment

    3. Ninja Professional Blender BL660 LED Lights  Replacement: step 3, image 1 of 2 Ninja Professional Blender BL660 LED Lights  Replacement: step 3, image 2 of 2
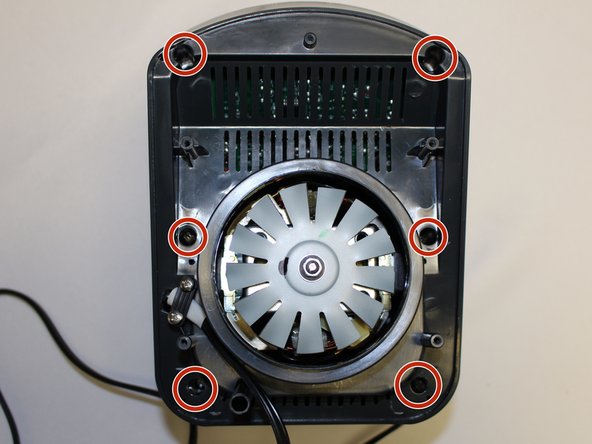
      • Using the Phillips #1 screwdriver, remove the 6 screws (13 mm long, 6 mm wide).

      Ask FixBot

      Add Comment

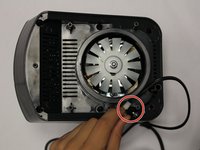
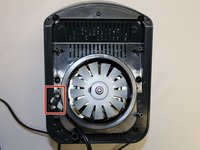
    4. Ninja Professional Blender BL660 LED Lights  Replacement: step 4, image 1 of 2 Ninja Professional Blender BL660 LED Lights  Replacement: step 4, image 2 of 2
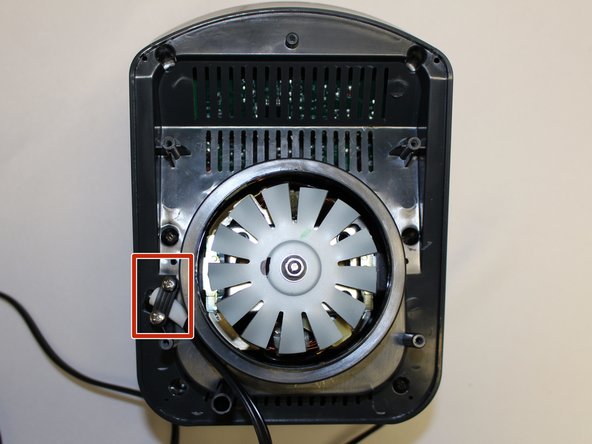
      • Using the Phillips #1 screwdriver, remove the two screws (5 mm long, 3 mm wide) holding the power cord onto the motor cover.

      Ask FixBot

      Add Comment

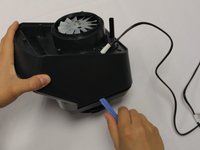
    5. Ninja Professional Blender BL660 LED Lights  Replacement: step 5, image 1 of 2 Ninja Professional Blender BL660 LED Lights  Replacement: step 5, image 2 of 2
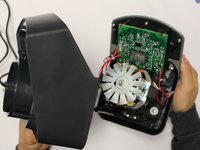
      • Using the iFixit plastic opening tool, pry the motor cover off the general housing. Once it is loose, lift it up to remove it off the base.

      • Slide the cover all the way to the end of the power cord.

      • Please note that the power cord does not completely come off the cover.

      Ask FixBot

      Add Comment

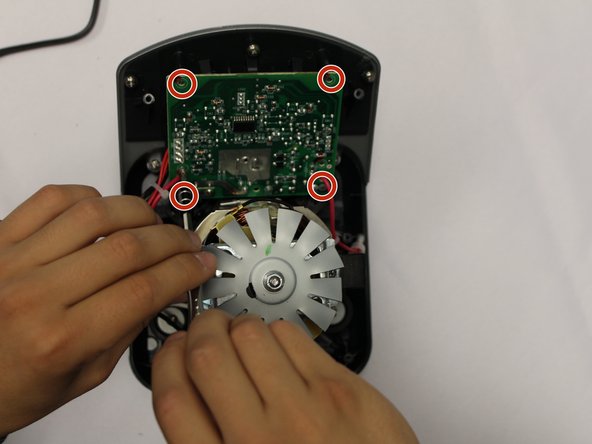
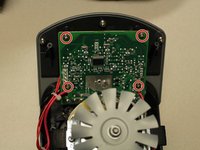
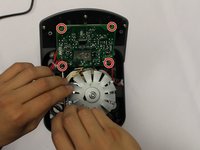
    1. Ninja Professional Blender BL660 LED Lights  Replacement, LED Lights: step 6, image 1 of 3 Ninja Professional Blender BL660 LED Lights  Replacement, LED Lights: step 6, image 2 of 3 Ninja Professional Blender BL660 LED Lights  Replacement, LED Lights: step 6, image 3 of 3
      • Using the Phillips #2 screwdriver, remove the four screws (10mm long, 5mm wide) on the circuit board.

      Ask FixBot

      Add Comment

    2. Ninja Professional Blender BL660 LED Lights  Replacement: step 7, image 1 of 1
      • To give the circuit board further range of motion, remove the pictured zip ties holding the cables.

      Ask FixBot

      Add Comment

    3. Ninja Professional Blender BL660 LED Lights  Replacement: step 8, image 1 of 1
      • Locate the malfunctioning LED lights on the circuit board.

      Ask FixBot

      Add Comment

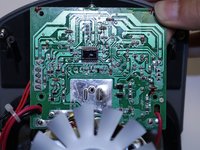
    4. Ninja Professional Blender BL660 LED Lights  Replacement: step 9, image 1 of 1
      • Flip the circuit board to view the soldering connections of the LED lights and replace as needed.

      • For instructions on sodering and desoldering reference iFixit's guide.

      Ask FixBot

      Add Comment

Conclusion

To reassemble your device, follow these instructions in reverse order.

Cancel: I did not complete this guide.

1 Guide Comment

Buenas tardes.

Muy buenas ilustraciones, pero deben poner los números de partes de los repuestos.

Gracias por la información.

Jose Sosa - Reply Share

Add Comment

View Statistics:

Past 24 Hours: 1

Past 7 Days: 7

Past 30 Days: 24

All Time: 965