Free Shipping on Domestic Orders $75+

Ninja NJ600 Fan Replacement

What you need

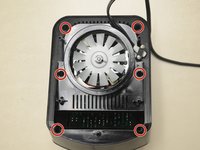
  1. Ninja NJ600 Fan Replacement, Blender Base Cover: step 1, image 1 of 2 Ninja NJ600 Fan Replacement, Blender Base Cover: step 1, image 2 of 2
    • Remove the five screws (13mm long, 6mm head diameter) using a Phillips #2 screwdriver.

    Ask FixBot

    Add Comment

  2. Ninja NJ600 Fan Replacement: step 2, image 1 of 2 Ninja NJ600 Fan Replacement: step 2, image 2 of 2
    • Without removing any screws, you can pull the 2nd layer free from the base. Do this now and set it down gently next to the base.

    • The power cord runs through a hole in the side of this layer. Squeeze the cord and pull it through the hole to separate the layer from the cord.

    Ask FixBot

    Add Comment

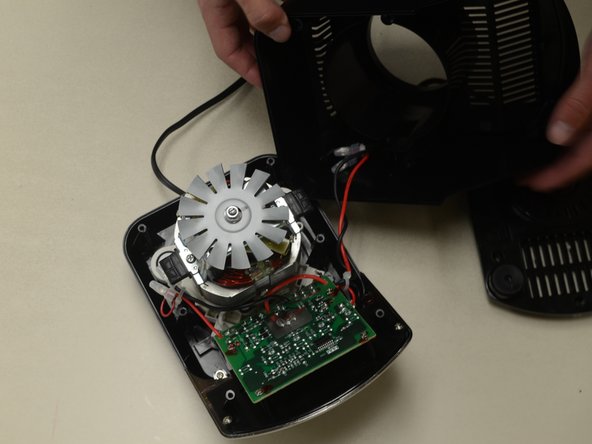
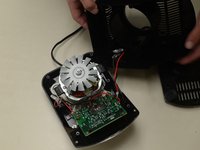
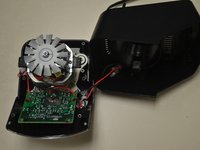
  3. Ninja NJ600 Fan Replacement: step 3, image 1 of 3 Ninja NJ600 Fan Replacement: step 3, image 2 of 3 Ninja NJ600 Fan Replacement: step 3, image 3 of 3
    • Using the Phillips #2 screwdriver, remove these six screws (13mm long, 6mm head diameter). Then carefully remove this layer, and rest it next to the blender base.

    • Be careful not to damage the two wires that are keeping this third layer attached to the base.

    Ask FixBot

    Add Comment

  4. Ninja NJ600 Fan Replacement, Fan: step 4, image 1 of 1
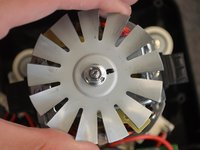
    • Hold the fan steady and use a wrench or pliers to remove the nut in the image.

    • The fan is sharp. Use caution when handling with bare hands.

    • A towel or gloves may be useful when holding the fan for this step.

    Ask FixBot

    Add Comment

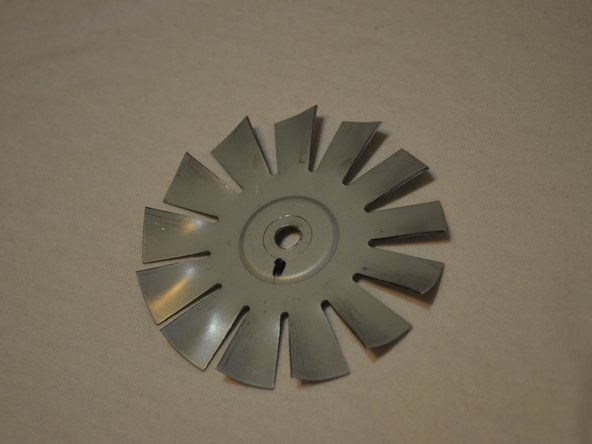
  5. Ninja NJ600 Fan Replacement: step 5, image 1 of 1
    • Hold the fan and use the flathead 4.0 screwdriver to loosen the washer.

    • The fan is sharp, use caution when handling with bare hands.

    • You may use a towel or gloves to avoid handling the fan with your bare hands.

    Ask FixBot

    Add Comment

  6. Ninja NJ600 Fan Replacement: step 6, image 1 of 2 Ninja NJ600 Fan Replacement: step 6, image 2 of 2
    • Slide the washer and fan off of the screw.

    Ask FixBot

    Add Comment

Conclusion

To reassemble your device, follow these instructions in reverse order.

Cancel: I did not complete this guide.

Ryan Heller

Member since: 04/01/15

107 Reputation

1 Guide authored

Team

Cal Poly, Team 24-2, Lancaster Spring 2015 Member of Cal Poly, Team 24-2, Lancaster Spring 2015

CPSU-LANCASTER-S15S24G2

4 Members

6 Guides authored

0 Guide Comments

Add Comment

View Statistics:

Past 24 Hours: 1

Past 7 Days: 6

Past 30 Days: 24

All Time: 1,701