Free Shipping on Domestic Orders $75+

Ninja Creami Rotating Shaft Replacement

What you need

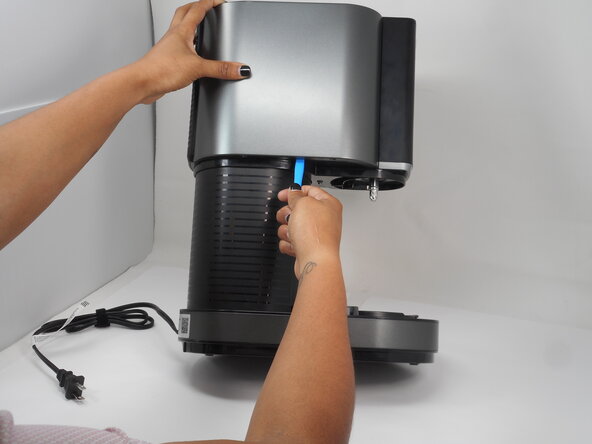
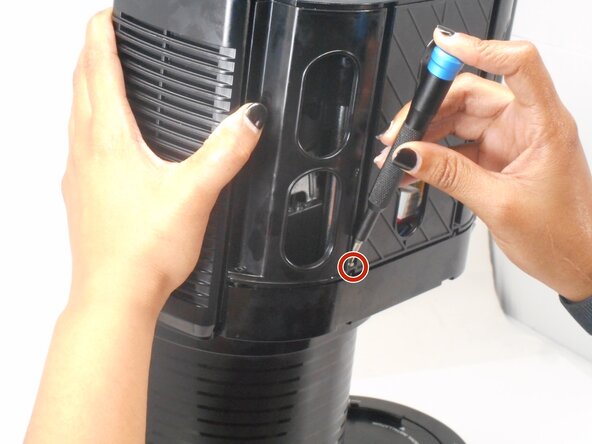
    1. Ninja Creami Rotating Shaft Replacement, Outer Shell: step 1, image 1 of 2 Ninja Creami Rotating Shaft Replacement, Outer Shell: step 1, image 2 of 2
      • On the NC301 model: on the bottom of each side, remove the two Security T-10 screws that attach the grey cover to the black housing.

      • Use an opening tool to gently lift and remove the grey cover from the top of the main piece.

      • Start at one edge and work your way around to avoid cracking the housing.

      Ask FixBot

      Add Comment

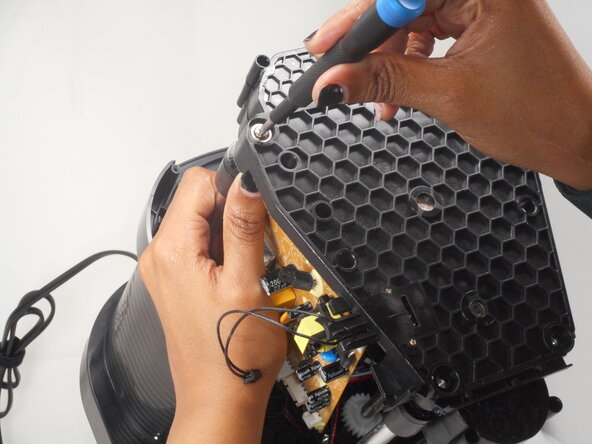
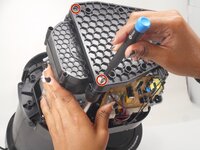
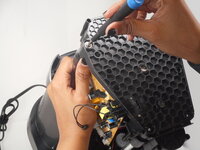
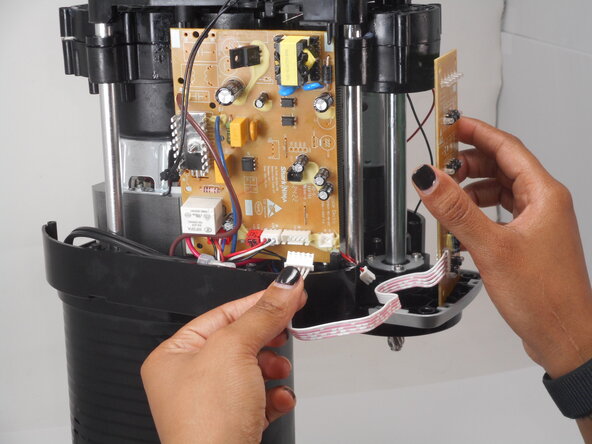
    2. Ninja Creami Rotating Shaft Replacement: step 2, image 1 of 3 Ninja Creami Rotating Shaft Replacement: step 2, image 2 of 3 Ninja Creami Rotating Shaft Replacement: step 2, image 3 of 3
      • Remove the ten 13.6 mm Phillips screws from the perimeter of the outer cover.

      • On the NC301 model: you also need to remove the two Security T-10 screws below the button panel and near the rotating shaft housing.

      • Lift the black plastic cover straight up and off.

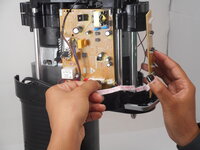
      • On the NC301 model: the control board behind the button panel is attached to this part and will come off with it. Be careful not to stretch or pull out the ribbon cable that connects it to the rest of the unit.

      Ask FixBot

      Add Comment

    3. Ninja Creami Rotating Shaft Replacement: step 3, image 1 of 2 Ninja Creami Rotating Shaft Replacement: step 3, image 2 of 2
      • Remove the four 12.2 mm Phillips screws from the black plastic cover.

      • Lift the black plastic cover straight up and off.

      Ask FixBot

      Add Comment

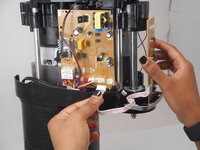
    1. Ninja Creami Rotating Shaft Replacement, Daughterboard: step 4, image 1 of 2 Ninja Creami Rotating Shaft Replacement, Daughterboard: step 4, image 2 of 2
      • Disconnect the daughterboard's motherboard connector.

      • Remove the daughter board.

      Ask FixBot

      Add Comment

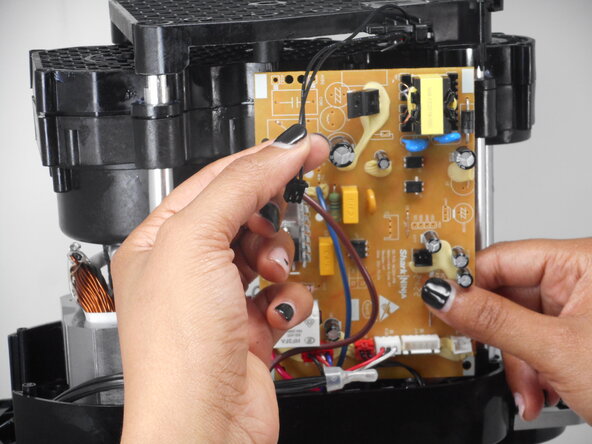
    1. Ninja Creami Rotating Shaft Replacement, Rotating Shaft: step 5, image 1 of 2 Ninja Creami Rotating Shaft Replacement, Rotating Shaft: step 5, image 2 of 2
      • Disconnect the black connector from motherboard.

      Ask FixBot

      Add Comment

    2. Ninja Creami Rotating Shaft Replacement: step 6, image 1 of 3 Ninja Creami Rotating Shaft Replacement: step 6, image 2 of 3 Ninja Creami Rotating Shaft Replacement: step 6, image 3 of 3
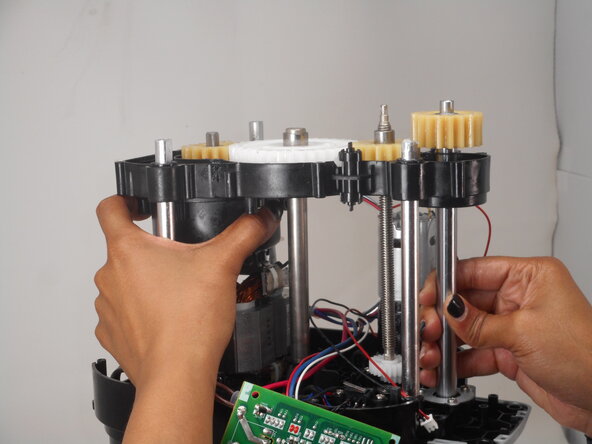
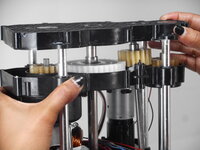
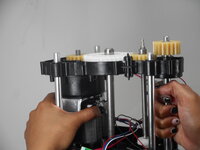
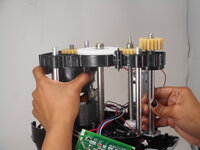
      • Remove the top of the gear housing while holding the bottom in place.

      Ask FixBot

      Add Comment

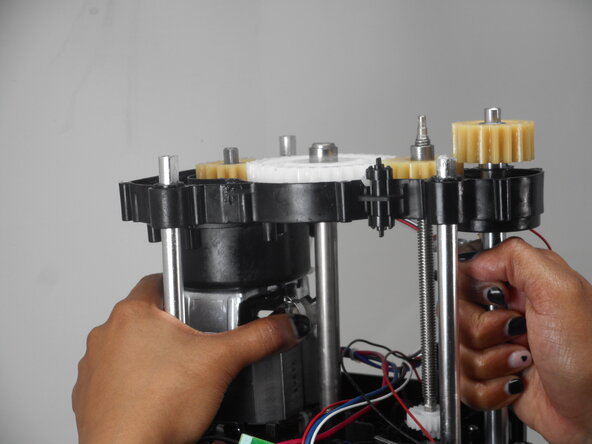
    3. Ninja Creami Rotating Shaft Replacement: step 7, image 1 of 3 Ninja Creami Rotating Shaft Replacement: step 7, image 2 of 3 Ninja Creami Rotating Shaft Replacement: step 7, image 3 of 3
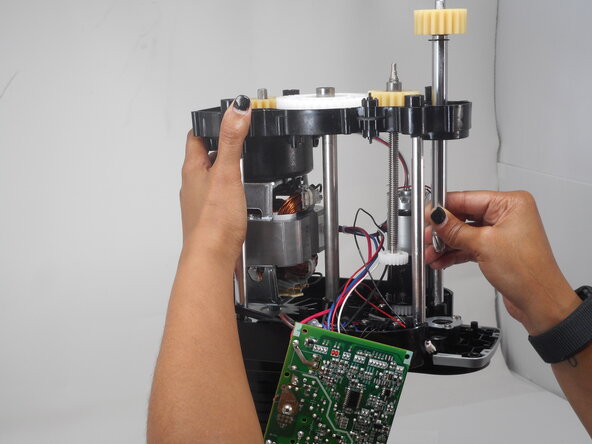
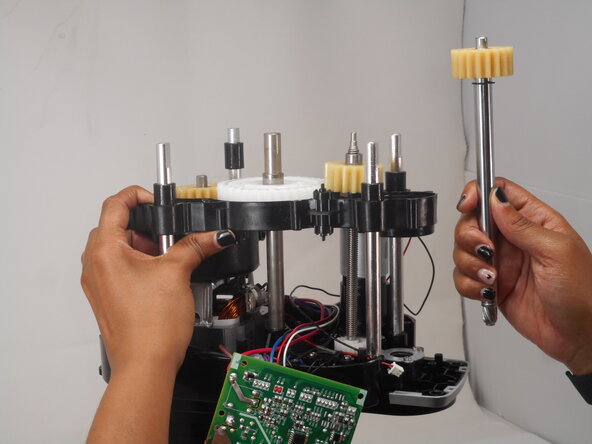
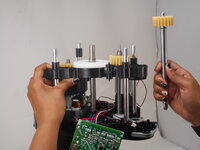
      • Hold the bottom of the gear housing above the shafts that it is on and pull out the rotating shaft.

      Ask FixBot

      Add Comment

Conclusion

To reassemble your device, follow these instructions in reverse order.

Cancel: I did not complete this guide.

One other person completed this guide.

Karlee B

Member since: 02/17/25

712 Reputation

6 Guides authored

11 Guide Comments

Is there a replacement shaft anywhere online I could buy?

Daniel Jovel - Reply Share

Also interested, where can I buy a rotating shaft?

Tozapid - Reply Share

@tozapid Did any of you manage to find this replacement part? I'm also looking for this part.

julioraminho - Reply Share

Also interested in purchasing a rotating shaft...

Jim Campbell - Reply Share

@jimcampbel74320 Did any of you manage to find this replacement part? I'm also looking for this part.

julioraminho - Reply Share

Add Comment

View Statistics:

Past 24 Hours: 36

Past 7 Days: 252

Past 30 Days: 1,237

All Time: 7,616