Introduction
The power cord conducts power to the Coffee Bar; the Coffee Bar cannot function without it, and it can be very dangerous if it is damaged. This guide describes how to replace the power cord.
What you need
-
-
Unscrew and remove the heating plate layer. This will expose the internal workings of the machine.
-
-
-
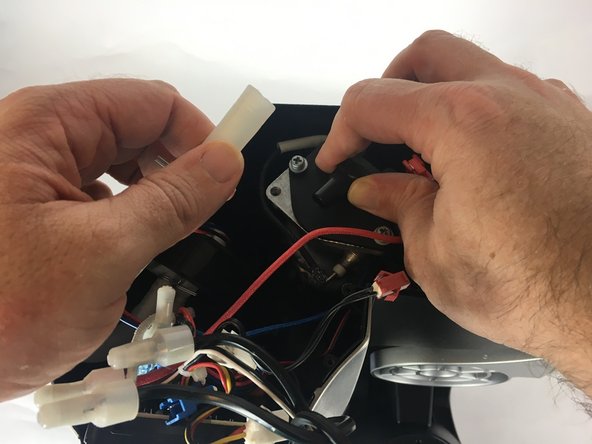
Locate the water heating element in the interior of your coffee maker.
-
Unscrew the two indicated J1S1 screws at the base of the water heating element.
-
-
-
Unscrew and remove the remaining J1S1 screws that secure the water heating element to the interior of the device.
-
-
-
-
Grasp and remove the clamp securing the tube that feeds into the base of the water heating element.
-
Detach the tube from the water heating element.
-
-
-
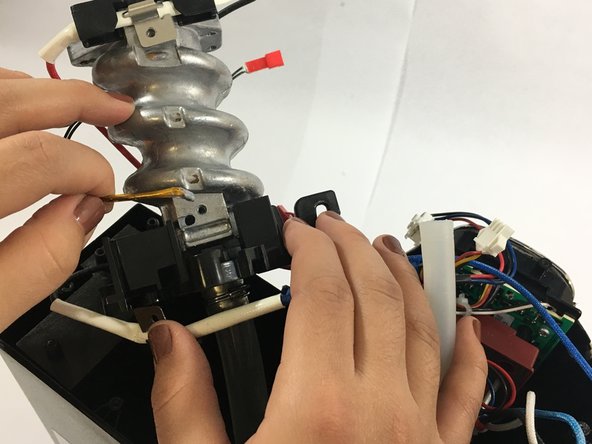
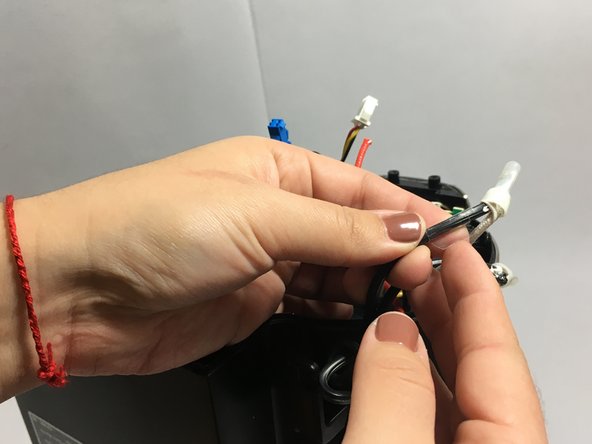
Locate the coated wire that feeds into the side of the water heating element. Remove this wire.
-
-
-
Locate the two wires leading out from the water heating element that feed into crimp connectors.
-
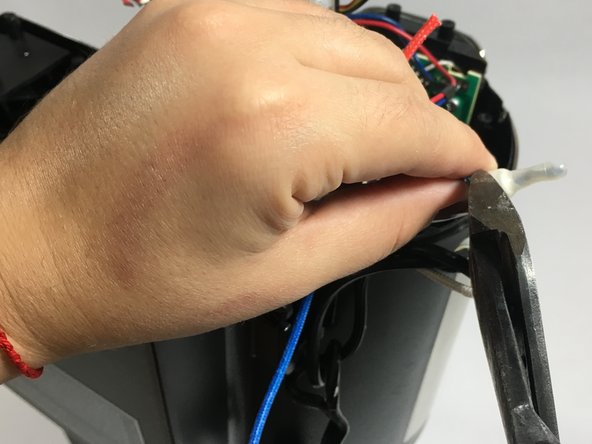
Using side cutters, sever these wires near the crimp connectors.
-
Use the side cutters to cut the remaining wires that feed into the crimp connectors from the coffee machine.
-
-
-
Squeeze and remove the clamp that secures the main tube feeding into the water heating element. Remove that tube.
-
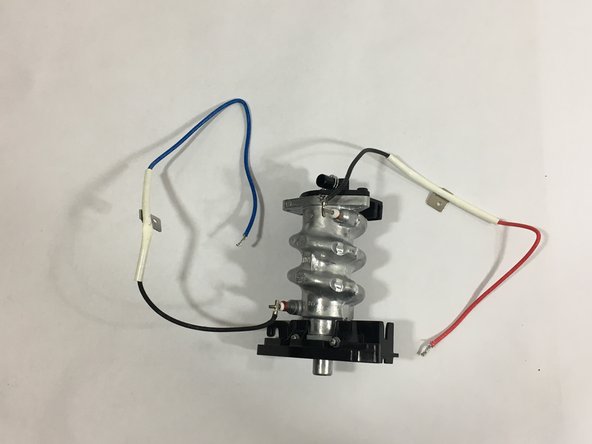
Remove the water heating element.
-
-
-
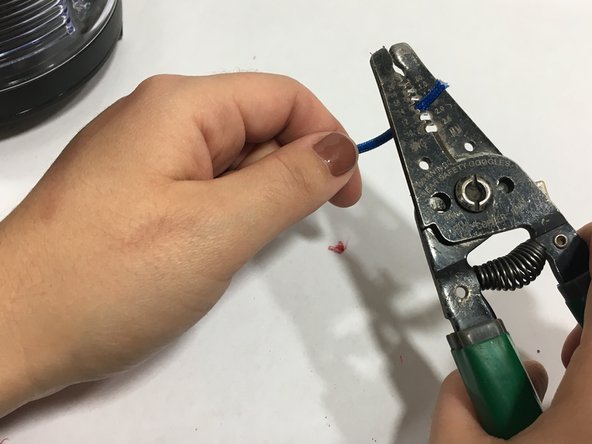
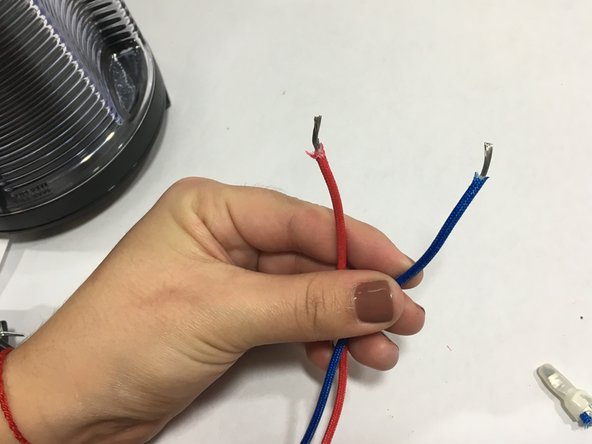
Using wire strippers, strip the cut wires from your coffee machine near their cut ends to expose 2 cm of metal conductor from each.
-
Use a similar procedure to strip the wires from your replacement heating element. Using wire strippers, expose 2 cm of metal conductor from the ends of the wires.
-
-
-
Prepare two crimp connectors by filling them with dielectric grease.
-
Use a crimp connector to connect a stripped end of the wire leading from the replacement heating element to the stripped end of the corresponding wire from the coffee maker.
-
Using a second crimp connector, repeat for the remaining pair of stripped wires.
-
Using the appropriate crimping tool, crimp the connectors.
-
-
-
The power cord splits into two and feeds into two closed-end crimp connectors. Two wires from your coffee machine also enter these connectors.
-
Locate the neutral wire that feeds into the crimp connector from the machine. Mark this wire.
-
-
-
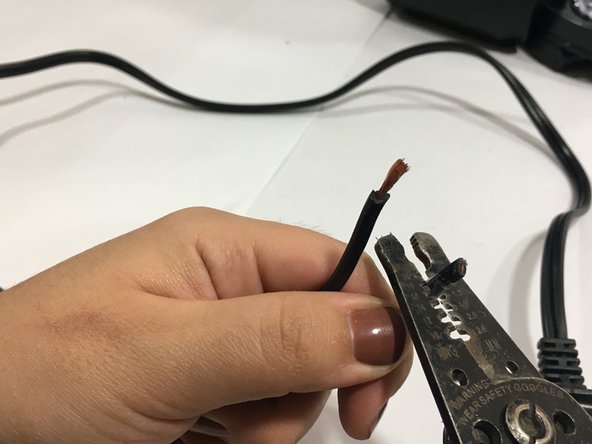
Using wire strippers, carefully expose a 2 cm length of the metal wire from each of the cut ends.
-
-
-
Apply dielectric grease to the insides of two new crimp connectors.
-
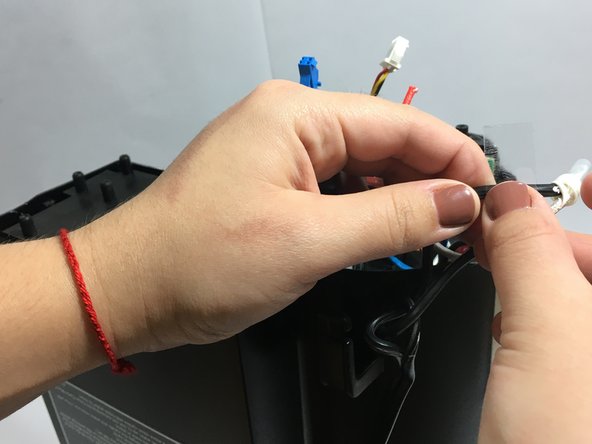
Insert the stripped ends of the wire into the crimp connectors.
-
Locate the ends of the replacement power cord. These should be already stripped; if they are not, strip 2 cm from them using wire strippers.
-
Feed the ends of the replacement power cord into the crimp connectors. Crimp the connectors using the appropriate crimping tool.
-


Team

USF Tampa, Team S1-G5, Thompson Fall 2017 Member of USF Tampa, Team S1-G5, Thompson Fall 2017
USFT-THOMPSON-F17S1G5
4 Members
5 Guides authored