Free Shipping on Domestic Orders $75+

Nikon D40 Mainboard Replacement

What you need

    1. Nikon D40 Mainboard Replacement, Back Cover: step 1, image 1 of 1
      • Remove the two visible 6.0 mm Philips #0 screws on the left and right sides of the viewfinder. These screws are highlighted in red.

      Ask FixBot

      Add Comment

    2. Nikon D40 Mainboard Replacement: step 2, image 1 of 2 Nikon D40 Mainboard Replacement: step 2, image 2 of 2
      • Remove the four 6.0 mm Philips #0 screws on the left and right sides of the camera.

      Ask FixBot

      Add Comment

    3. Nikon D40 Mainboard Replacement: step 3, image 1 of 1
      • Remove the four highlighted 3.0 mm Philips #0 screws on the bottom of the camera.

      Ask FixBot

      Add Comment

    4. Nikon D40 Mainboard Replacement: step 4, image 1 of 1
      • While pulling the bottom down, remove the back of the camera.

      • Be careful not to pull too hard on the back as it is connected via a ribbon cable. Be sure to disconnect this cable on the main board.

      • To disconnect the ribbon cable pull the small black tab upward and pull gently on the cable.

      Ask FixBot

      Add Comment

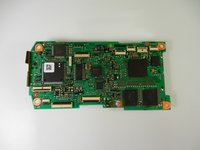
    1. Nikon D40 Mainboard Replacement, Mainboard: step 5, image 1 of 2 Nikon D40 Mainboard Replacement, Mainboard: step 5, image 2 of 2
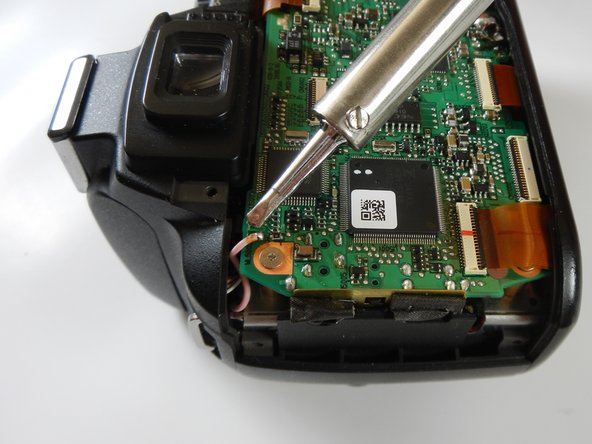
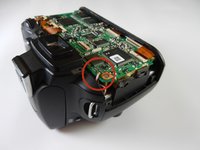
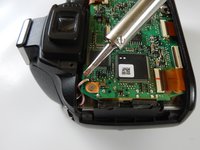
      • Remove the solder connecting the red wire to the mainboard.

      Ask FixBot

      Add Comment

    2. Nikon D40 Mainboard Replacement: step 6, image 1 of 1
      • Desolder the 4 smaller wires near the bottom of the mainboard.

      Ask FixBot

      Add Comment

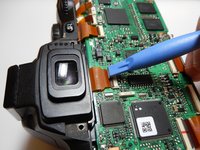
    3. Nikon D40 Mainboard Replacement: step 7, image 1 of 2 Nikon D40 Mainboard Replacement: step 7, image 2 of 2
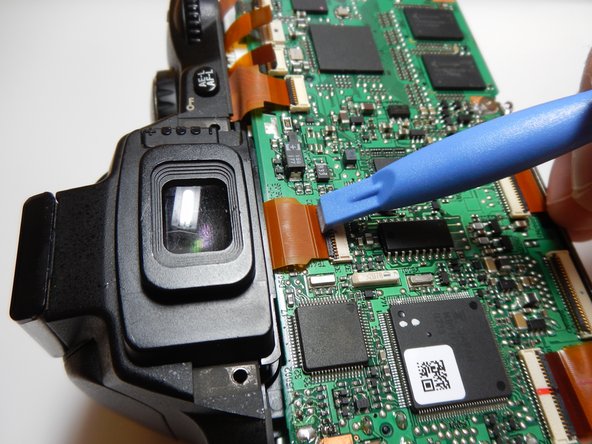
      • Use the plastic opening tool to release the ribbon cables attached to the mainboard.

      Ask FixBot

      Add Comment

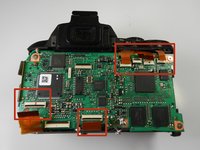
    4. Nikon D40 Mainboard Replacement: step 8, image 1 of 1
      • Remove the five 3.0mm Philips #1 screws holding the mainboard down.

      Ask FixBot

      Add Comment

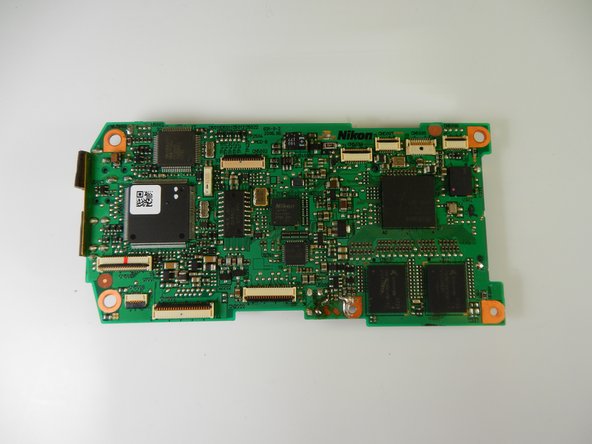
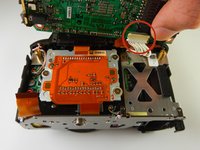
    5. Nikon D40 Mainboard Replacement: step 9, image 1 of 2 Nikon D40 Mainboard Replacement: step 9, image 2 of 2
      • Lift the mainboard up to reveal the final connection.

      • Carefully detach the white cable from the board.

      Ask FixBot

      Add Comment

Conclusion

To reassemble your device, follow these instructions in reverse order.

Cancel: I did not complete this guide.

7 other people completed this guide.

Joe Leija

Member since: 01/21/14

632 Reputation

2 Guides authored

Team

Cal Poly, Team 6-19, Maness Winter 2014 Member of Cal Poly, Team 6-19, Maness Winter 2014

CPSU-MANESS-W14S6G19

4 Members

72 Guides authored

3 Guide Comments

What is the ordering of the small wires on the bottom? It is hard to put back together from the photos. Thanks!

Joseph Ruskiewicz - Reply Share

wheres the power source? i mean the fuse

Gringo Maputi - Reply Share

in the main board located kindly put markings on it

Gringo Maputi - Reply Share

Add Comment

View Statistics:

Past 24 Hours: 0

Past 7 Days: 3

Past 30 Days: 44

All Time: 5,210