Free Shipping on Domestic Orders $75+

Nexus Q LED Board Replacement

What you need

    1. Nexus Q LED Board Replacement, Ball Bearing Ring: step 1, image 1 of 1
      • Squeeze and pull the cap to remove it from the Nexus Q.

      Ask FixBot

      Add Comment

    2. Nexus Q LED Board Replacement: step 2, image 1 of 1
      • Use a spudger to disconnect the Taoglas Wi-Fi Dual Band Antenna.

      Ask FixBot

      Add Comment

    3. Nexus Q LED Board Replacement: step 3, image 1 of 1
      • Undo the ZIF connector by prying it with a spudger.

      Ask FixBot

      Add Comment

    4. Nexus Q LED Board Replacement: step 4, image 1 of 1
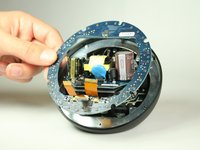
      • Use a Phillips #0 screwdriver to unscrew the four 1.3 mm screws.

      • After removing the screws, there will be two parts. The top part contains the daughterboard. Store it safely. It will not be used.

      Ask FixBot

      Add Comment

    5. Nexus Q LED Board Replacement: step 5, image 1 of 1
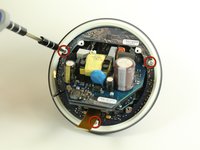
      • View the bottom half of the Nexus Q.

      • Use a Phillips #0 screwdriver to remove the four 0.8 mm screws holding the ball bearing ring in place.

      Ask FixBot

      Add Comment

    6. Nexus Q LED Board Replacement: step 6, image 1 of 1
      • Remove the ball bearing ring.

      • When placing a new ring in its place, make sure to orient it right or the top will not close.

      Ask FixBot

      Add Comment

    1. Nexus Q LED Board Replacement, LED Board: step 7, image 1 of 2 Nexus Q LED Board Replacement, LED Board: step 7, image 2 of 2
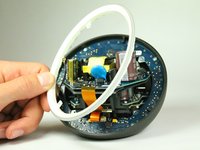
      • Once you remove the ball bearing ring from the bottom half of the Nexus Q, you will be exposed to a diffuser (white ring) held in with three T6 Torx screws.

      • Use a #0 Philips head screwdriver to remove the three 0.8 mm screws holding the diffuser in place.

      Ask FixBot

      Add Comment

    2. Nexus Q LED Board Replacement: step 8, image 1 of 2 Nexus Q LED Board Replacement: step 8, image 2 of 2
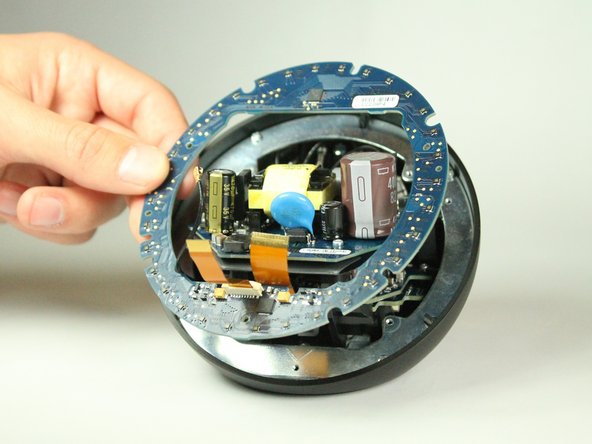
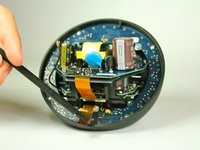
      • With the diffuser out, we are exposed to the LED Board.

      • Use a spudger to lightly lift the LED board out.

      Ask FixBot

      Add Comment

Conclusion

To reassemble your device, follow these instructions in reverse order.

Cancel: I did not complete this guide.

Taewan Kim

Member since: 01/31/13

22 Reputation

2 Guides authored

Team

Cal Poly, Team 7-10, Maness Winter 2013 Member of Cal Poly, Team 7-10, Maness Winter 2013

CPSU-MANESS-W13S7G10

4 Members

15 Guides authored

0 Guide Comments

Add Comment

View Statistics:

Past 24 Hours: 1

Past 7 Days: 3

Past 30 Days: 28

All Time: 854