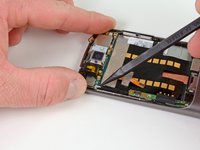
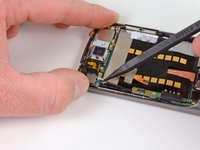
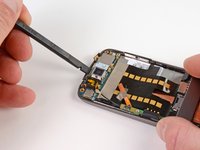
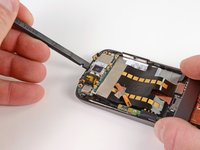
Free Shipping on Domestic Orders $75+

Nexus One Screen Replacement

Views: 8.4K

View statistics:

Past 24 Hours:
2
Past 7 Days:
18
Past 30 Days:
73
All Time:
8,368
Comments: 5

5 comments on steps.

Completed: 5

5 people have marked this guide "completed." Will you be next?

Favorites: 7

7 people have favorited (and subscribed to) this guide. Will you be next?

Time Required: No estimate
Difficulty: Moderate
Community-Contributed Guide

An awesome member of our community made this guide. It was not created by iFixit staff.

Nexus One Screen Replacement

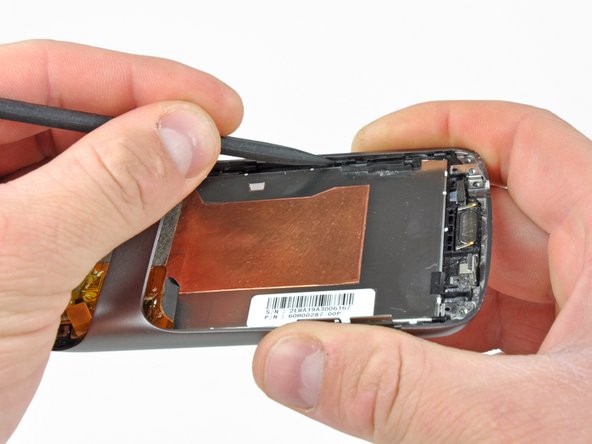
What you need

Tools

    1. Nexus One Screen Replacement, Rear Cover: step 1, image 1 of 2 Nexus One Screen Replacement, Rear Cover: step 1, image 2 of 2
      • Using two fingers, push up on the rear cover.

      Ask FixBot
      Add Comment

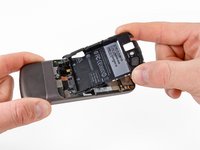
    2. Nexus One Screen Replacement: step 2, image 1 of 1
      • The rear cover slides up and off.

      Ask FixBot

      Add Comment

    1. Nexus One Screen Replacement, Battery: step 3, image 1 of 1
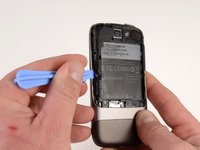
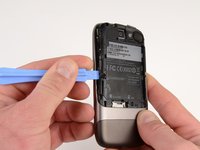
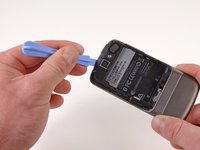
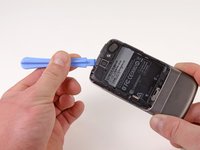
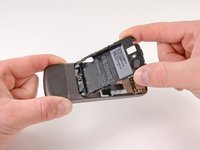
      • Using the plastic opening tools, pry the left bottom corner of the battery up.

      Ask FixBot

      Add Comment

    2. Nexus One Screen Replacement: step 4, image 1 of 1
      • Pull the battery up and out.

      Ask FixBot

      Add Comment

    1. Nexus One Screen Replacement, Battery Housing: step 5, image 1 of 1
      • Remove the two Torx T5 screws.

      • Remove the one Philips #00 screw.

      Ask FixBot

      Add Comment

    2. Nexus One Screen Replacement: step 6, image 1 of 2 Nexus One Screen Replacement: step 6, image 2 of 2
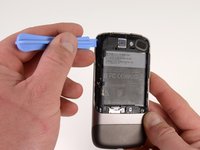
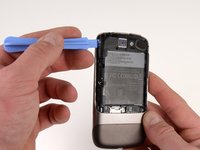
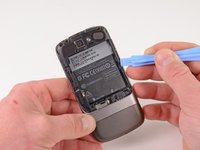
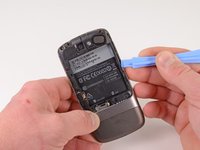
      • Using the plastic opening tool, pry up the battery housing upwards.

      • Push pry tool down, undoing the plastic tab.

      Ask FixBot

      Add Comment

    3. Nexus One Screen Replacement: step 7, image 1 of 2 Nexus One Screen Replacement: step 7, image 2 of 2
      • Pry the upper left tab open on the battery housing.

      Ask FixBot

      Add Comment

    4. Nexus One Screen Replacement: step 8, image 1 of 2 Nexus One Screen Replacement: step 8, image 2 of 2
      • Pry the top tab of the battery housing.

      Ask FixBot

      Add Comment

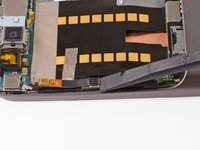
    5. Nexus One Screen Replacement: step 9, image 1 of 2 Nexus One Screen Replacement: step 9, image 2 of 2
      • Pry the right side tab of the battery housing.

      Ask FixBot
      Add Comment

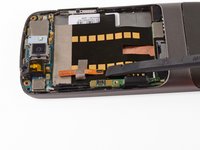
    6. Nexus One Screen Replacement: step 10, image 1 of 2 Nexus One Screen Replacement: step 10, image 2 of 2
      • Pull up on the battery housing.

      • Slide the battery housing out to remove it.

      Ask FixBot
      Add Comment

    1. Nexus One Screen Replacement, Lower Cover: step 11, image 1 of 2 Nexus One Screen Replacement, Lower Cover: step 11, image 2 of 2
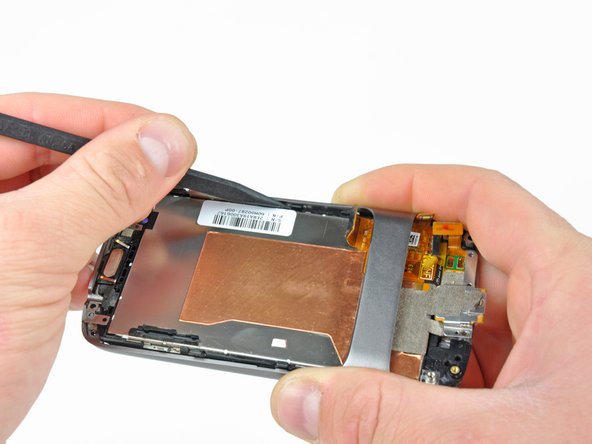
      • Using the plastic opening tool, push the blade into the space between the case and lower cover.

      • Turn the opening tool slightly, the lower cover will detach on that side.

      • Repeat on other side of the seam.

      • The lower cover will slide off.

      Ask FixBot

      Add Comment

    1. Nexus One Screen Replacement, Antenna Housing: step 12, image 1 of 1
      • Remove the one T5 Torx screw

      • Remove the one #00 Philips screw

      • Lift up the end of the antenna housing and slide it outwards.

      Ask FixBot

      Add Comment

    1. Nexus One Screen Replacement, Antenna Cable: step 13, image 1 of 2 Nexus One Screen Replacement, Antenna Cable: step 13, image 2 of 2
      • Pry the antenna cable up.

      Ask FixBot

      Add Comment

    2. Nexus One Screen Replacement: step 14, image 1 of 1
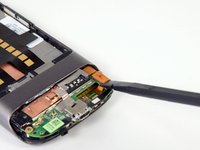
      • Carefully pull up on the microphone board to release the tape from the phone.

      Ask FixBot
      Add Comment

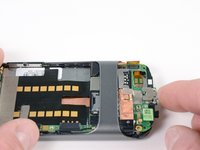
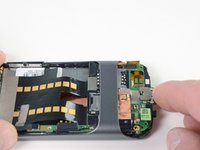
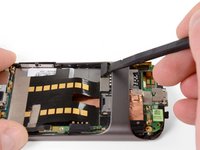
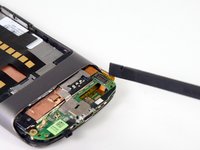
    1. Nexus One Screen Replacement, Motherboards: step 15, image 1 of 2 Nexus One Screen Replacement, Motherboards: step 15, image 2 of 2
      • Insert the spudger under the connector.

      • Push the spudger up and twist to release the connector.

      • Repeat for the next connector.

      Ask FixBot
      Add Comment

    2. Nexus One Screen Replacement: step 16, image 1 of 3 Nexus One Screen Replacement: step 16, image 2 of 3 Nexus One Screen Replacement: step 16, image 3 of 3
      • Push on the USB port to expose the black connector.

      • Use the spudger to pry the connector upwards.

      Ask FixBot

      Add Comment

    3. Nexus One Screen Replacement: step 17, image 1 of 2 Nexus One Screen Replacement: step 17, image 2 of 2
      • Place the spugder under the antenna connector.

      • Pry connector up vertically.

      Ask FixBot

      Add Comment

    4. Nexus One Screen Replacement: step 18, image 1 of 3 Nexus One Screen Replacement: step 18, image 2 of 3 Nexus One Screen Replacement: step 18, image 3 of 3
      • Insert the spudger into tab above the camera.

      • Slide upwards until the board detaches from the case.

      Ask FixBot

      Add Comment

    5. Nexus One Screen Replacement: step 19, image 1 of 1
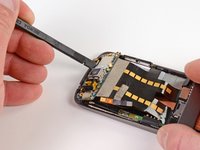
      • Press the pointed tip of the spudger into the space below the button assembly.

      • Wiggle the spudger tip towards the outside of the button.

      • The button assembly is under some tension and may fly off.

      Ask FixBot

      Add Comment

    6. Nexus One Screen Replacement: step 20, image 1 of 1
      • Push the pointed tip of the spudger into the base of the side button board.

      • Lift up, the board will disconnect from the case.

      Ask FixBot

      Add Comment

    7. Nexus One Screen Replacement: step 21, image 1 of 3 Nexus One Screen Replacement: step 21, image 2 of 3 Nexus One Screen Replacement: step 21, image 3 of 3
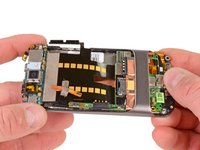
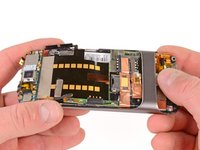
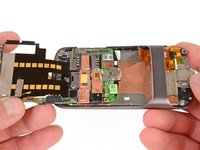
      • Push on the lower motherboard until it slides under the case support.

      • The motherboard assembly comes out as a single piece.

      • Save the small black rubber rectangular sound guide under the motherboard, to replace over the microphone.

      Ask FixBot

      Add Comment

    1. Nexus One Screen Replacement, Screen: step 22, image 1 of 1
      • Remove the seven #00 Philips screws

      Ask FixBot

      Add Comment

    2. Nexus One Screen Replacement: step 23, image 1 of 3 Nexus One Screen Replacement: step 23, image 2 of 3 Nexus One Screen Replacement: step 23, image 3 of 3
      • Use the spudger to pop the 3 latches holding the screen down.

      Ask FixBot

      Add Comment

    3. Nexus One Screen Replacement: step 24, image 1 of 1
      • Pull up on the screen so it slides out of the case.

      Ask FixBot

      Add Comment

      • Make sure to peel off the digitizer connector from the back of the LCD

      Ask FixBot

      Add Comment

Conclusion

To reassemble your device, follow these instructions in reverse order.

Cancel: I did not complete this guide.

5 other people completed this guide.

Niklas Johnson

Member since: 01/31/12

1,207 Reputation

18 Guides authored

0 Guide Comments

Add Comment

View Statistics:

Past 24 Hours: 2

Past 7 Days: 18

Past 30 Days: 73

All Time: 8,368