Free Shipping on Domestic Orders $75+

Nexus One Front Speaker Replacement

What you need

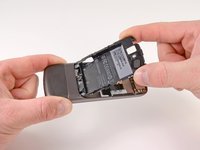
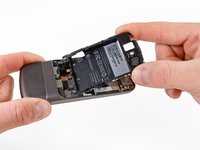
    1. Nexus One Front Speaker Replacement, Rear Cover: step 1, image 1 of 2 Nexus One Front Speaker Replacement, Rear Cover: step 1, image 2 of 2
      • Using two fingers, push up on the rear cover.

      Ask FixBot

      Add Comment

    2. Nexus One Front Speaker Replacement: step 2, image 1 of 1
      • The rear cover slides up and off.

      Ask FixBot

      Add Comment

    1. Nexus One Front Speaker Replacement, Battery: step 3, image 1 of 1
      • Using the plastic opening tools, pry the left bottom corner of the battery up.

      Ask FixBot

      Add Comment

    2. Nexus One Front Speaker Replacement: step 4, image 1 of 1
      • Pull the battery up and out.

      Ask FixBot
      Add Comment

    1. Nexus One Front Speaker Replacement, Battery Housing: step 5, image 1 of 1
      • Remove the two Torx T5 screws.

      • Remove the one Philips #00 screw.

      Ask FixBot
      Add Comment

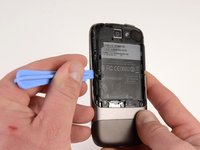
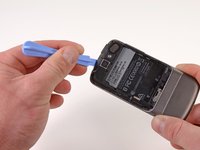
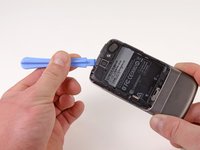
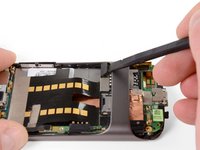
    2. Nexus One Front Speaker Replacement: step 6, image 1 of 2 Nexus One Front Speaker Replacement: step 6, image 2 of 2
      • Using the plastic opening tool, pry up the battery housing upwards.

      • Push pry tool down, undoing the plastic tab.

      Ask FixBot
      Add Comment

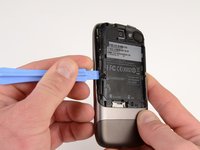
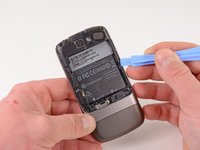
    3. Nexus One Front Speaker Replacement: step 7, image 1 of 2 Nexus One Front Speaker Replacement: step 7, image 2 of 2
      • Pry the upper left tab open on the battery housing.

      Ask FixBot

      Add Comment

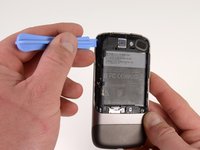
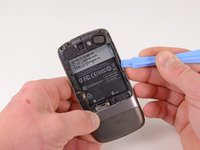
    4. Nexus One Front Speaker Replacement: step 8, image 1 of 2 Nexus One Front Speaker Replacement: step 8, image 2 of 2
      • Pry the top tab of the battery housing.

      Ask FixBot

      Add Comment

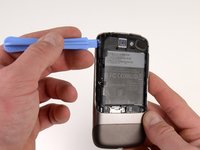
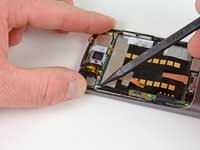
    5. Nexus One Front Speaker Replacement: step 9, image 1 of 2 Nexus One Front Speaker Replacement: step 9, image 2 of 2
      • Pry the right side tab of the battery housing.

      Ask FixBot
      Add Comment

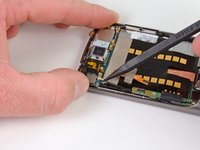
    6. Nexus One Front Speaker Replacement: step 10, image 1 of 2 Nexus One Front Speaker Replacement: step 10, image 2 of 2
      • Pull up on the battery housing.

      • Slide the battery housing out to remove it.

      Ask FixBot
      Add Comment

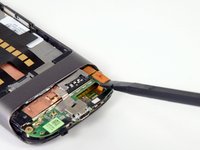
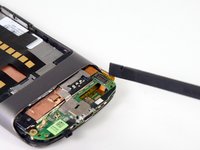
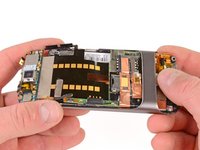
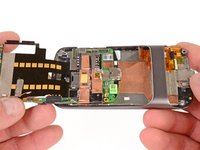
    1. Nexus One Front Speaker Replacement, Motherboards: step 11, image 1 of 2 Nexus One Front Speaker Replacement, Motherboards: step 11, image 2 of 2
      • Insert the spudger under the connector.

      • Push the spudger up and twist to release the connector.

      • Repeat for the next connector.

      Ask FixBot

      Add Comment

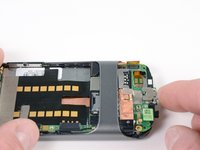
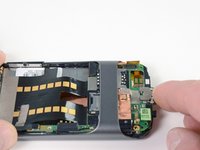
    2. Nexus One Front Speaker Replacement: step 12, image 1 of 3 Nexus One Front Speaker Replacement: step 12, image 2 of 3 Nexus One Front Speaker Replacement: step 12, image 3 of 3
      • Push on the USB port to expose the black connector.

      • Use the spudger to pry the connector upwards.

      Ask FixBot

      Add Comment

    3. Nexus One Front Speaker Replacement: step 13, image 1 of 2 Nexus One Front Speaker Replacement: step 13, image 2 of 2
      • Place the spugder under the antenna connector.

      • Pry connector up vertically.

      Ask FixBot

      Add Comment

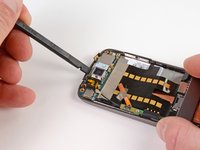
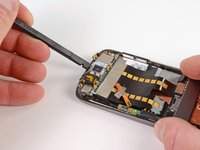
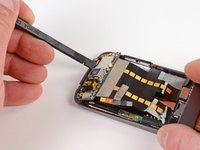
    4. Nexus One Front Speaker Replacement: step 14, image 1 of 3 Nexus One Front Speaker Replacement: step 14, image 2 of 3 Nexus One Front Speaker Replacement: step 14, image 3 of 3
      • Insert the spudger into tab above the camera.

      • Slide upwards until the board detaches from the case.

      Ask FixBot

      Add Comment

    5. Nexus One Front Speaker Replacement: step 15, image 1 of 1
      • Press the pointed tip of the spudger into the space below the button assembly.

      • Wiggle the spudger tip towards the outside of the button.

      • The button assembly is under some tension and may fly off.

      Ask FixBot

      Add Comment

    6. Nexus One Front Speaker Replacement: step 16, image 1 of 1
      • Push the pointed tip of the spudger into the base of the side button board.

      • Lift up, the board will disconnect from the case.

      Ask FixBot

      Add Comment

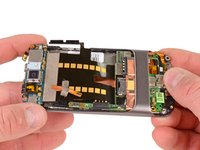
    7. Nexus One Front Speaker Replacement: step 17, image 1 of 3 Nexus One Front Speaker Replacement: step 17, image 2 of 3 Nexus One Front Speaker Replacement: step 17, image 3 of 3
      • Push on the lower motherboard until it slides under the case support.

      • The motherboard assembly comes out as a single piece.

      • Save the small black rubber rectangular sound guide under the motherboard, to replace over the microphone.

      Ask FixBot

      Add Comment

    1. Nexus One Front Speaker Replacement, Front Speaker: step 18, image 1 of 1
      • Using the spudger, pop up the end of the speaker.

      Ask FixBot

      Add Comment

Conclusion

To reassemble your device, follow these instructions in reverse order.

Cancel: I did not complete this guide.

One other person completed this guide.

Niklas Johnson

Member since: 01/31/12

1,207 Reputation

18 Guides authored

0 Guide Comments

Add Comment

View Statistics:

Past 24 Hours: 0

Past 7 Days: 10

Past 30 Days: 37

All Time: 2,633