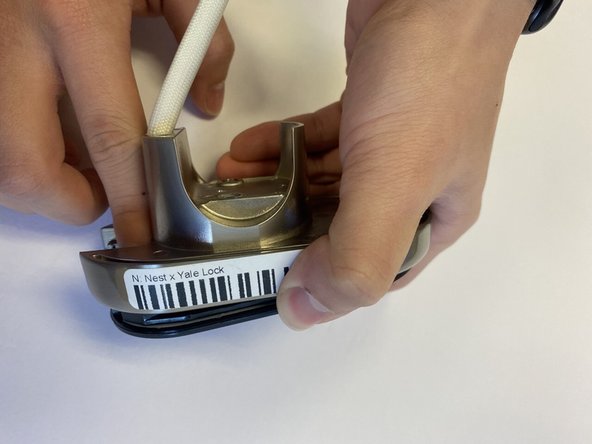
Nest x Yale Lock Keypad Replacement

What you need

  1. Nest x Yale Lock Keypad Replacement, Keypad: step 1, image 1 of 1
    • Unscrew all available screws that you can see from the back.

    • The screws are 0.25 inches phillips screws.

    • Make sure to not lose any of the screws, and keep track of them.

  2. Nest x Yale Lock Keypad Replacement: step 2, image 1 of 1
    • Once you have unscrewed all the screws carefully remove the metal covering.

    • Make sure that the wire safely goes through the hole.

  3. Nest x Yale Lock Keypad Replacement: step 3, image 1 of 1
    • Then once again unscrew the two screws that you see.

    • The screws have a height of 0.2 inches phillips screws.

    • Make sure to not lose any of the screws, and keep track of them.

  4. Nest x Yale Lock Keypad Replacement: step 4, image 1 of 2 Nest x Yale Lock Keypad Replacement: step 4, image 2 of 2
    • Once all screws are unscrewed proceed to tap the screen out of the metal casing.

Conclusion

To reassemble your device, follow these instructions in reverse order.

Christopher Gonzalez

Member since: 09/26/22

313 Reputation

3 Guides authored

Team

One Comment

Where do you order the touchscreen from?

Mike Turrell - Reply

Add Comment

View Statistics:

Past 24 Hours: 0

Past 7 Days: 1

Past 30 Days: 5

All Time: 260