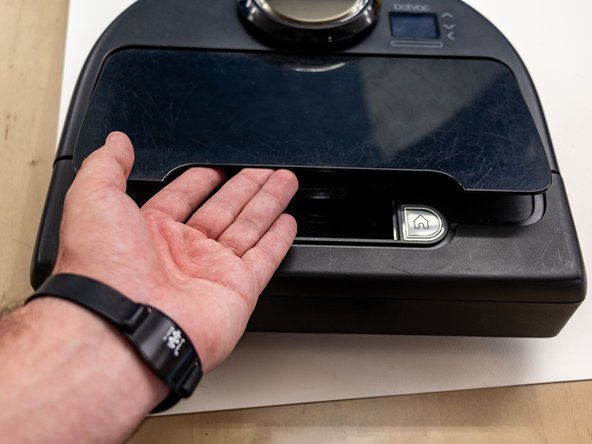
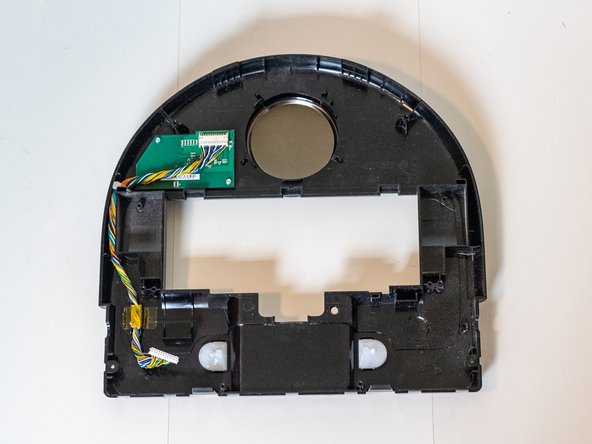
Neato Botvac Connected Screen Replacement

What you need

  1. Neato Botvac Connected Screen Replacement, Screen: step 1, image 1 of 3 Neato Botvac Connected Screen Replacement, Screen: step 1, image 2 of 3 Neato Botvac Connected Screen Replacement, Screen: step 1, image 3 of 3
    • Flip the Botvac over so that the underside is facing up and the flat front is facing toward you.

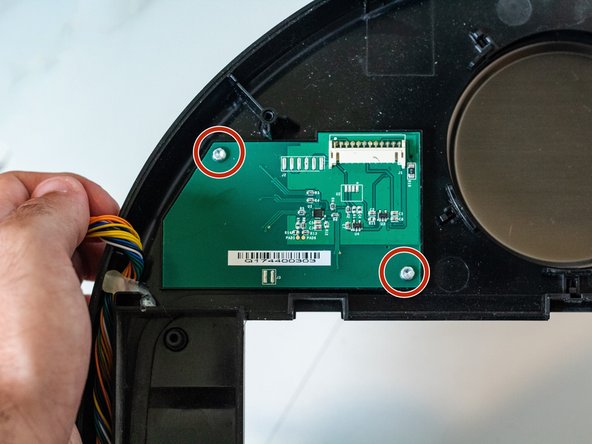
    • Remove the four screws lining the front roller using a TR10 Torx screwdriver.

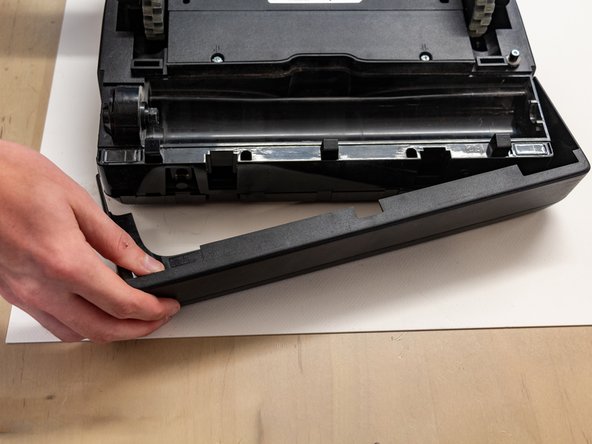
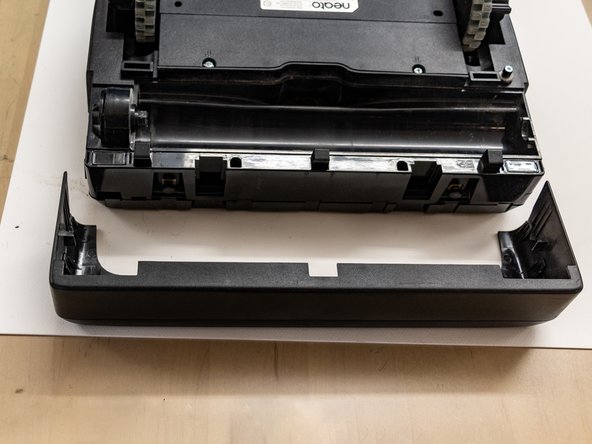
    • Remove the black panel behind and in front of the roller.

    • Gently lift the roller by the right side to remove it.

  2. Neato Botvac Connected Screen Replacement: step 2, image 1 of 1
    • Remove the two screws behind the front roller of the robot using a Phillips #2 screwdriver.

    • Remove the battery by lifting it out while pressing down on the wire clip inside the compartment.

  3. Neato Botvac Connected Screen Replacement: step 3, image 1 of 3 Neato Botvac Connected Screen Replacement: step 3, image 2 of 3 Neato Botvac Connected Screen Replacement: step 3, image 3 of 3
    • Pull one side of the front bumper out and then forward toward you. Repeat on the other side to completely detach the front bumper.

  4. Neato Botvac Connected Screen Replacement: step 4, image 1 of 2 Neato Botvac Connected Screen Replacement: step 4, image 2 of 2
    • Remove the eight screws from the underside of the Botvac using a TR10 Torx screwdriver.

    • Remove the additional two TR10 screws from the top of the Botvac.

    • Remove the dustbin.

  5. Neato Botvac Connected Screen Replacement: step 5, image 1 of 3 Neato Botvac Connected Screen Replacement: step 5, image 2 of 3 Neato Botvac Connected Screen Replacement: step 5, image 3 of 3
    • Pry the clips on the front of the robot apart.

    • Unplug the beige connector with a spudger, working one side at a time until it comes unplugged.

    • Make certain not to not to tear any wires out of the port.

    • Lay the top of the robot inside up.

  6. Neato Botvac Connected Screen Replacement: step 6, image 1 of 2 Neato Botvac Connected Screen Replacement: step 6, image 2 of 2
    • Unplug the beige connector with a spudger. Be careful not to tear out any wires.

    • Remove the two screws from the screen using a TR10 Torx screwdriver.

    • Remove the screen from the vacuum.

Conclusion

To reassemble your device, follow these instructions in reverse order.

Jerome

Member since: 03/01/23

365 Reputation

2 Guides authored

0 Comments

Add Comment

View Statistics:

Past 24 Hours: 0

Past 7 Days: 2

Past 30 Days: 12

All Time: 110