Nabi 2 Screen Replacement

What you need

  1. Nabi 2  Screen Replacement, Nabi 2 Back Cover Removal: step 1, image 1 of 3 Nabi 2  Screen Replacement, Nabi 2 Back Cover Removal: step 1, image 2 of 3 Nabi 2  Screen Replacement, Nabi 2 Back Cover Removal: step 1, image 3 of 3
    • Remove the rubber bumper from the tablet.

  2. Nabi 2  Screen Replacement: step 2, image 1 of 2 Nabi 2  Screen Replacement: step 2, image 2 of 2
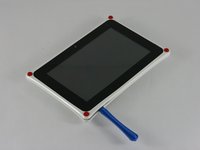
    • With a PH00 screwdriver, remove the four outermost screws from the back of the tablet.

  3. Nabi 2  Screen Replacement: step 3, image 1 of 3 Nabi 2  Screen Replacement: step 3, image 2 of 3 Nabi 2  Screen Replacement: step 3, image 3 of 3
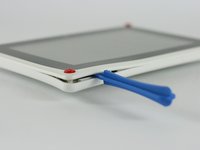
    • Carefully, insert a plastic opening tool into the seam of the device and begin gently prying the two plastic pieces apart.

    • Work the tool all the way around the device. Small plastic clips should release. If they do not, gently apply outwards pressure until the clips give.

    • Do not force the clips open, as they are fairly easy to break

  4. Nabi 2  Screen Replacement, Screen: step 4, image 1 of 3 Nabi 2  Screen Replacement, Screen: step 4, image 2 of 3 Nabi 2  Screen Replacement, Screen: step 4, image 3 of 3
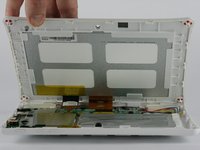
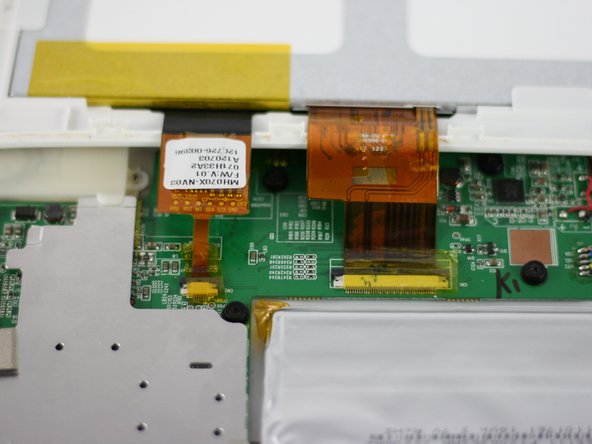
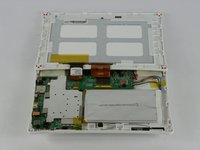
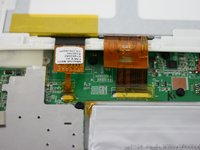
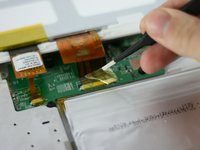
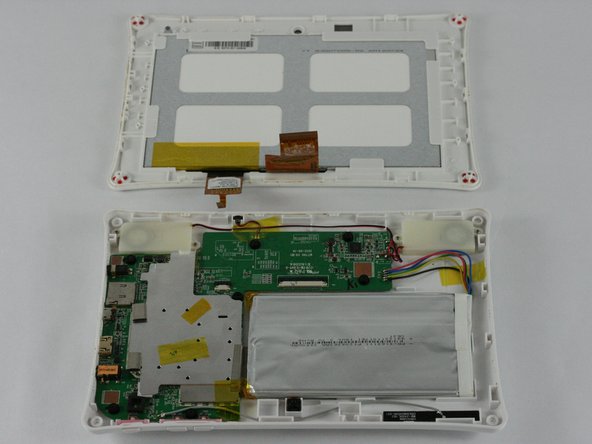
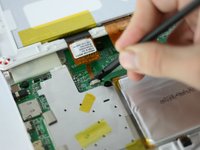
    • Lay the tablet down flat and remove the yellow tape from the ZIF connector on each side

  5. Nabi 2  Screen Replacement: step 5, image 1 of 3 Nabi 2  Screen Replacement: step 5, image 2 of 3 Nabi 2  Screen Replacement: step 5, image 3 of 3
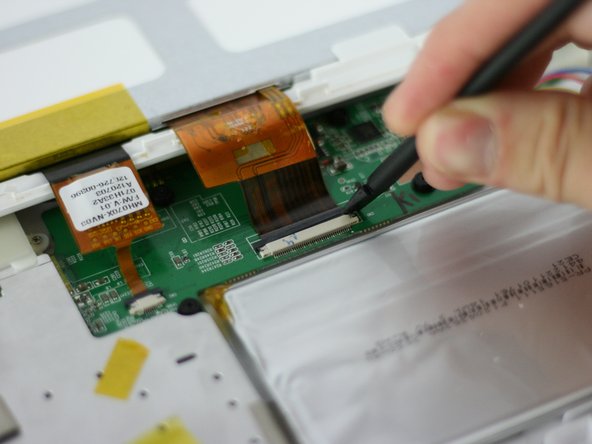
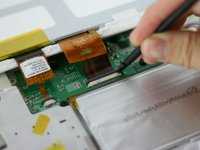
    • Using a spudger, slide the brown tab forward on each side of the connector

    • Slide until the connector is completely loose, then separate the screen from the bottom half of the tablet

    • If the screen is not working correctly, you will need to replace the entire display assembly

Conclusion

To reassemble your device, follow these instructions in reverse order.

6 other people completed this guide.

Michelle

Member since: 02/09/16

851 Reputation

4 Guides authored

Team

USF Tampa, Team 4-3, Lacy Spring 2016 Member of USF Tampa, Team 4-3, Lacy Spring 2016

USFT-LACY-S16S4G3

4 Members

14 Guides authored

3 Comments

Simple steps but very practical

myjamro - Reply

Is the LCD glued to the front glass/digitizer?

Brent Huff - Reply

It Worked Thank U So Much!!!

Sharon Thrash - Reply

Add Comment

View Statistics:

Past 24 Hours: 0

Past 7 Days: 5

Past 30 Days: 11

All Time: 7,844